“Ho hurr hurr! Liddle wunner they send oi t’keep watch on ‘ee, you’m a villyen, Maister Gonff. Keepen ‘ee paws outten ‘ee chesknutters, or oi tells Miz Bell offen ‘ee.”
-Billum, from Mossflower by Brian Jacques, p.103
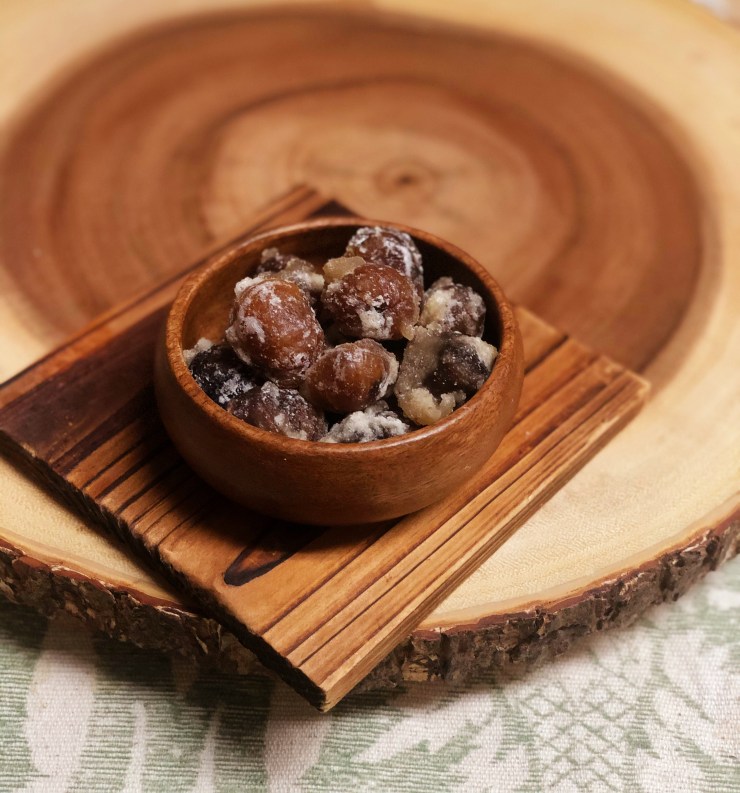
Few foods in the cuisine of Redwall Abbey and the greater Mossflower Wood has captured more readers’ attention and left a more memorable impression than Candied Chestnuts. Making their first appearance early on in Redwall, Candied Chestnuts remain not only a tantalizing described treat, but an important plot device in several books. For me as a child, Candied Chestnuts held an almost holy place: the way Brian Jacques described each morsel, covered in sugar, coveted by birds especially, made me crave them. As such no recipe has ever reached higher on my list of dream recipes than candied chestnuts.
For this recipe I started with a traditional Marrons Glacé recipe but expanded on the recipe to match the descriptions of Candied Chestnuts from the book, namely achieving a crispier outer shell with present sugar crystals. Though the final results takes several days to pay off, you’ll find the crispy shell surrounding a gently chewy center to be well worth the wait.

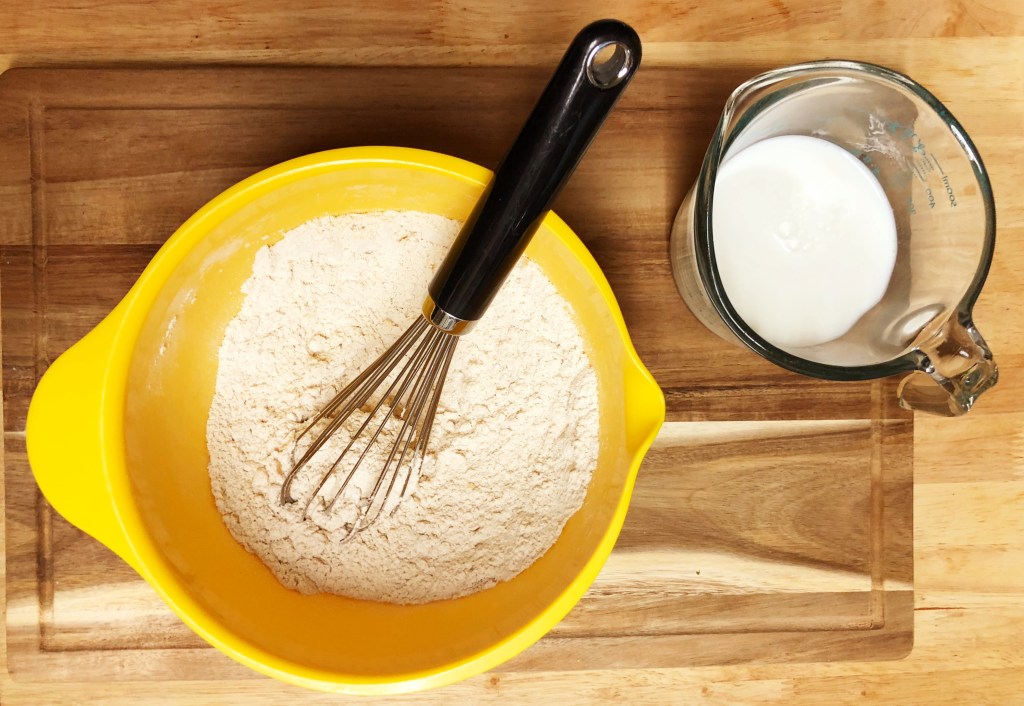
To begin you will need one and 1/4 cups of water, two cups of granulated sugar, 1/4 teaspoon freshly grated nutmeg, 1/4 teaspoon cardamom, 1 teaspoon vanilla extract, and approximately one pound of roasted chestnuts (I used three 5.2 oz bags of Gefen Roasted Chestnuts, a little over a pound, available on Amazon). If you have trouble finding roasted chestnuts, I recommend checking in with your local Asian Markets. By using prepackaged roasted chestnuts this recipe is easy to create any time of year, regardless of being bound by Chestnut Season.
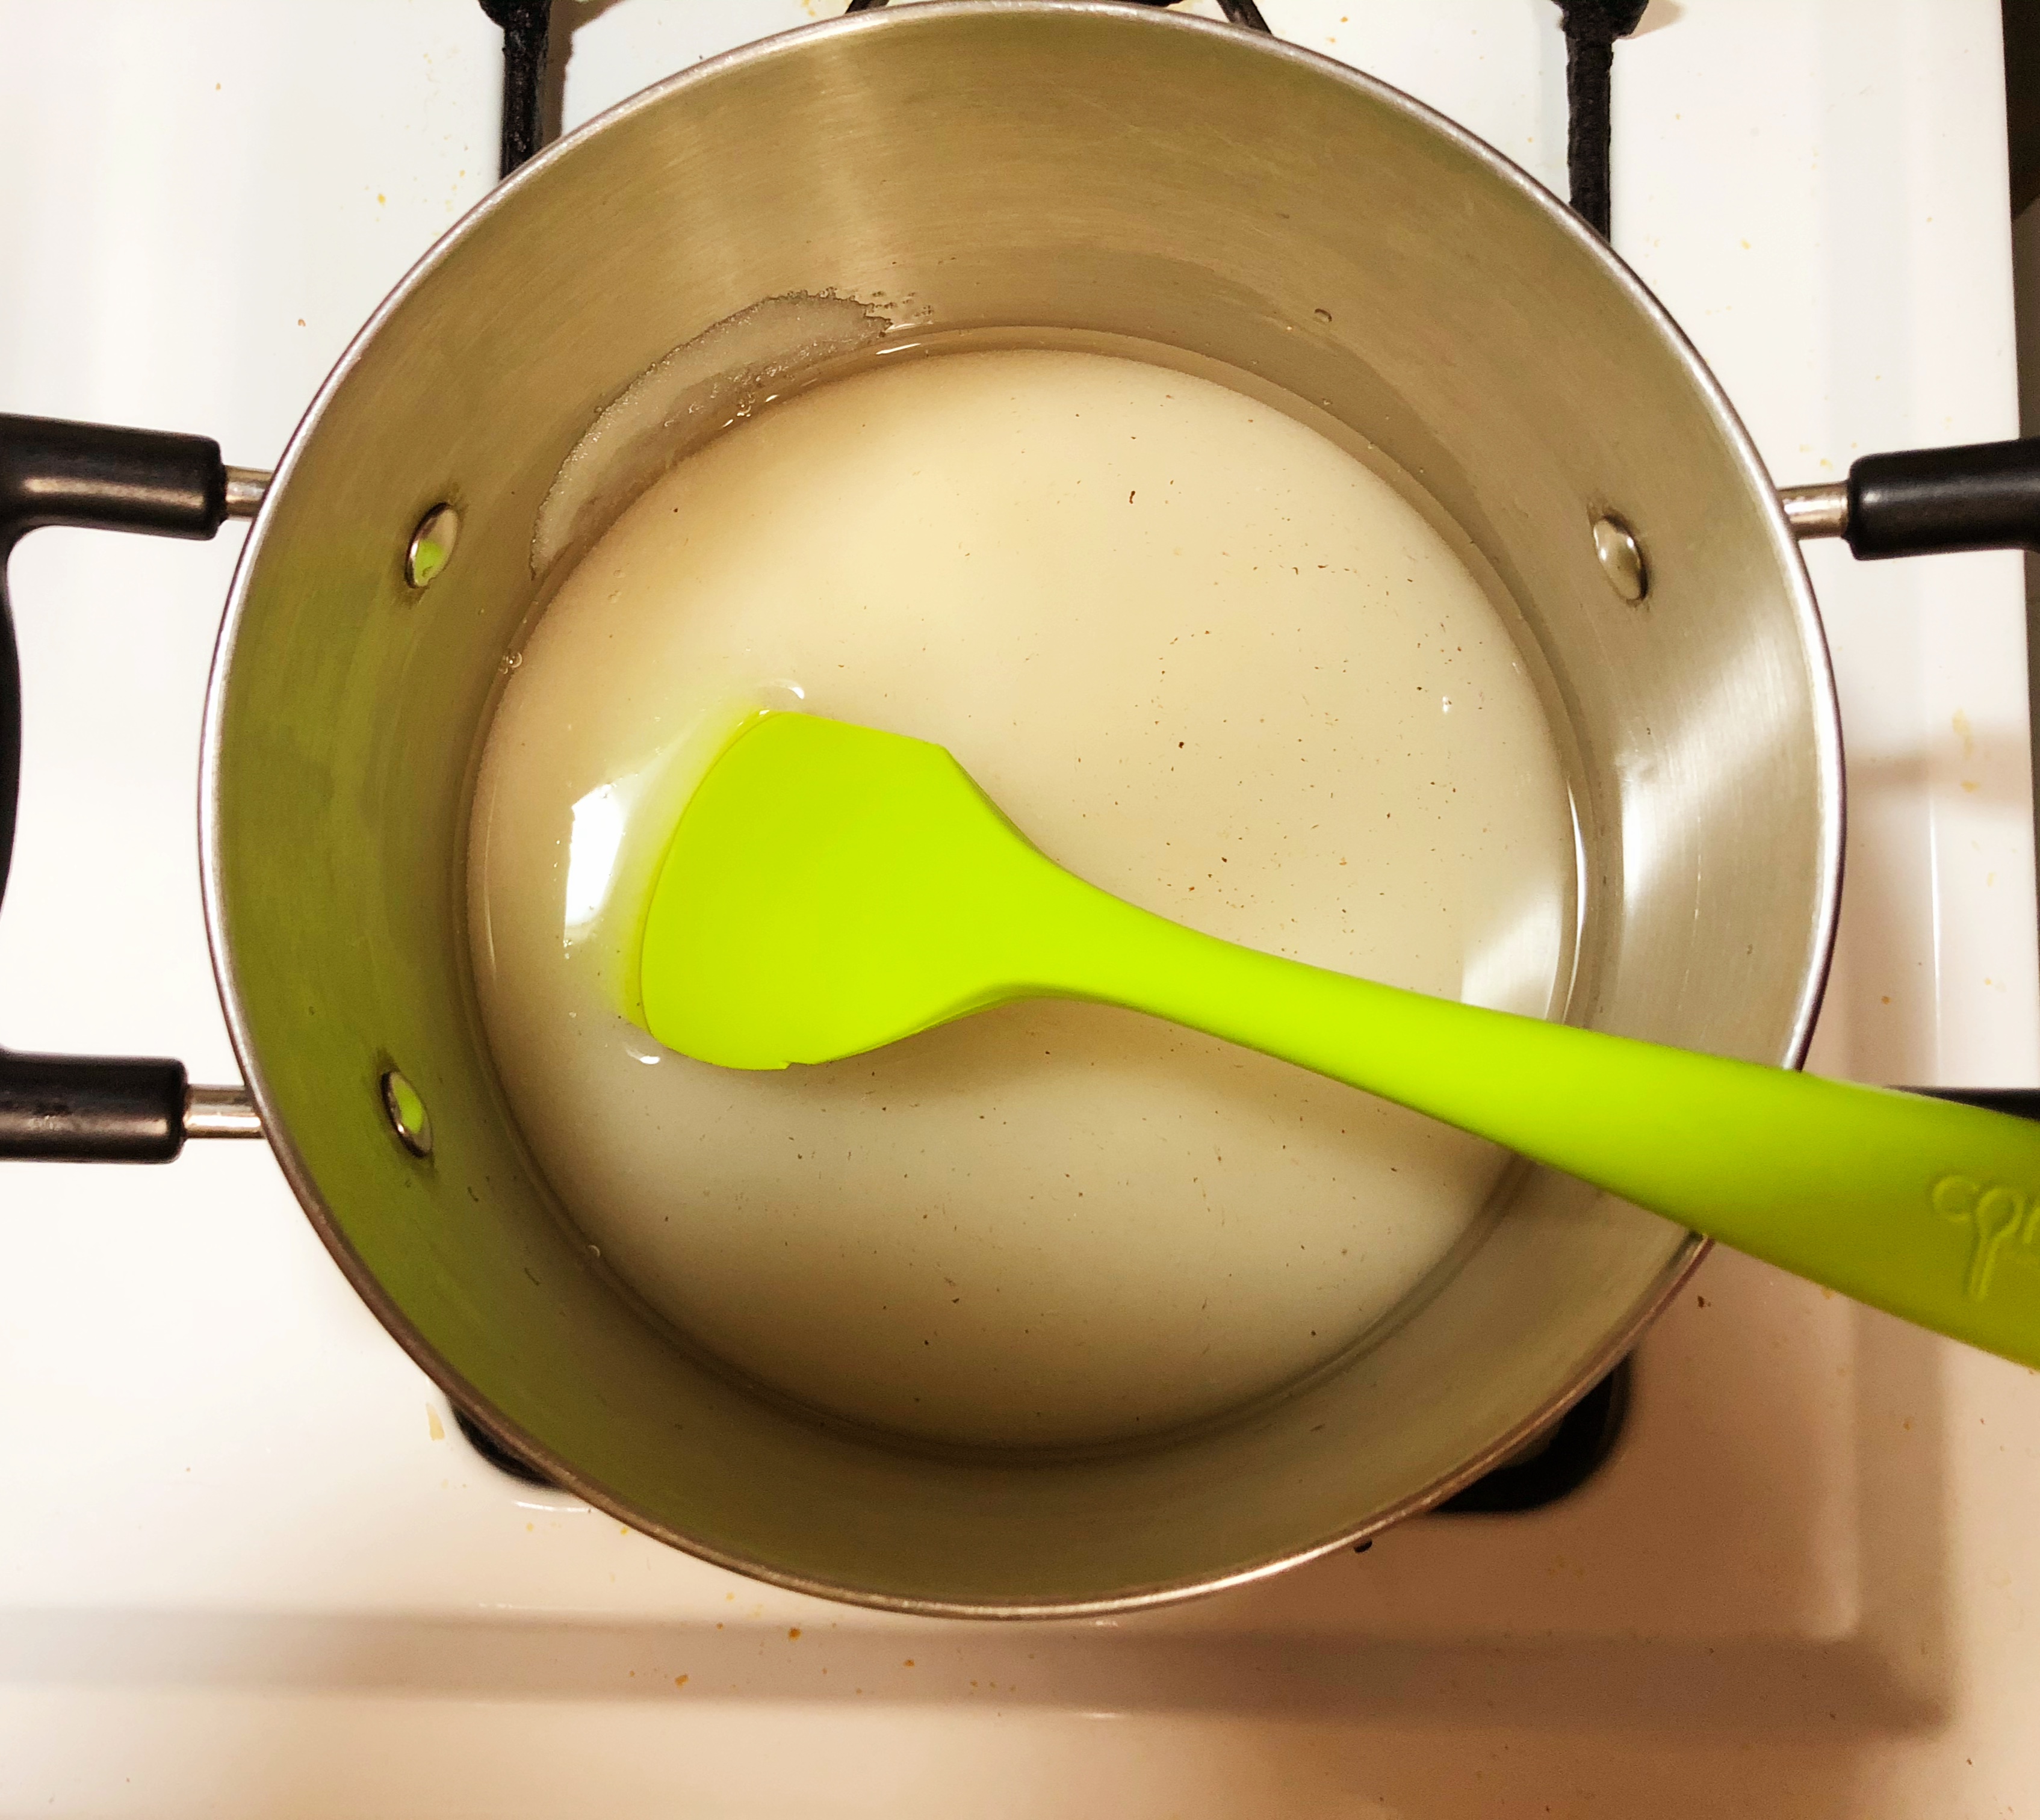
In a medium pan, add water, sugar, cardamom, and vanilla and bring to a boil over medium heat, stirring constantly. Once the mixture reaches a boil, continue cooking it for five minutes, stirring occasionally.

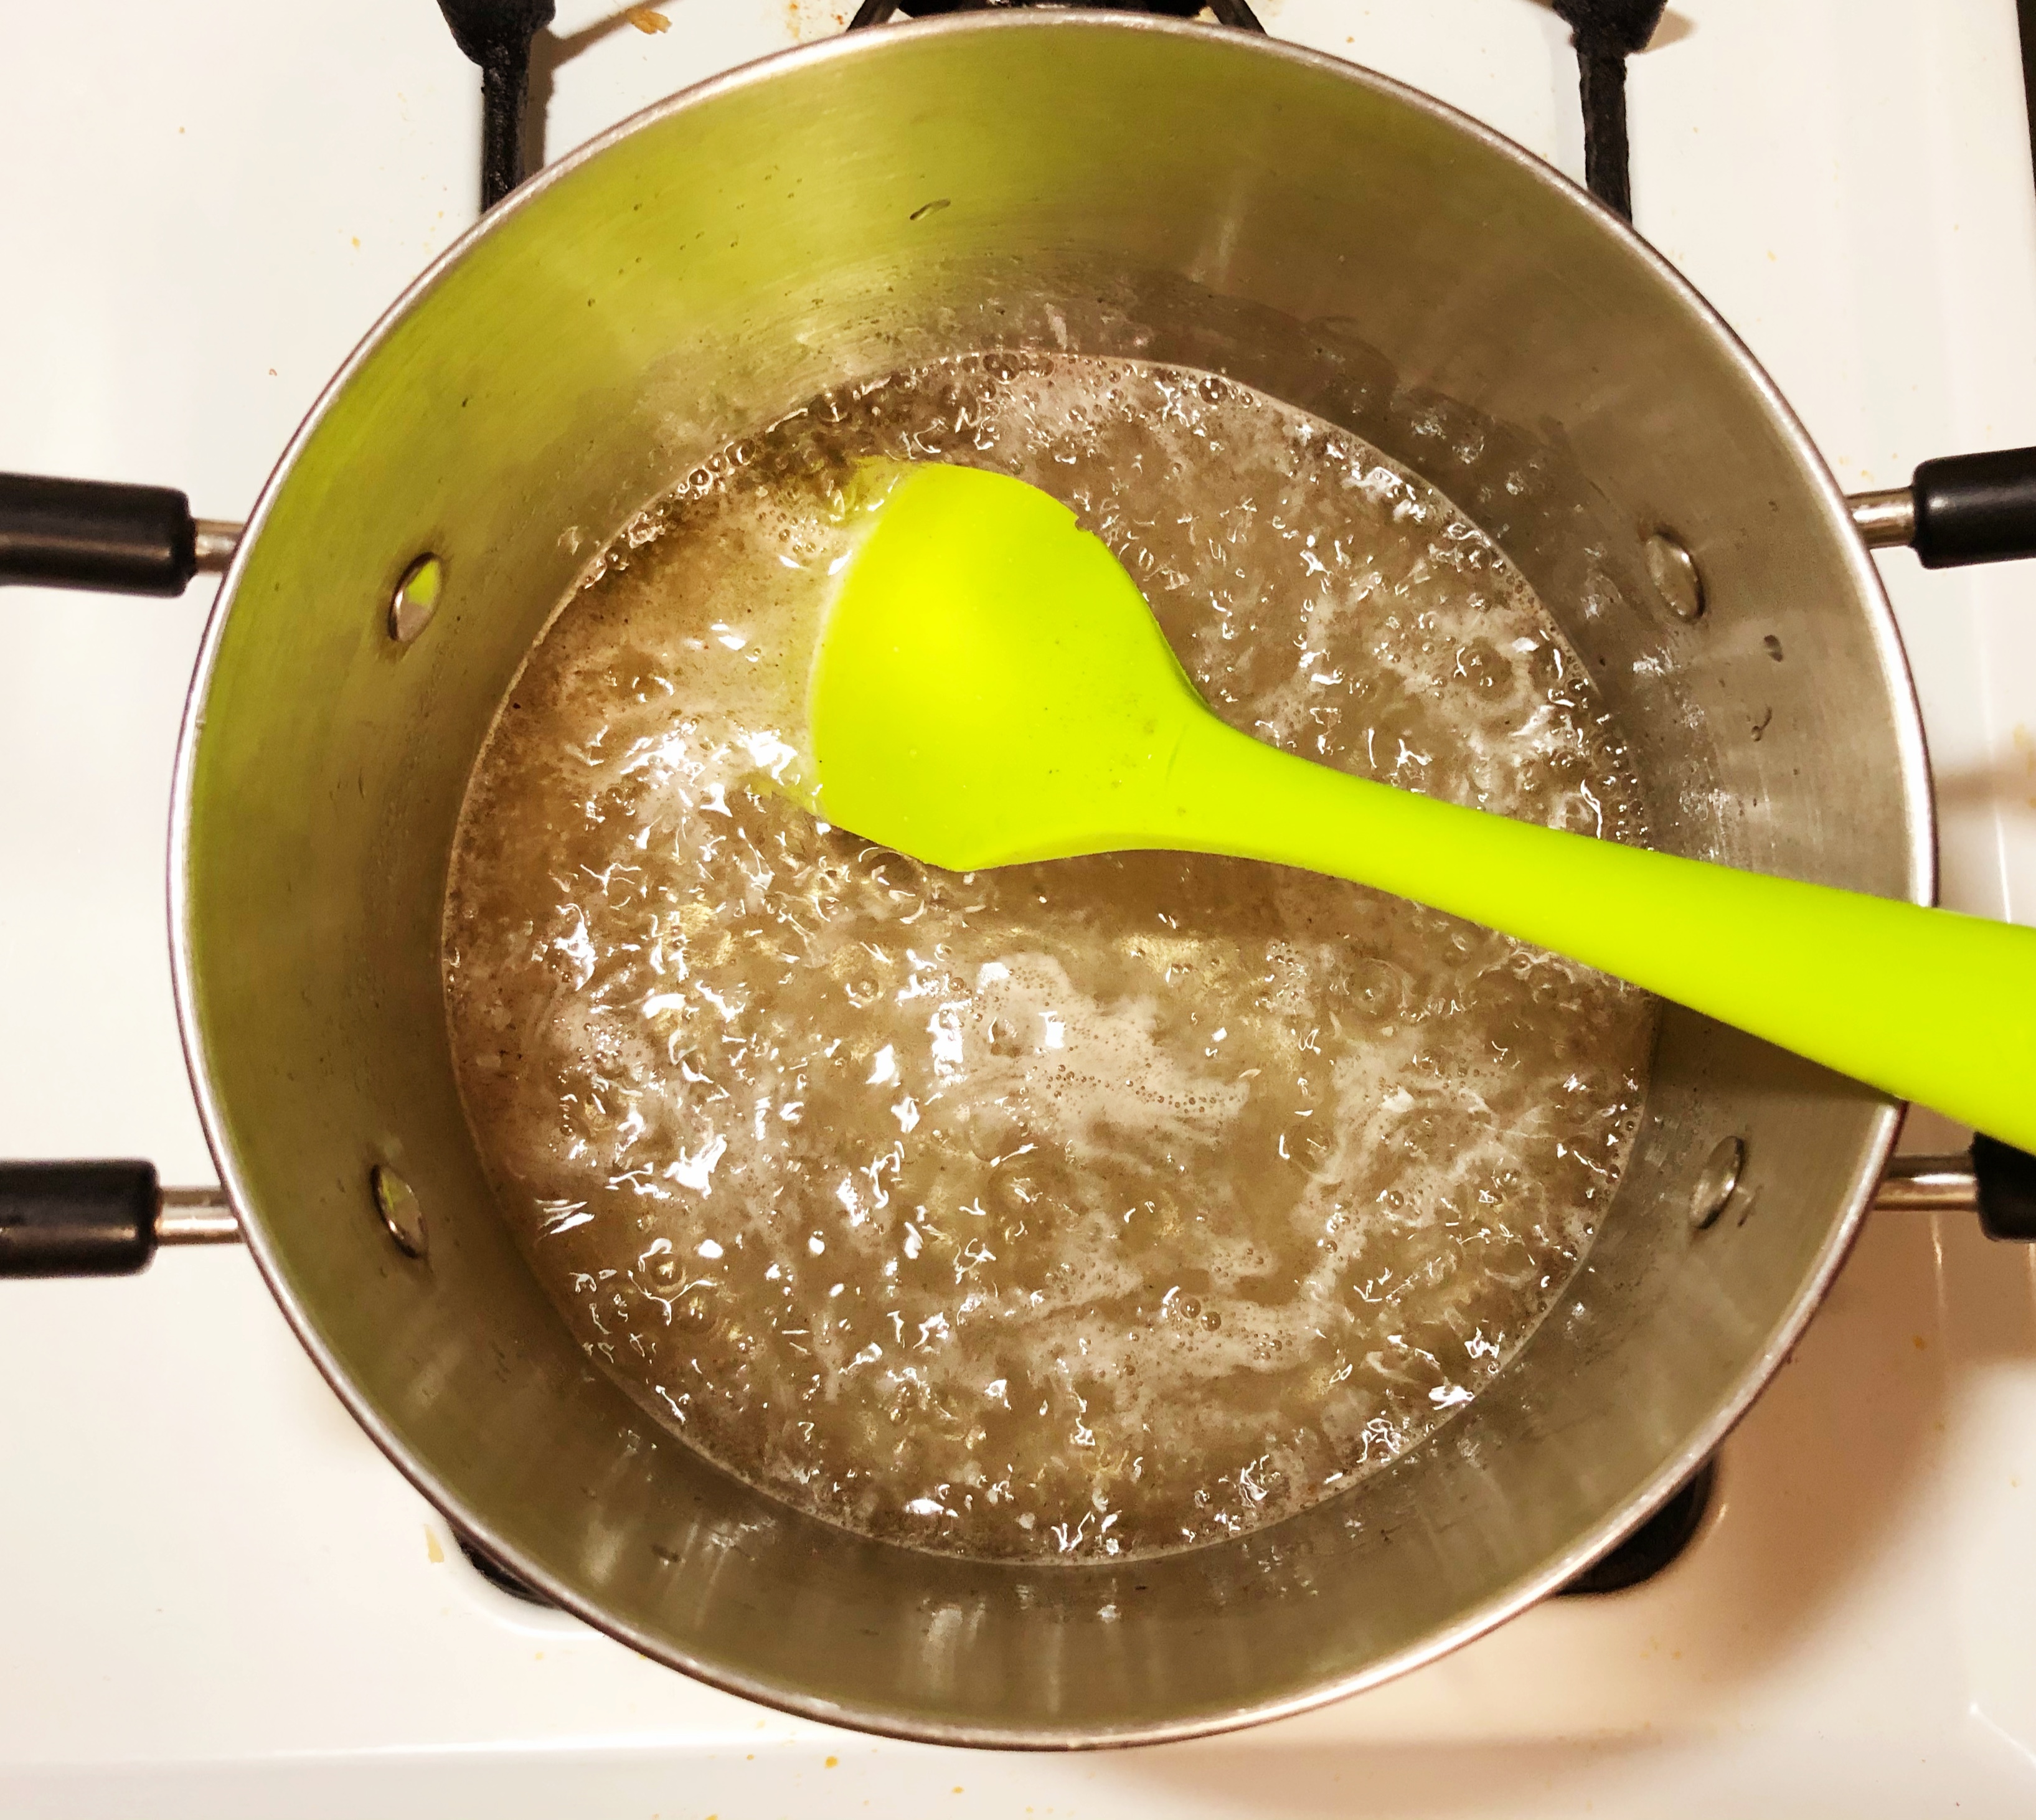
Add the chestnuts to the pot carefully, and bring the mixture back to a boil, stirring constantly. Continue boiling the chestnuts in the syrup, stirring frequently, for ten minutes.

After ten minutes has elapsed, turn off the heat and allow the mixture sit for about sixty seconds, until it stops bubbling. Carefully transfer the mixture to a clean dish or container and cover loosely. Allow the mixture to sit undisturbed for 12-18 hours. After enough time has elapsed, transfer the mixture back to a clean pot and bring to a boil again, stirring until the mixture is boiling. Allow the chestnuts to boil for three minutes, then remove from heat. Transfer back to the same container once it has ceased bubbling, and once again allow the mixture to sit undisturbed for 12-18 hours. Repeat this process 3-5 times (it will required more repetition if the weather is colder, and less in warmer weather) until almost all of the syrup has been absorbed by the nuts.

When you check on the nuts and find that most of the syrup has been absorbed, preheat the oven to 200 degrees, or a warming setting if your oven has one, and transfer them to the pot one last time and bring them to a boil. This time, boil the chestnuts for ten minutes, stirring frequently. The purpose of this final boil is to bring the syrup to a setting temperature, which will allow thick sugar crystals to form on the outside of the chestnuts.

Transfer the chestnuts and remaining syrup back to the cleaned container and set the chestnuts aside to cool slightly (about 3-5 minutes, until you can pick them up safely with your fingers) and prepare a baking sheet with parchment paper. When the sugar mixture has begun to set around the chestnuts and then can be touched, use a spoon or your fingertips to transfer each chestnut to the lined baking sheet. Allow some of the sugar crystals to remain on the chestnuts, these will help to form the harder outer shell. Bake the chestnuts at 200 degrees for 45 minutes to an hour, until they have firmed up and the surfaces of the nuts are dry and crispy.

Allow the chestnuts to cool completely, and then transfer to an airtight container. They will keep at room temperature for 1-2 weeks, but it’s unlikely they will last all that long! Serve as a snack by themselves, or alongside holiday treats. Or use them as garnishes on baked goods, or chopped in cookies.


Candied Chestnuts
Among the most iconic of Redwall foods, a treat to sweeten any day.
Ingredients
-1 Pound Roasted Chestnuts-2 Cups Granulated Sugar
-1 and 1/4 Cups Water
-1 tsp Vanilla Extract
-1/4 tsp Freshly Grated Nutmeg
-1/4 tsp Cardamom
Directions
- Gather your ingredients.
- Bring Water, Sugar, Vanilla, Cardamom, and Nutmeg to a boil over medium heat, stirring constantly.
- Add chestnuts and boil for ten minutes, stirring occasionally.
- All to cool until mixture stops bubbling and transfer to a clean container. Cover loosely. Allow to sit for 12-18 hours undisturbed.
- Transfer the mixture to a medium pot and bring back to boil over medium heat, stirring occasionally. Allow to boil for three minutes. Allow to cool and transfer back to container, cover loosely, and allow to sit undisturbed for 12-18 hours.
- Repeat step 5 3-5 times, until almost all of the syrup has been absorbed by the chestnuts.
- Once almost all of the syrup has been absorbed, preheat oven to 200 degrees and bring chestnuts to a boil, stirring frequently. Boil over medium heat for ten minutes. Transfer back to the container and allow them to cool until syrup starts to set.
- Using a spoon or your fingertips, transfer chestnuts one by one to a parchment lined baking sheet, taking care to make sure each chestnuts has some sugar crystals attached.
- Bake at 200 degrees for 45-60 minutes, until the nuts have firmed up and are dry and crispy to the touch.
- Allow to cool completely and store in an airtight container for 1-2 weeks.