“Oh excellent! Absolutely top hole! D’you know, I’d forgotten how good the old tiffin at Redwall could be. I say, m’dear, would you mind refreshing an old bachelor hare’s memory? Another tankard of that fine October ale, and perhaps one more portion of your very good summer salad. Ah, and I think I could manage another few slices of Friar Hugo’s quince pie. Superb! Ahem, don’t forget the goatsmilk cheese with hazelnuts. I’m very partial to that. Cut along now, you little charmer.”
-Basil Stag Hare, Redwall by Brian Jacques p.140-141
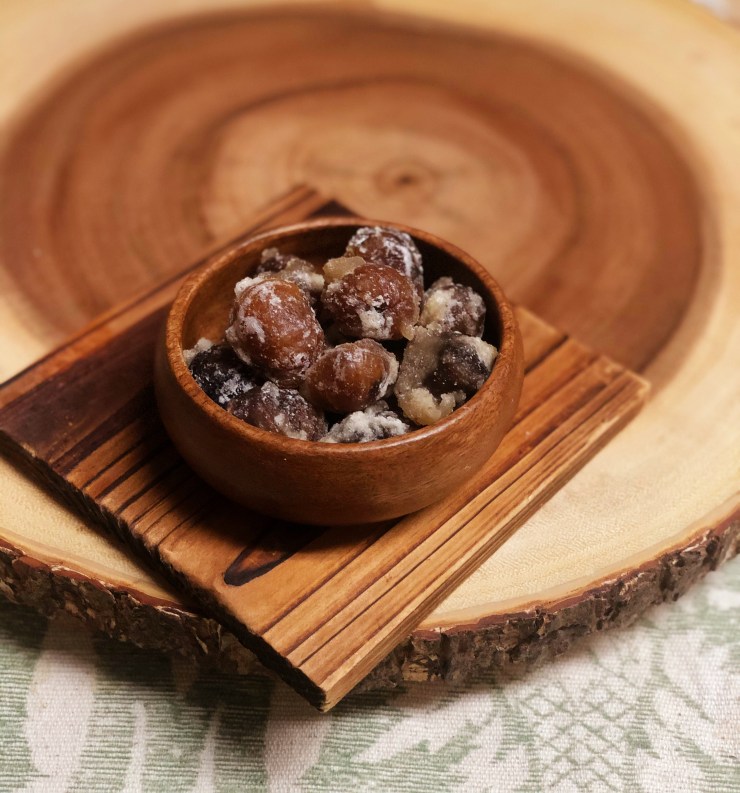
The food described in the first Redwall book sometimes sets itself apart from the later books in the series, especially with the occasional use of goatsmilk as an ingredient. But, calling myself a Cellarhog would just about be a bold faced lie if I didn’t dip my toes into cheesemaking now and again. This recipe is a simple one for any beginning cheesemaker, with minimal additional tools to clutter your kitchen. The end result is a slightly tart and creamy but crumbly cheese, perfect for spreading on thick slices of toast, slicing on crackers, or crumbling over salad.
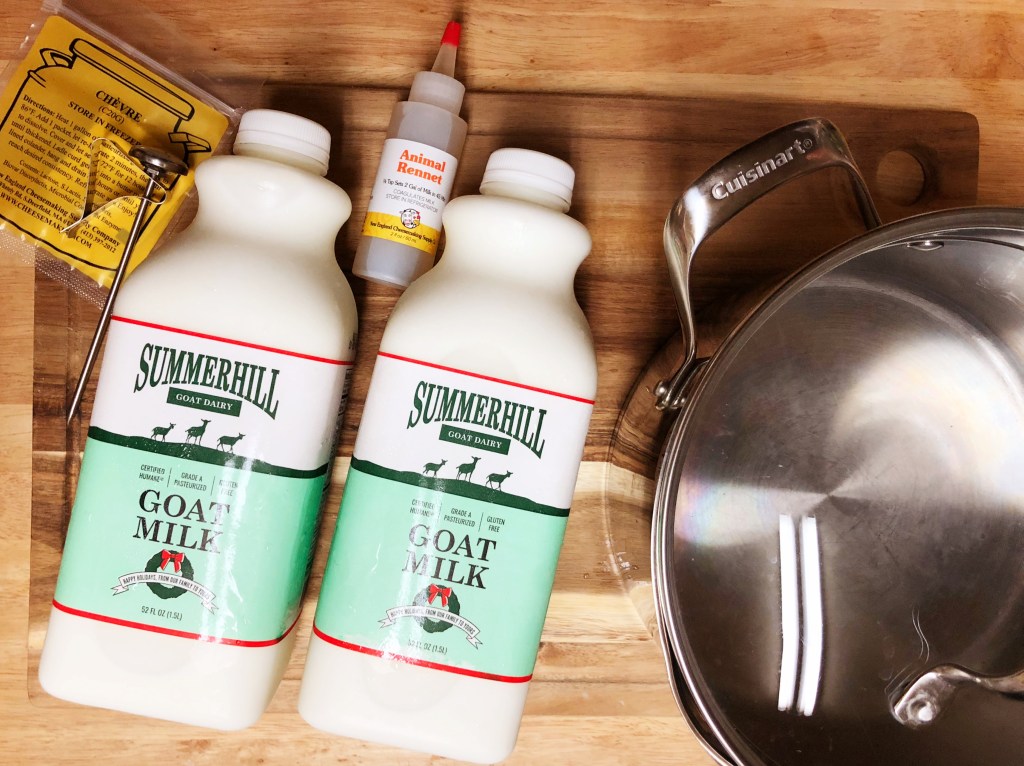
To begin with, you will need some tools and ingredients that you may or may not have on hand. Many of these items are available on Amazon, I’ve linked to the exact products I used when available:
- A Sturdy Stainless Steel Pot with a Lid
- A large metal Colander (ideally one with feet or a stand)
- A Thermometer with a Clip (it doesn’t need to be a candy thermometer as you only need to be able to read 72-86 degrees Fahrenheit. I used a milk steaming/espresso thermometer.)
- Butter Muslin or Cheesecloth
- Cheese Molds
- Chevre C20G Starter Culture (This packet comes with 5 packets, good for 5 batches of Goat Cheese, just make sure to store in your freezer promptly when it arrives!)
- Rennet
- A Cheese Drying Mat (Sushi mats make inexpensive options)
- Vacuum Seal Bags (You don’t need an expensive vacuum sealer, the linked bags work great for me).
- 1 Gallon Goat Milk (Raw or Pasteurized, but not Ultra Pasteurized, read the label carefully!)
- Coarse Kosher Salt
- 1 1/2 Cup Whole Raw Hazelnuts
Beginning with day one, I recommend starting this recipe in the evening just before bed if you have a little free time the following morning. To start the recipe you will need the goat milk, starter culture, and rennet, as well as the pot and thermometer. Ensure that all of your tools are thoroughly cleaned prior to beginning the recipe.

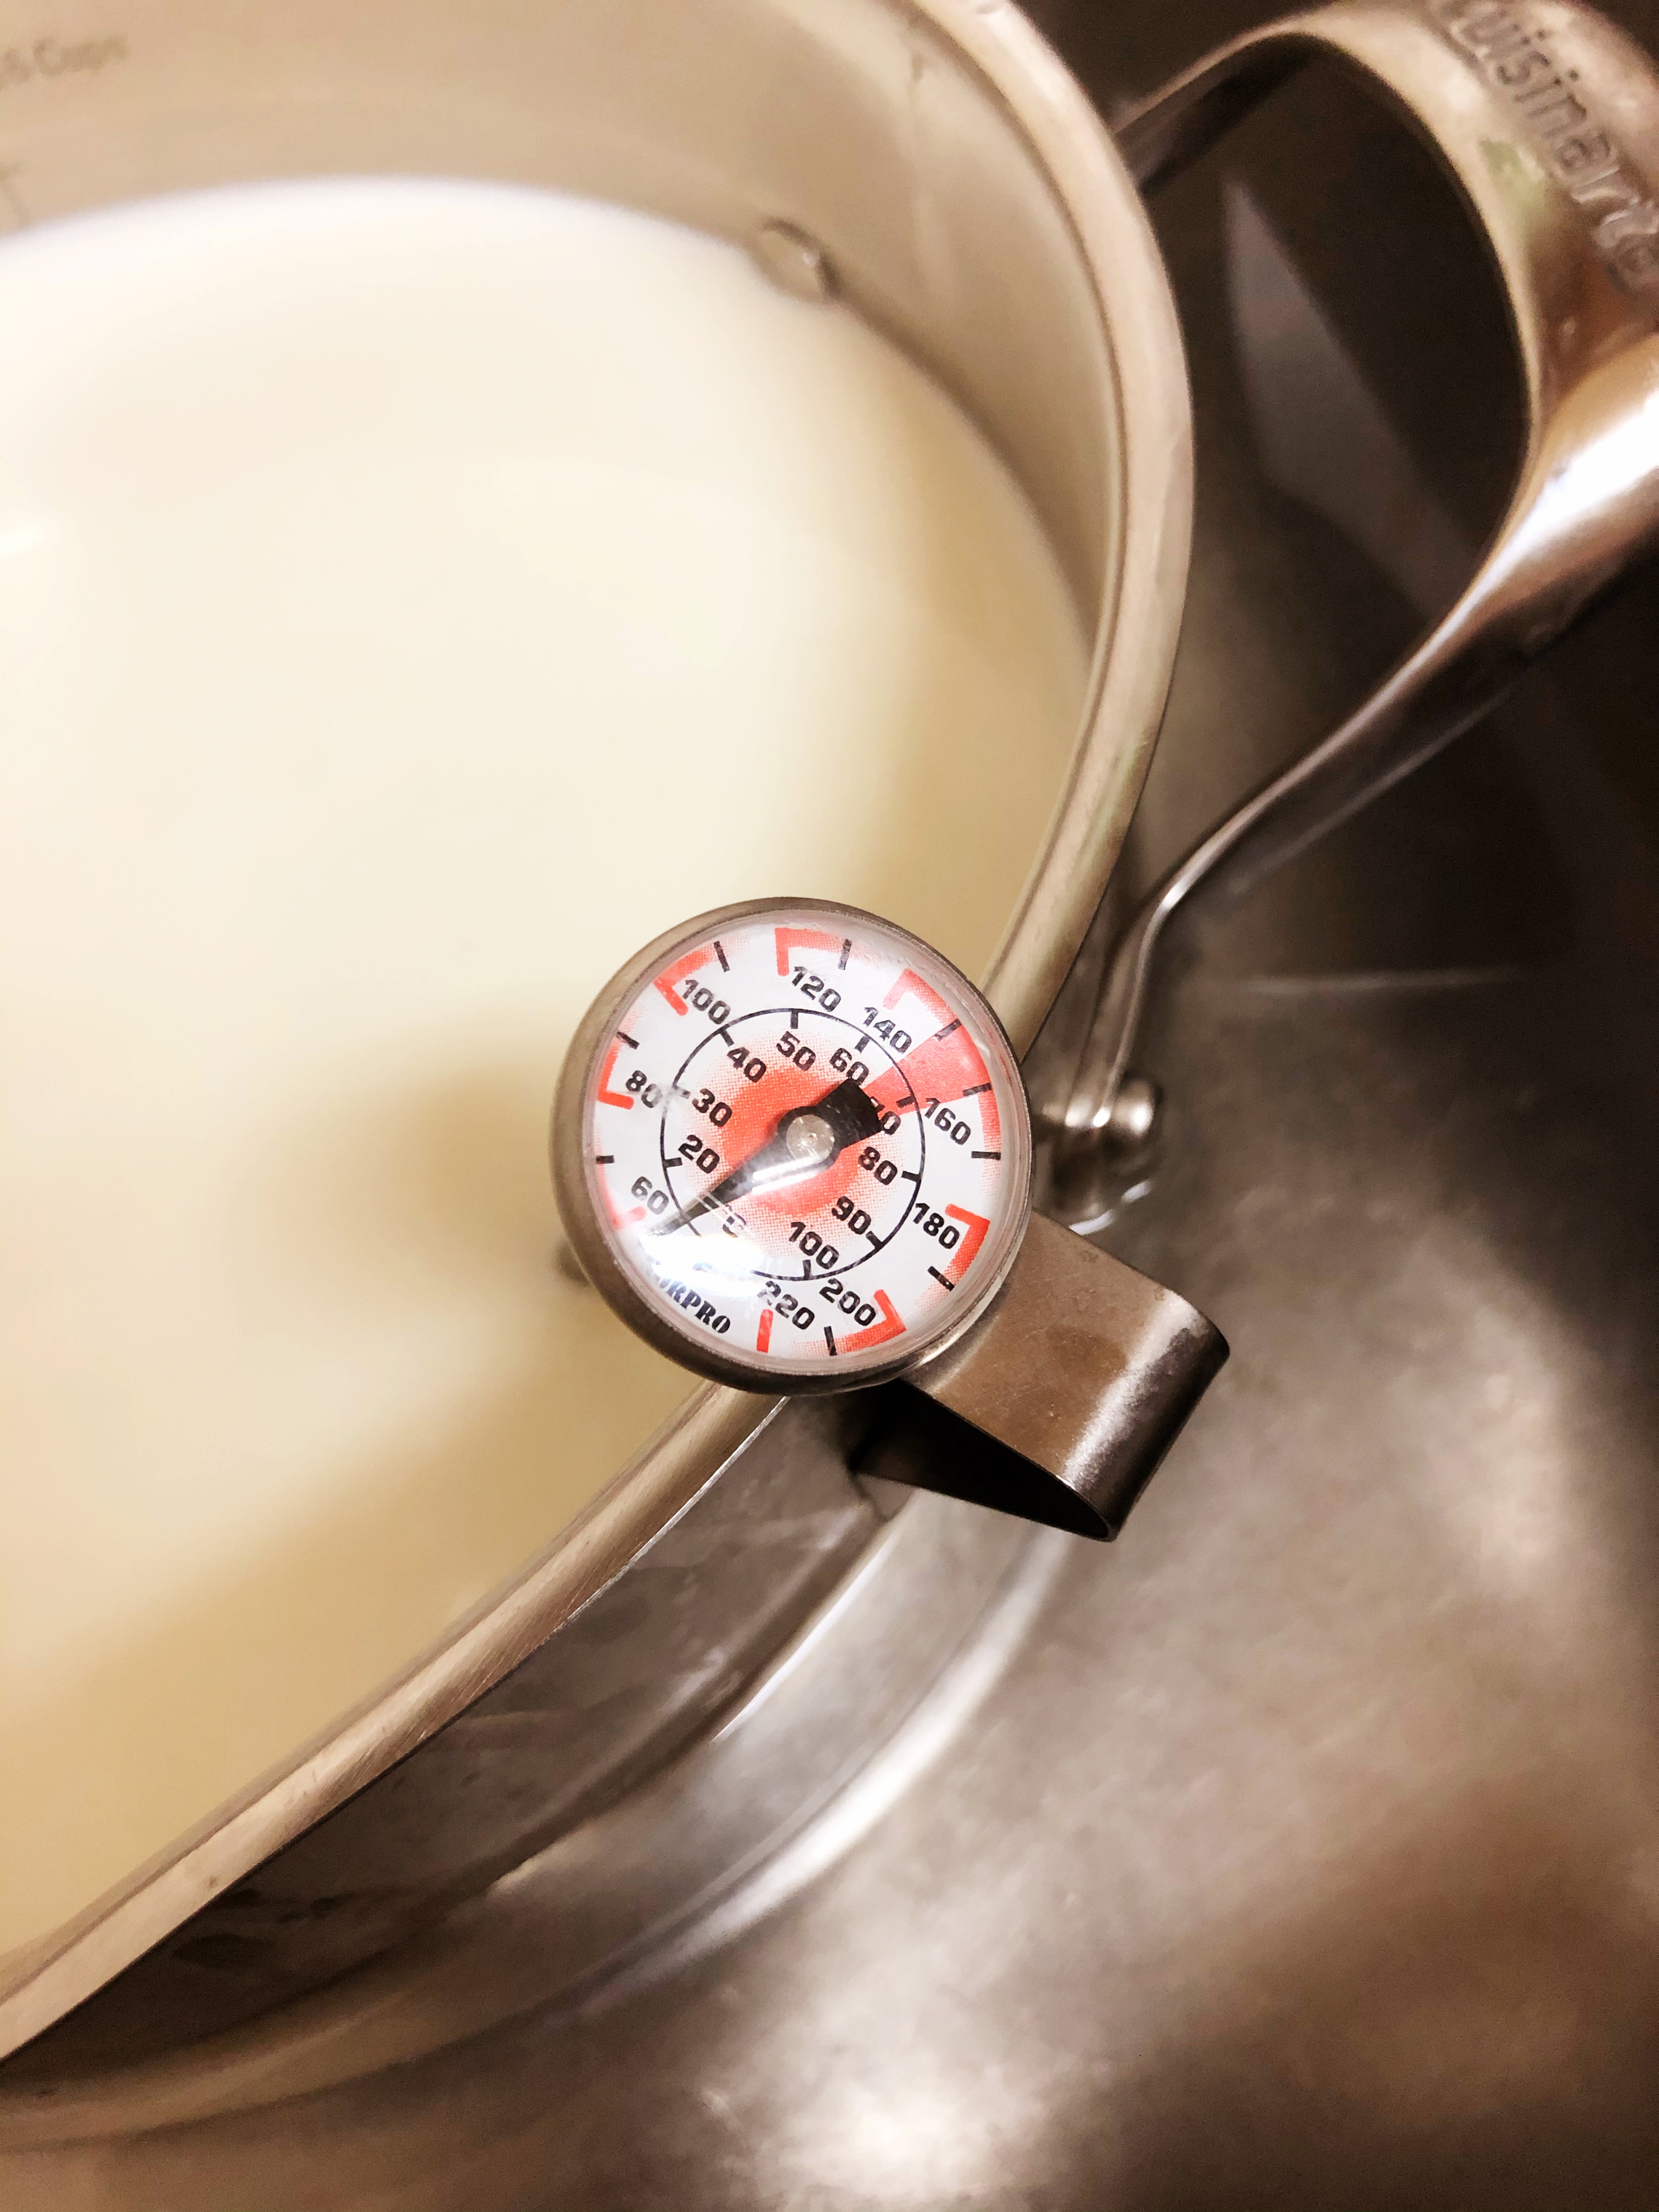
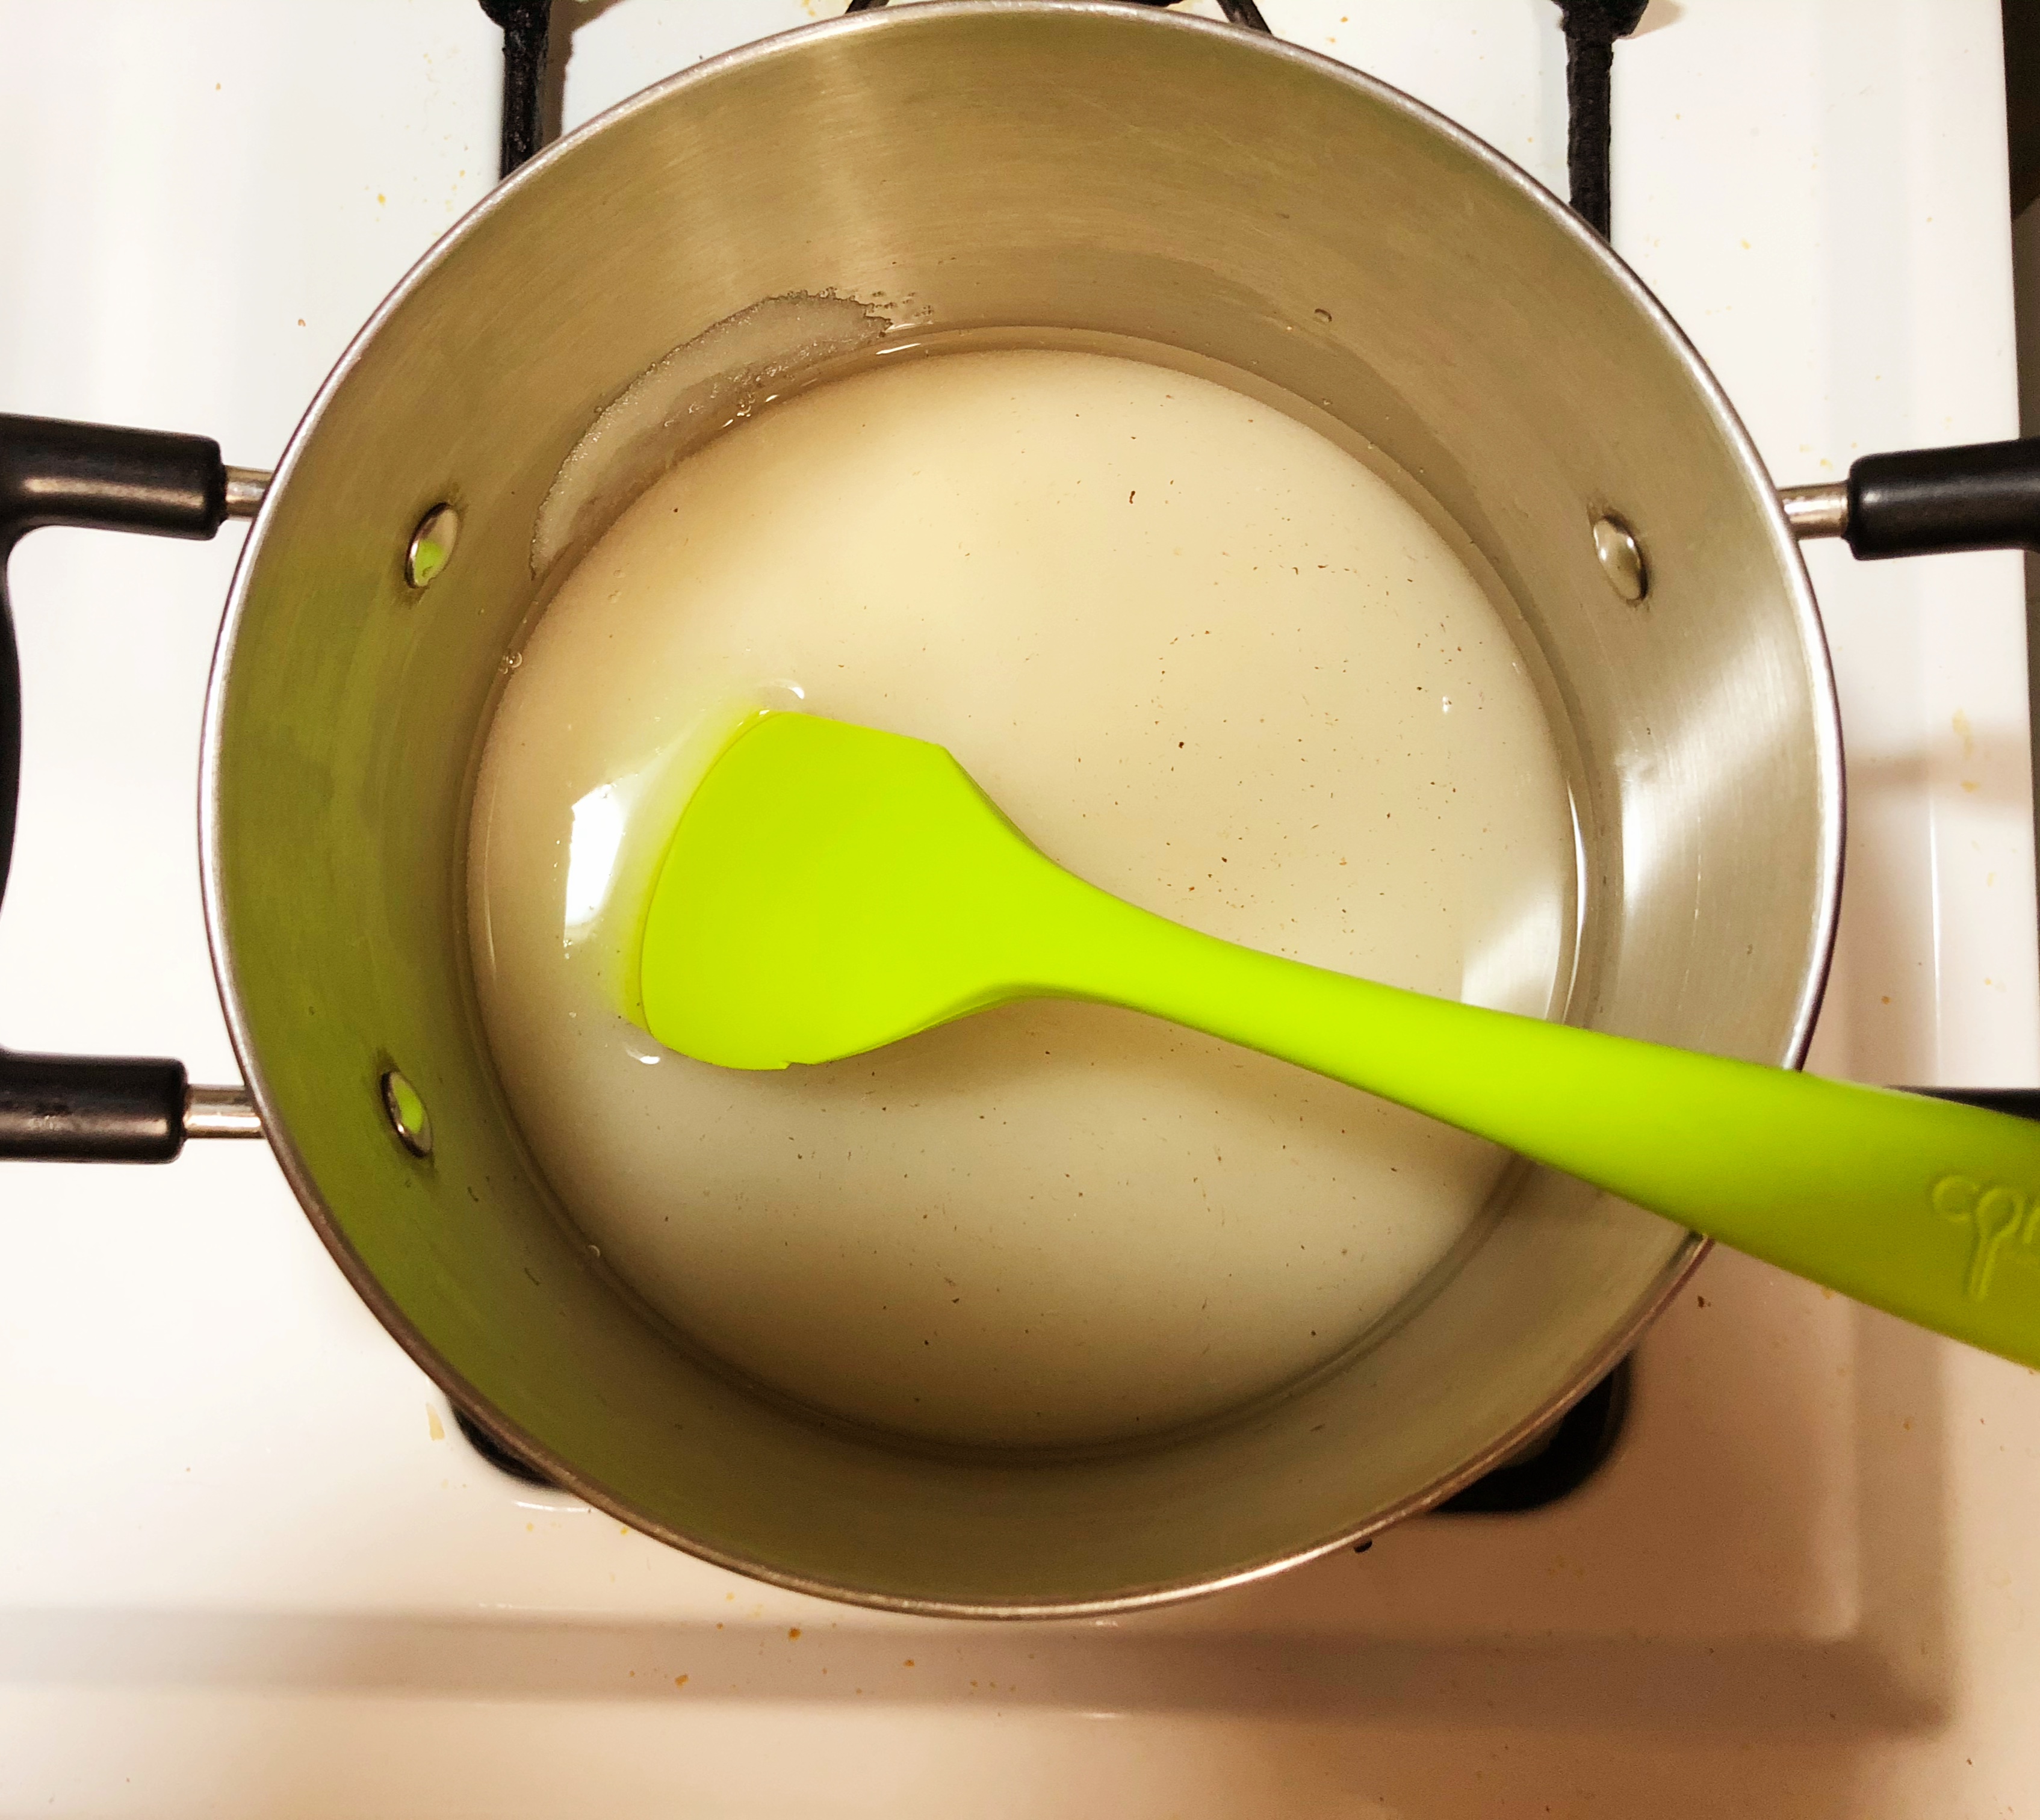
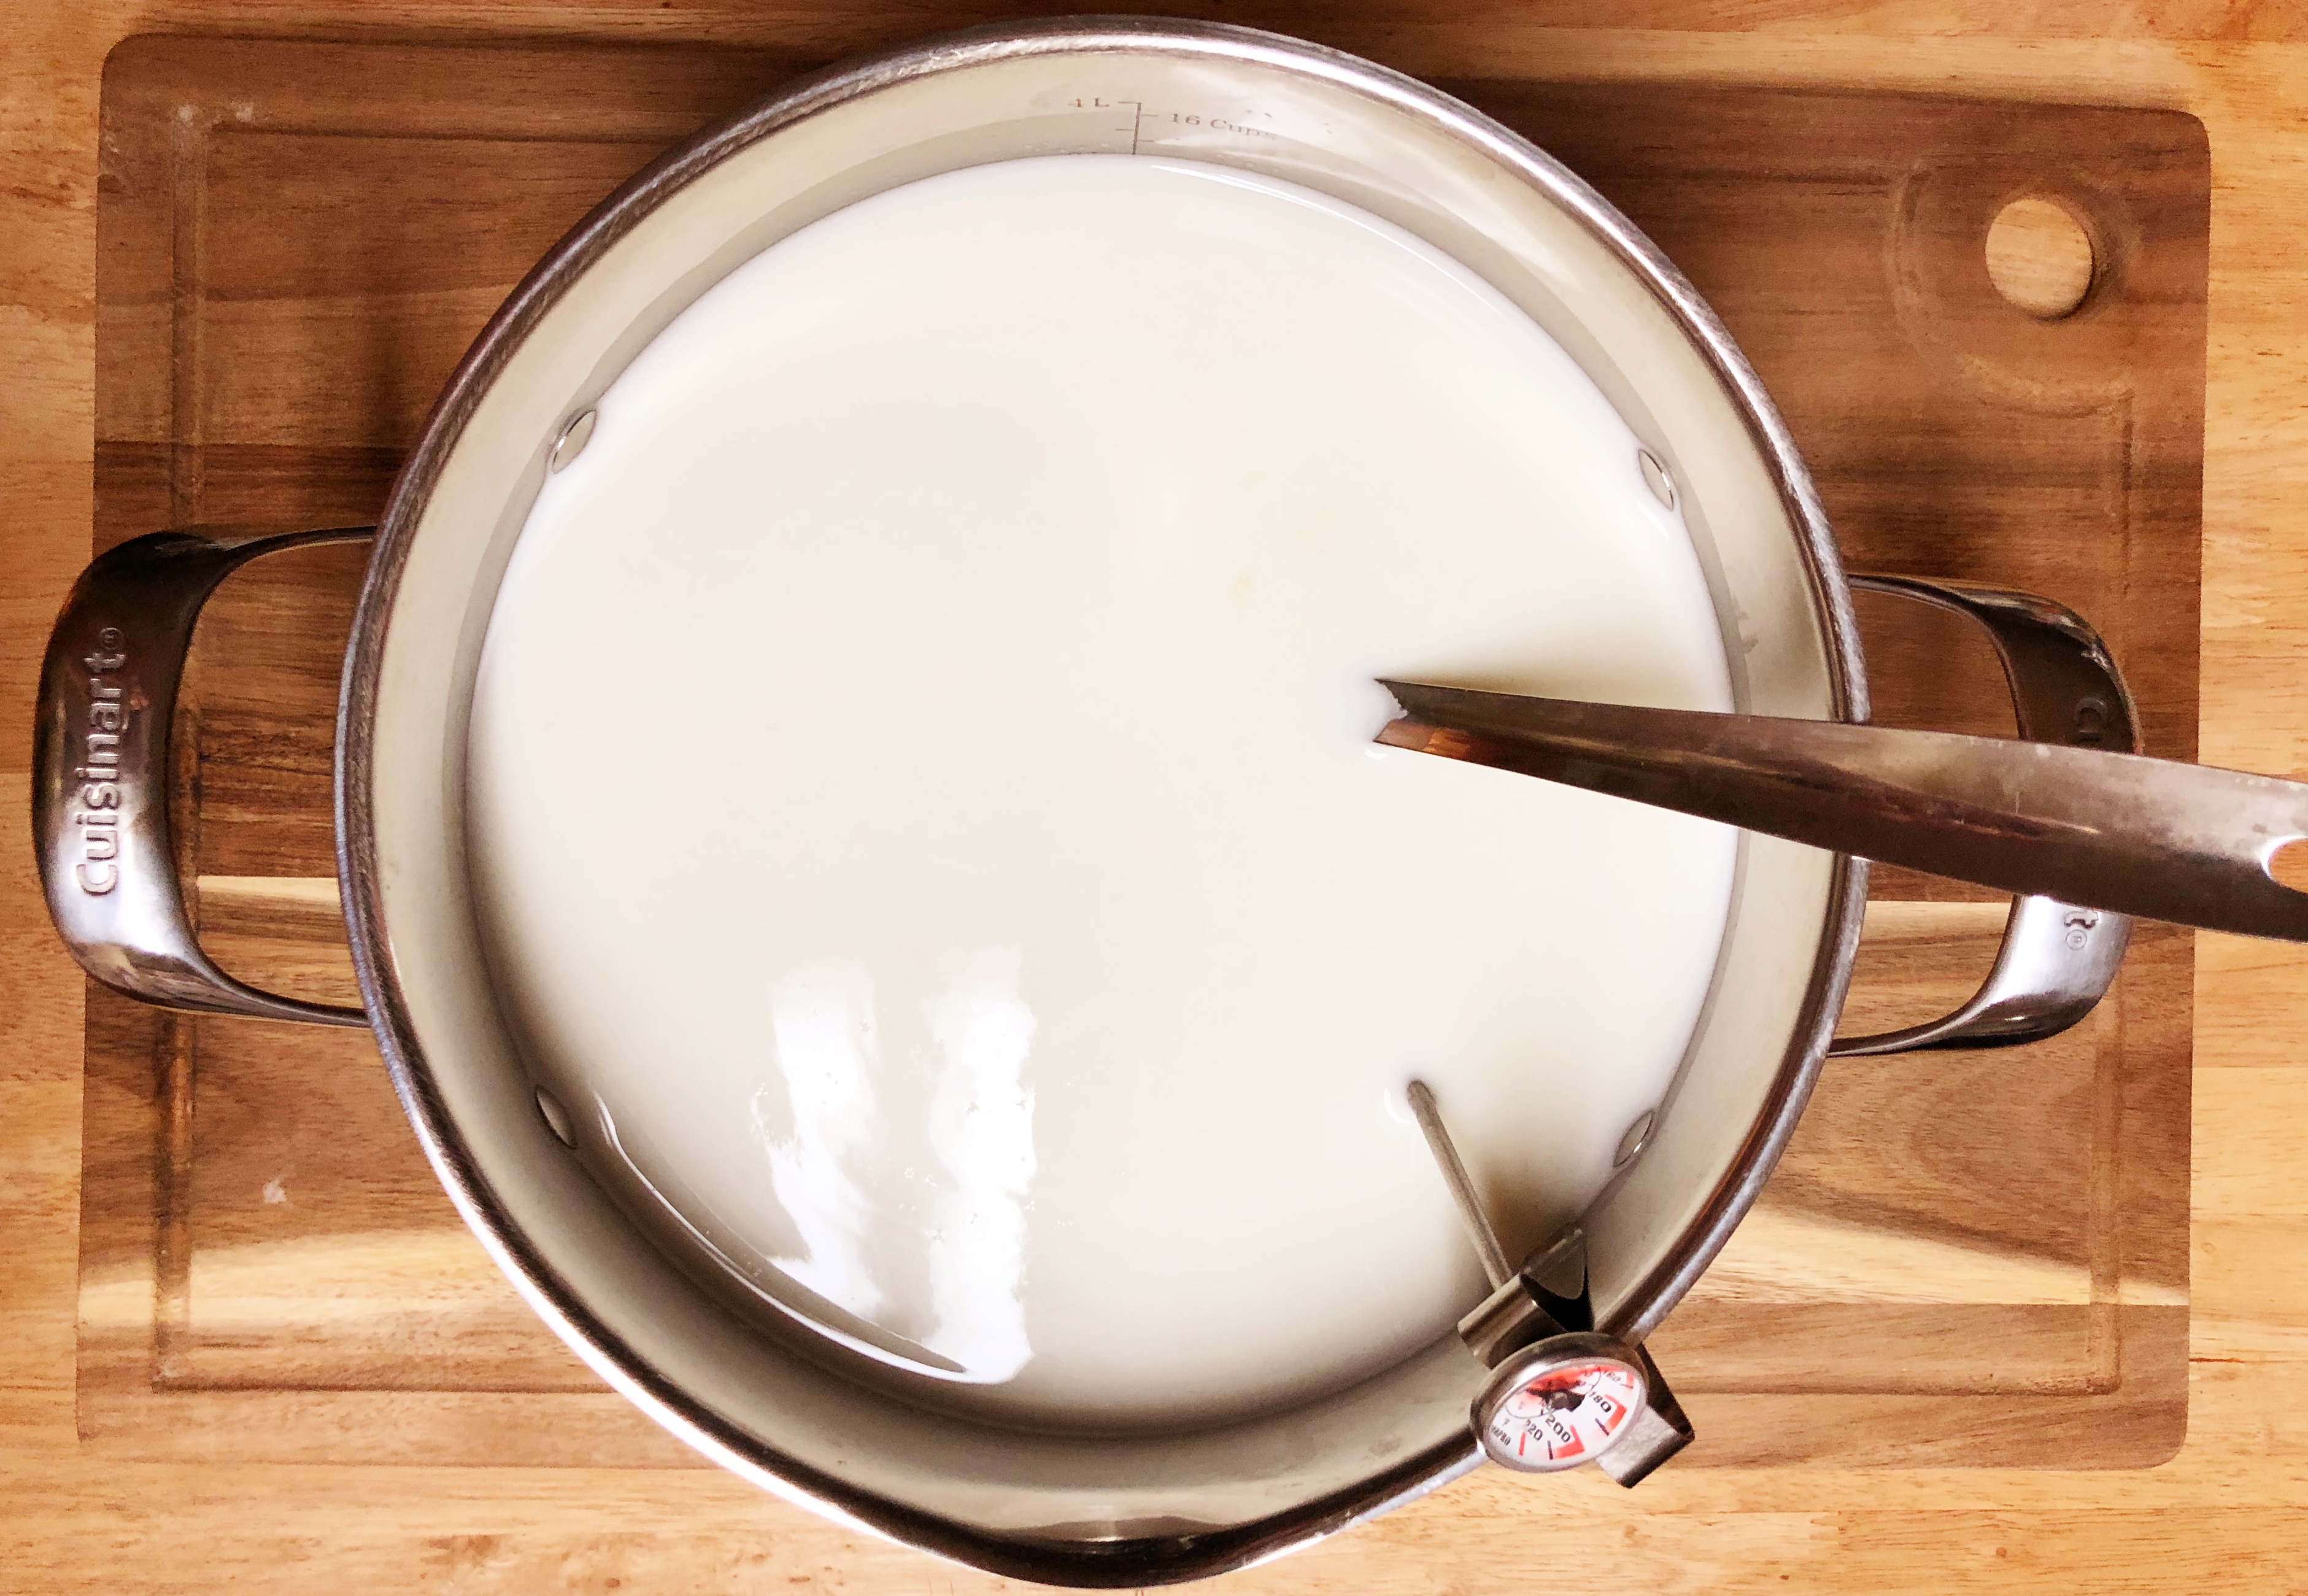
The first step is to acidify and heat the milk. Pour the goat milk in the pot and clip on your thermometer. Fill your sink with hot water and gently place the pot in the hot water, you will want it to reach at least the same level as the milk, but not so high that you risk spilling water into the pot. Allow the temperature to reach 68-86 degrees Fahrenheit. In the winter months I go all the way to 86 because my home holds a chill, but if it is warmer weather 68-72 degrees will be sufficient. Stir the pot a couple of times to ensure that the milk heats evenly.
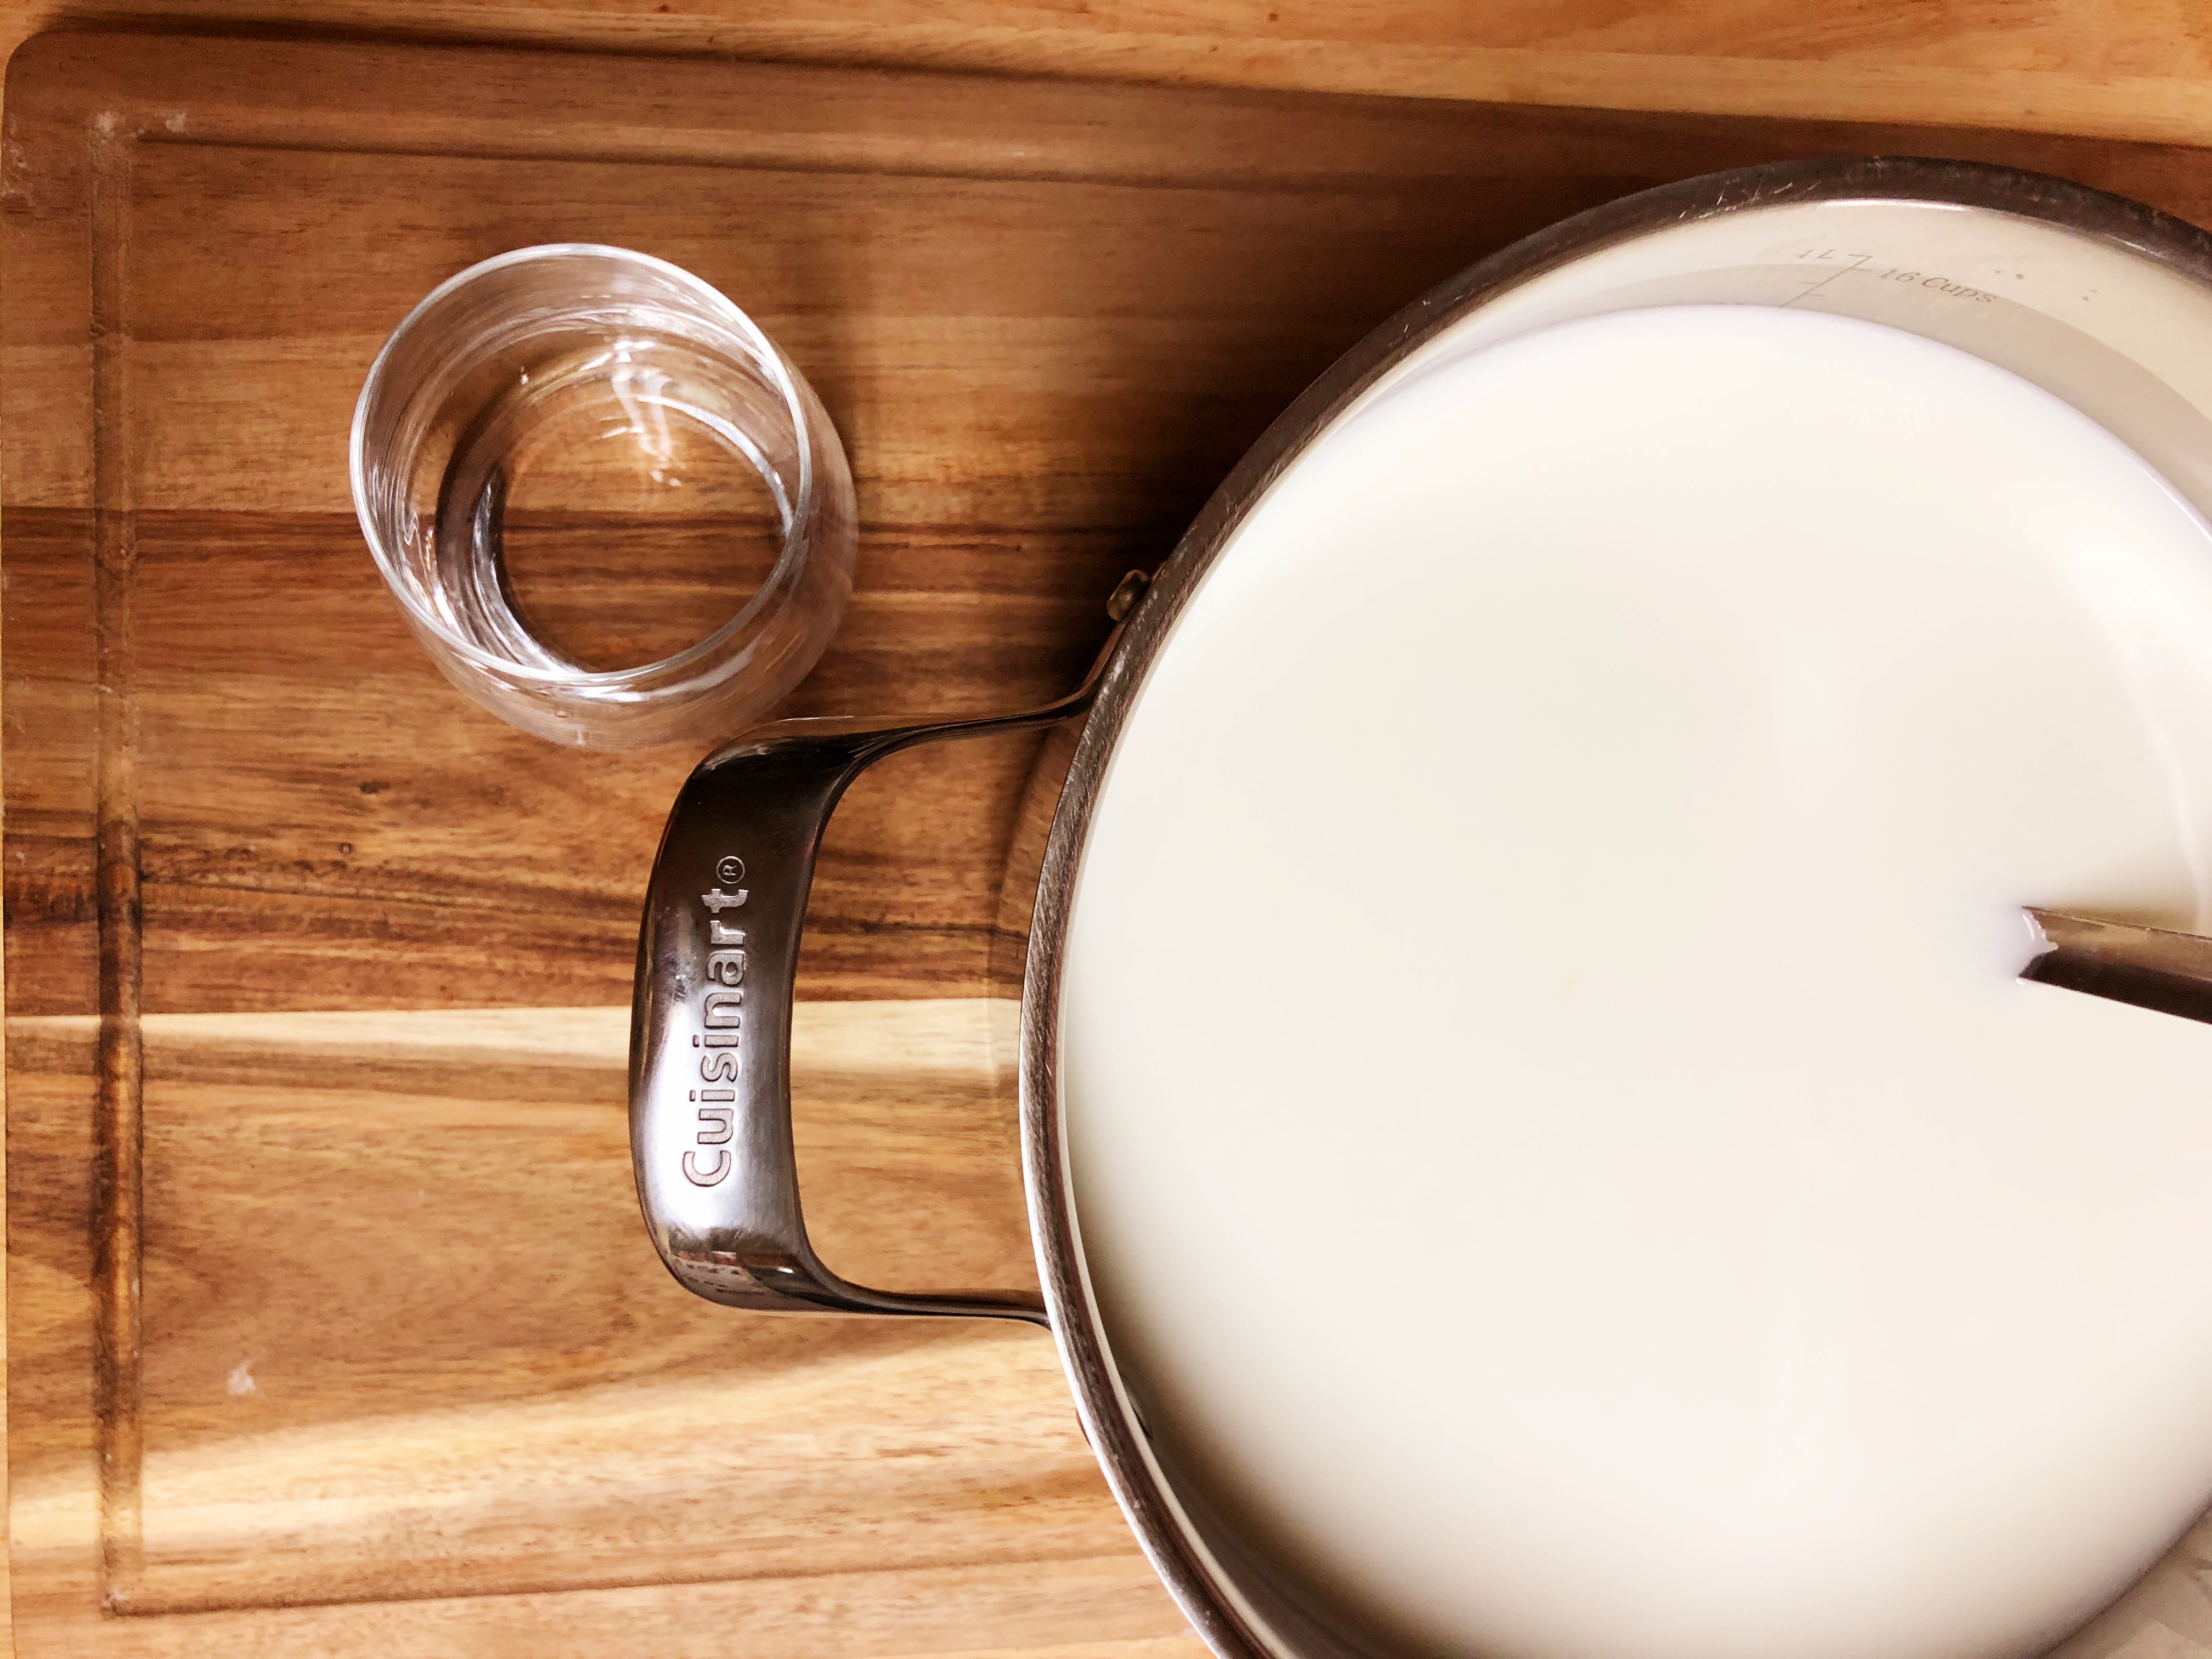
Once the milk reaches the correct temperature, remove the pot from the sink and it’s time to add the culture and rennet. Dilute 6-8 drops of rennet in about 1 tablespoon unchlorinated water. Sprinkle one packet of culture over the top of the milk and allow it to sit for two minutes to rehydrate, then stir the milk. Add the diluted rennet and stir again.

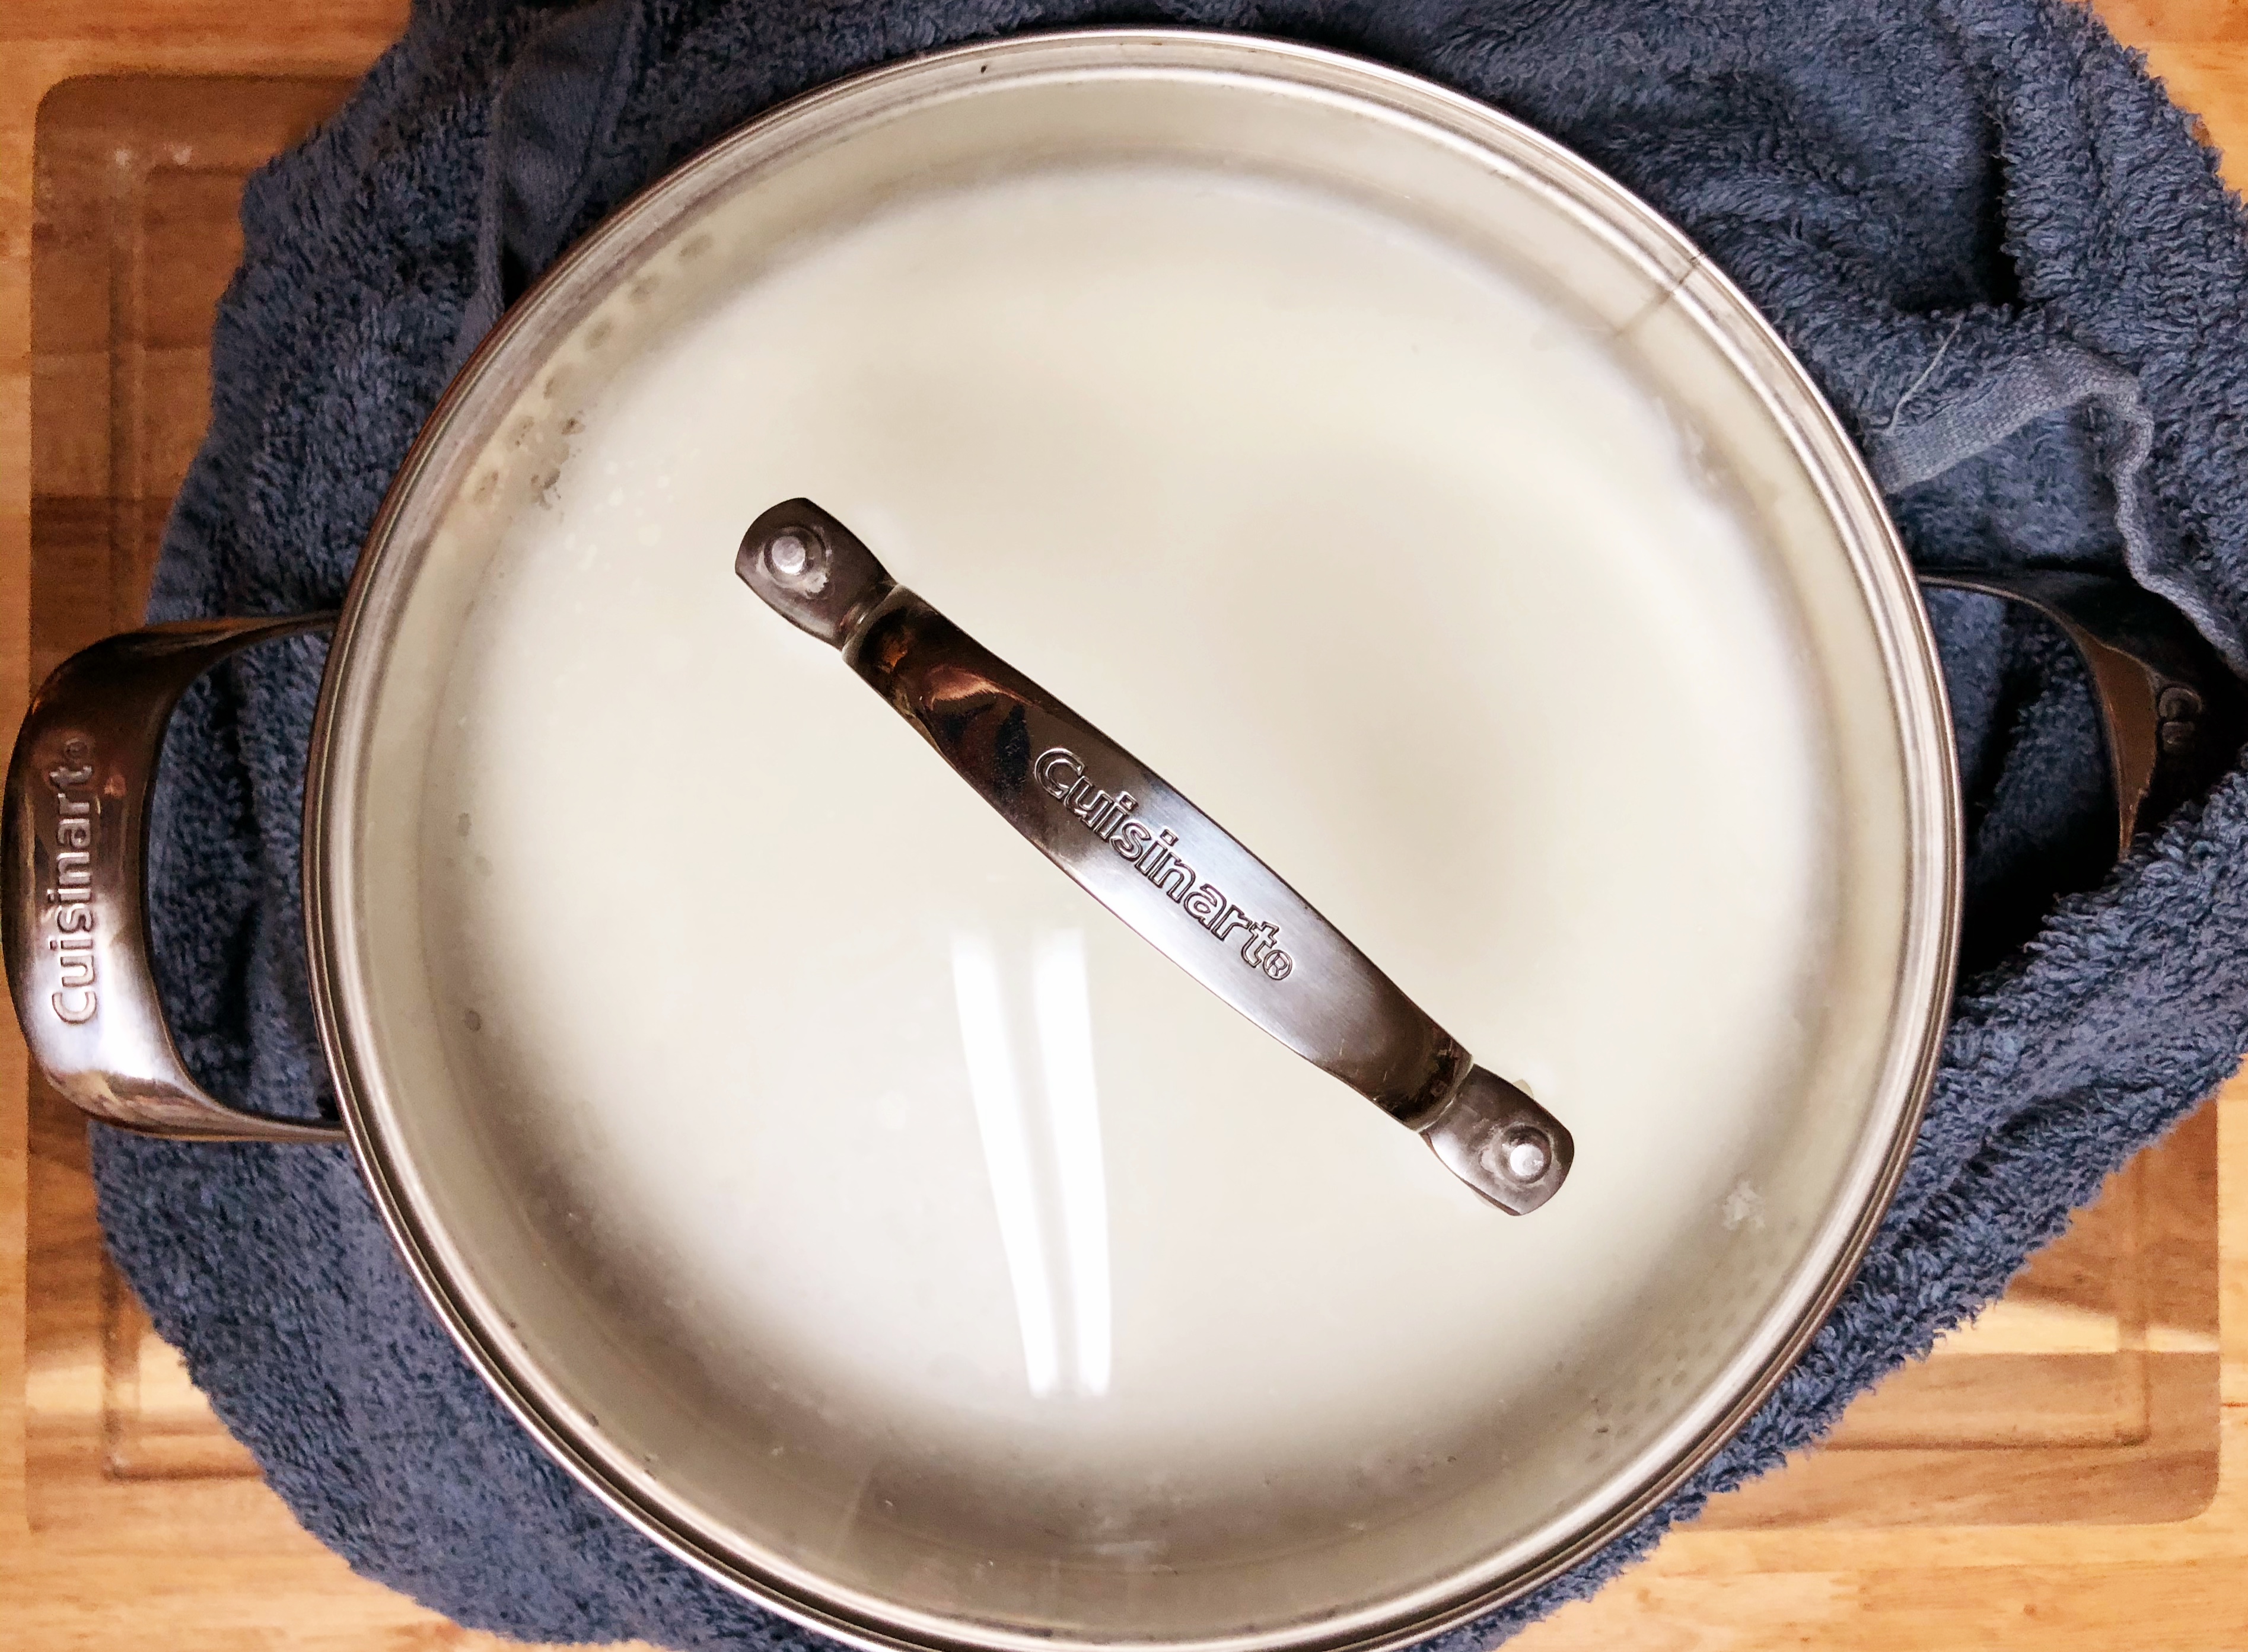
Place the lid on the pot and allow it to sit undisturbed for 6-12 hours while the culture and rennet allow the curd to coagulate. The milk should stay warm enough, but if your home is particularly chilly (I made this batch in December) you can insulate the pot with a clean bath towel. In colder months you will need to wait the full 12 hours, but in warmer weather your curds are likely to coagulate a little faster.

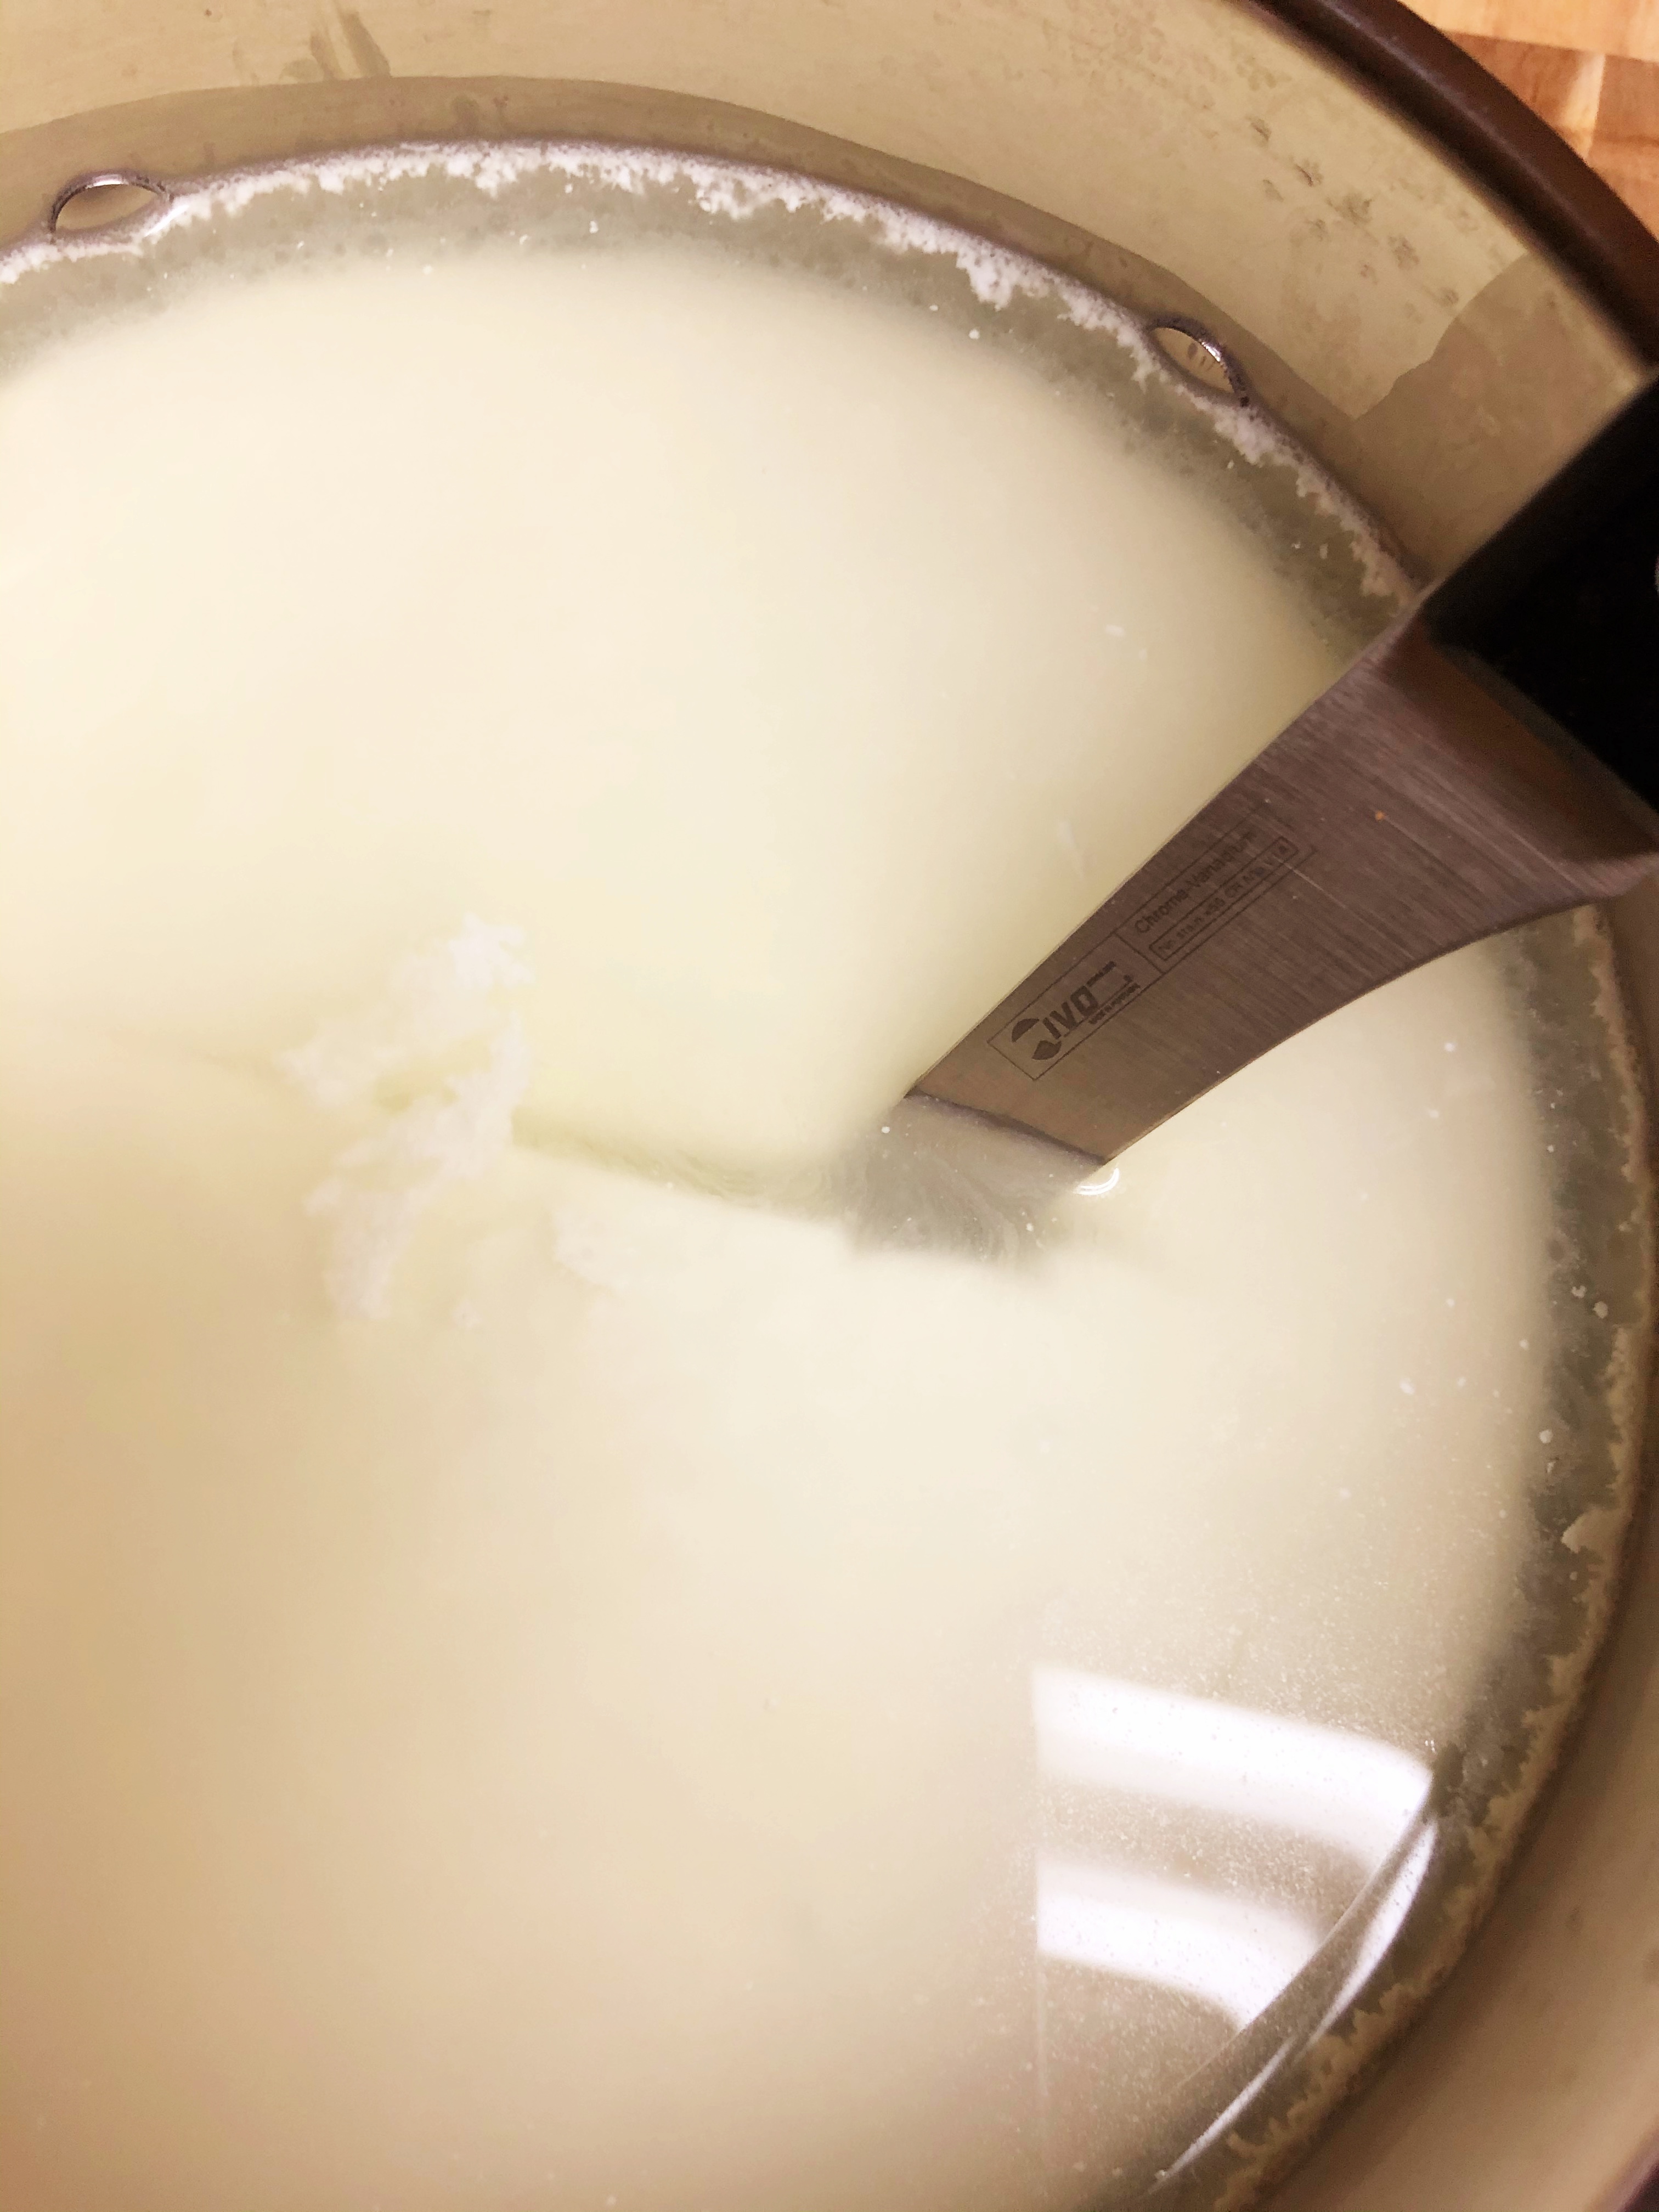
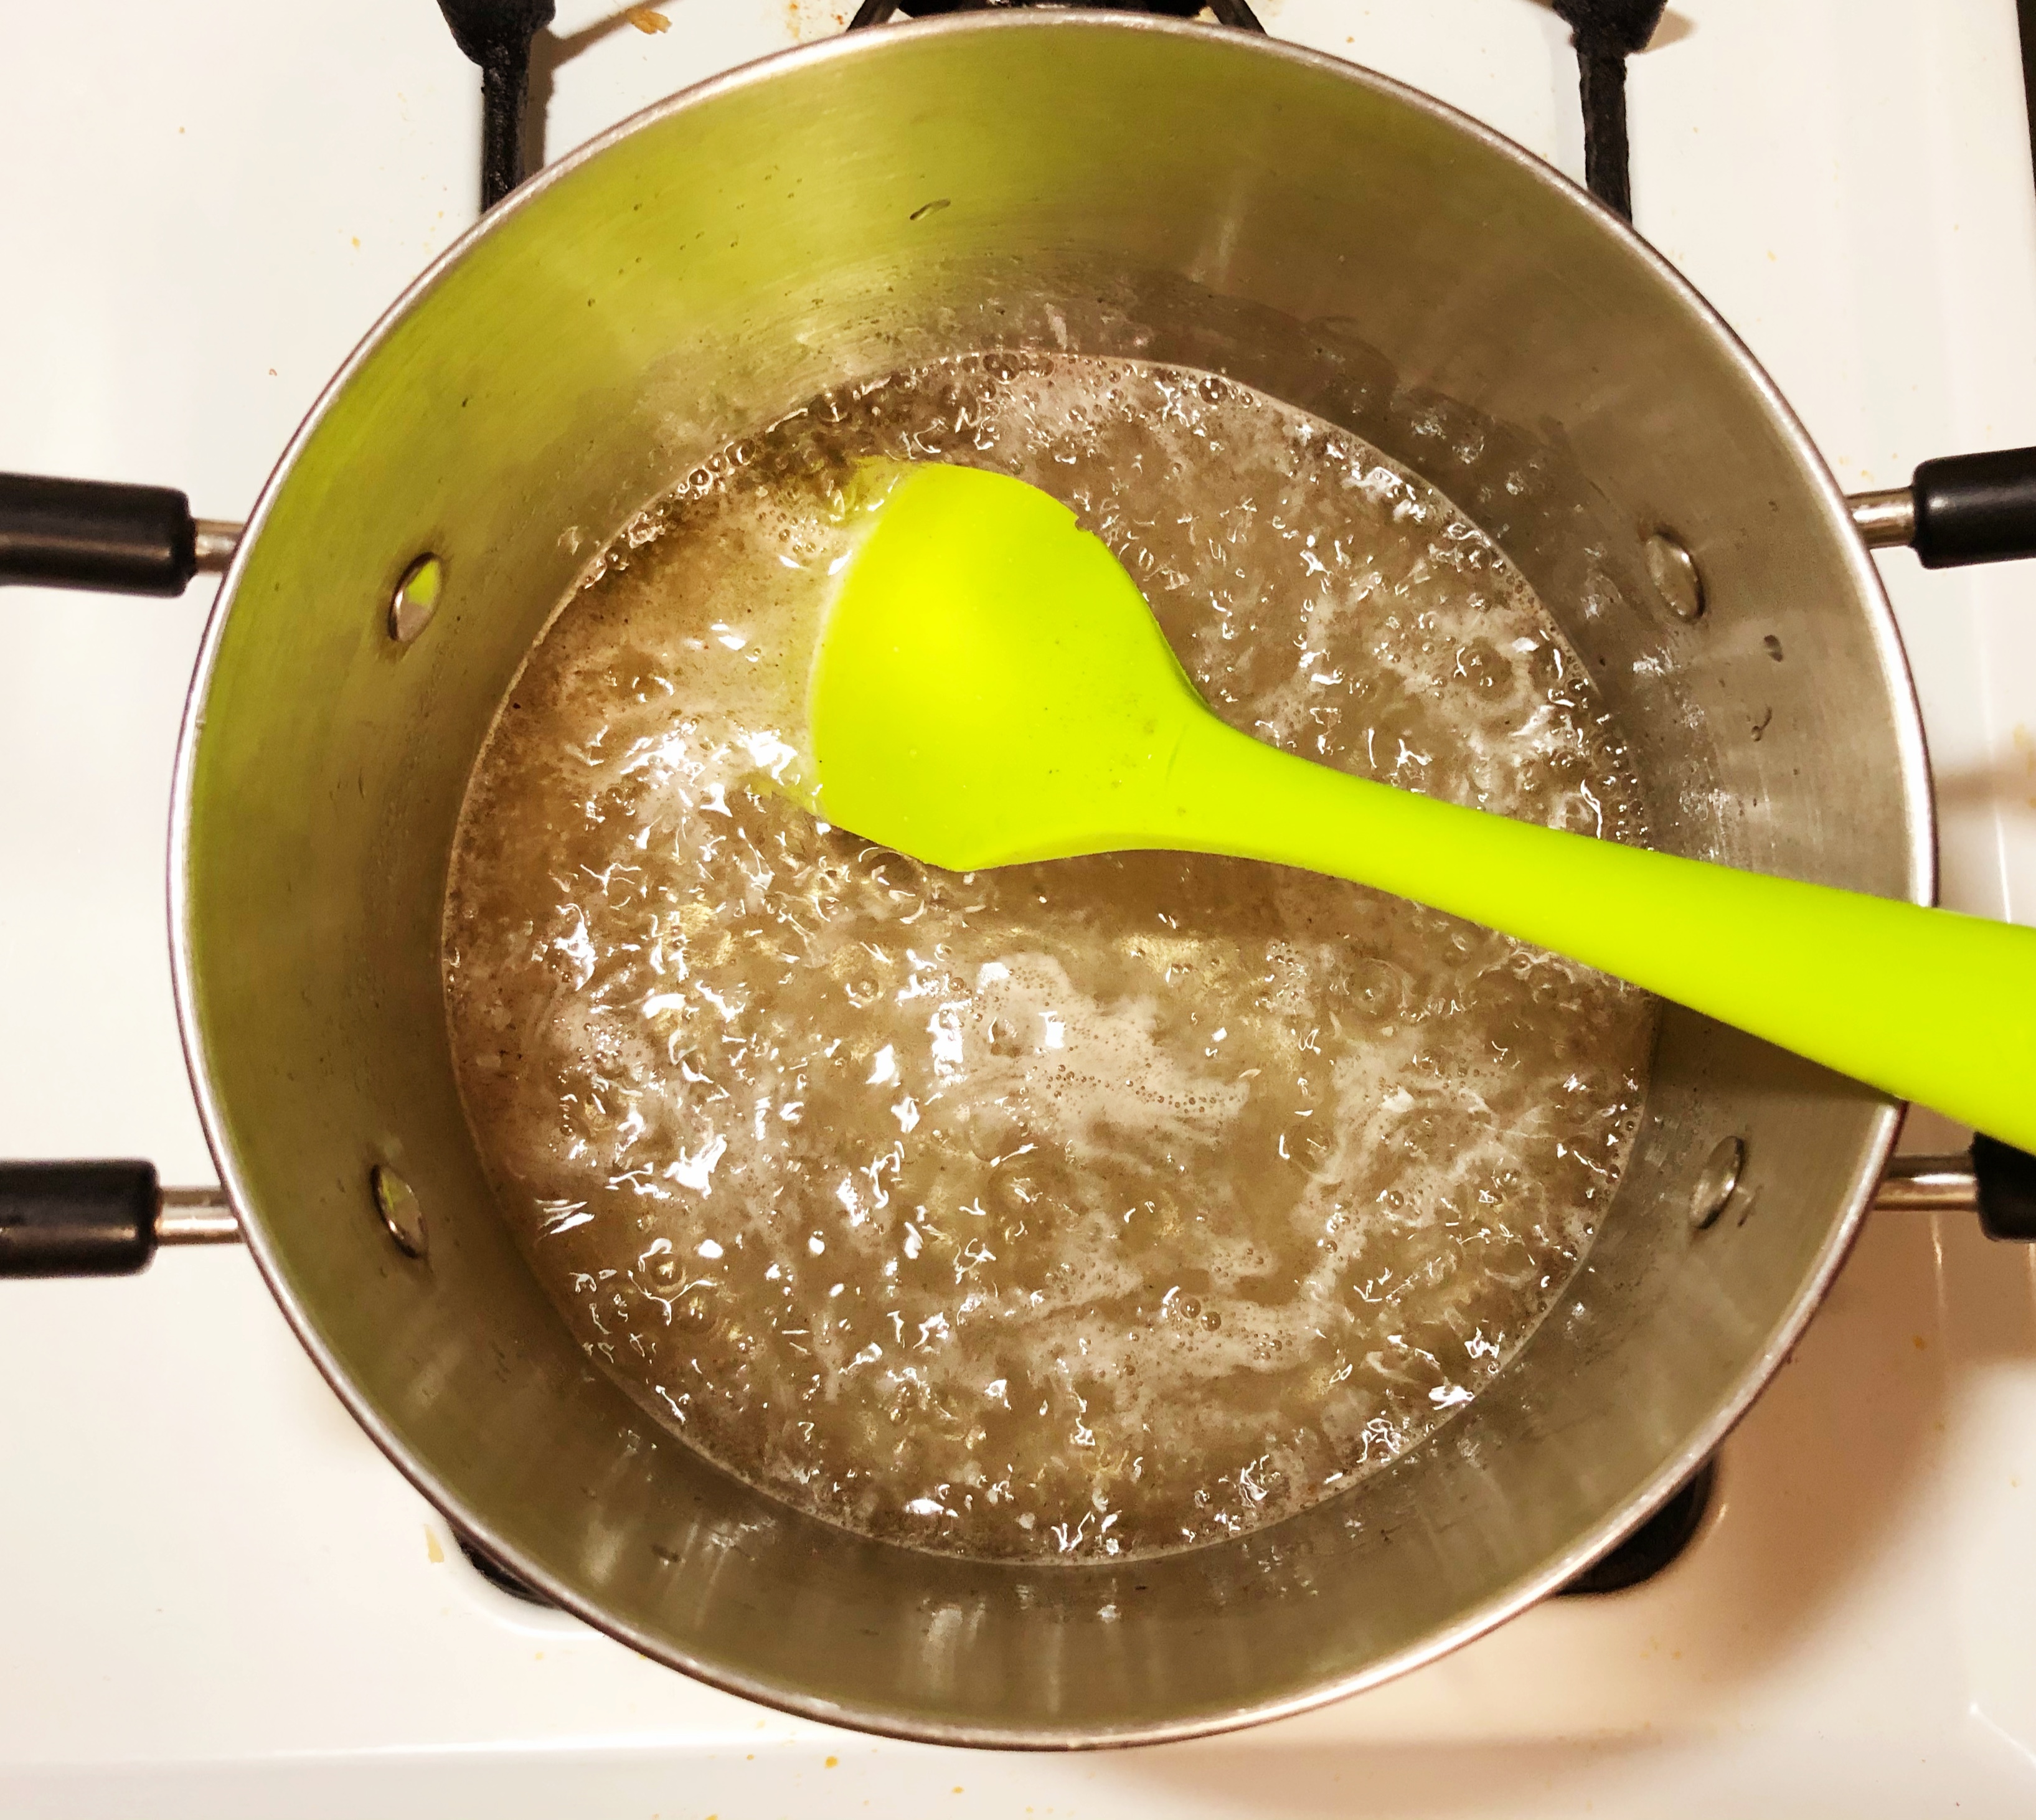
When your curd has formed sufficiently, you will see a clear separation between the whey and and the curd, and the curd will likely have separate from the sides of your pot. Testing the curd with a knife will show a clean break.

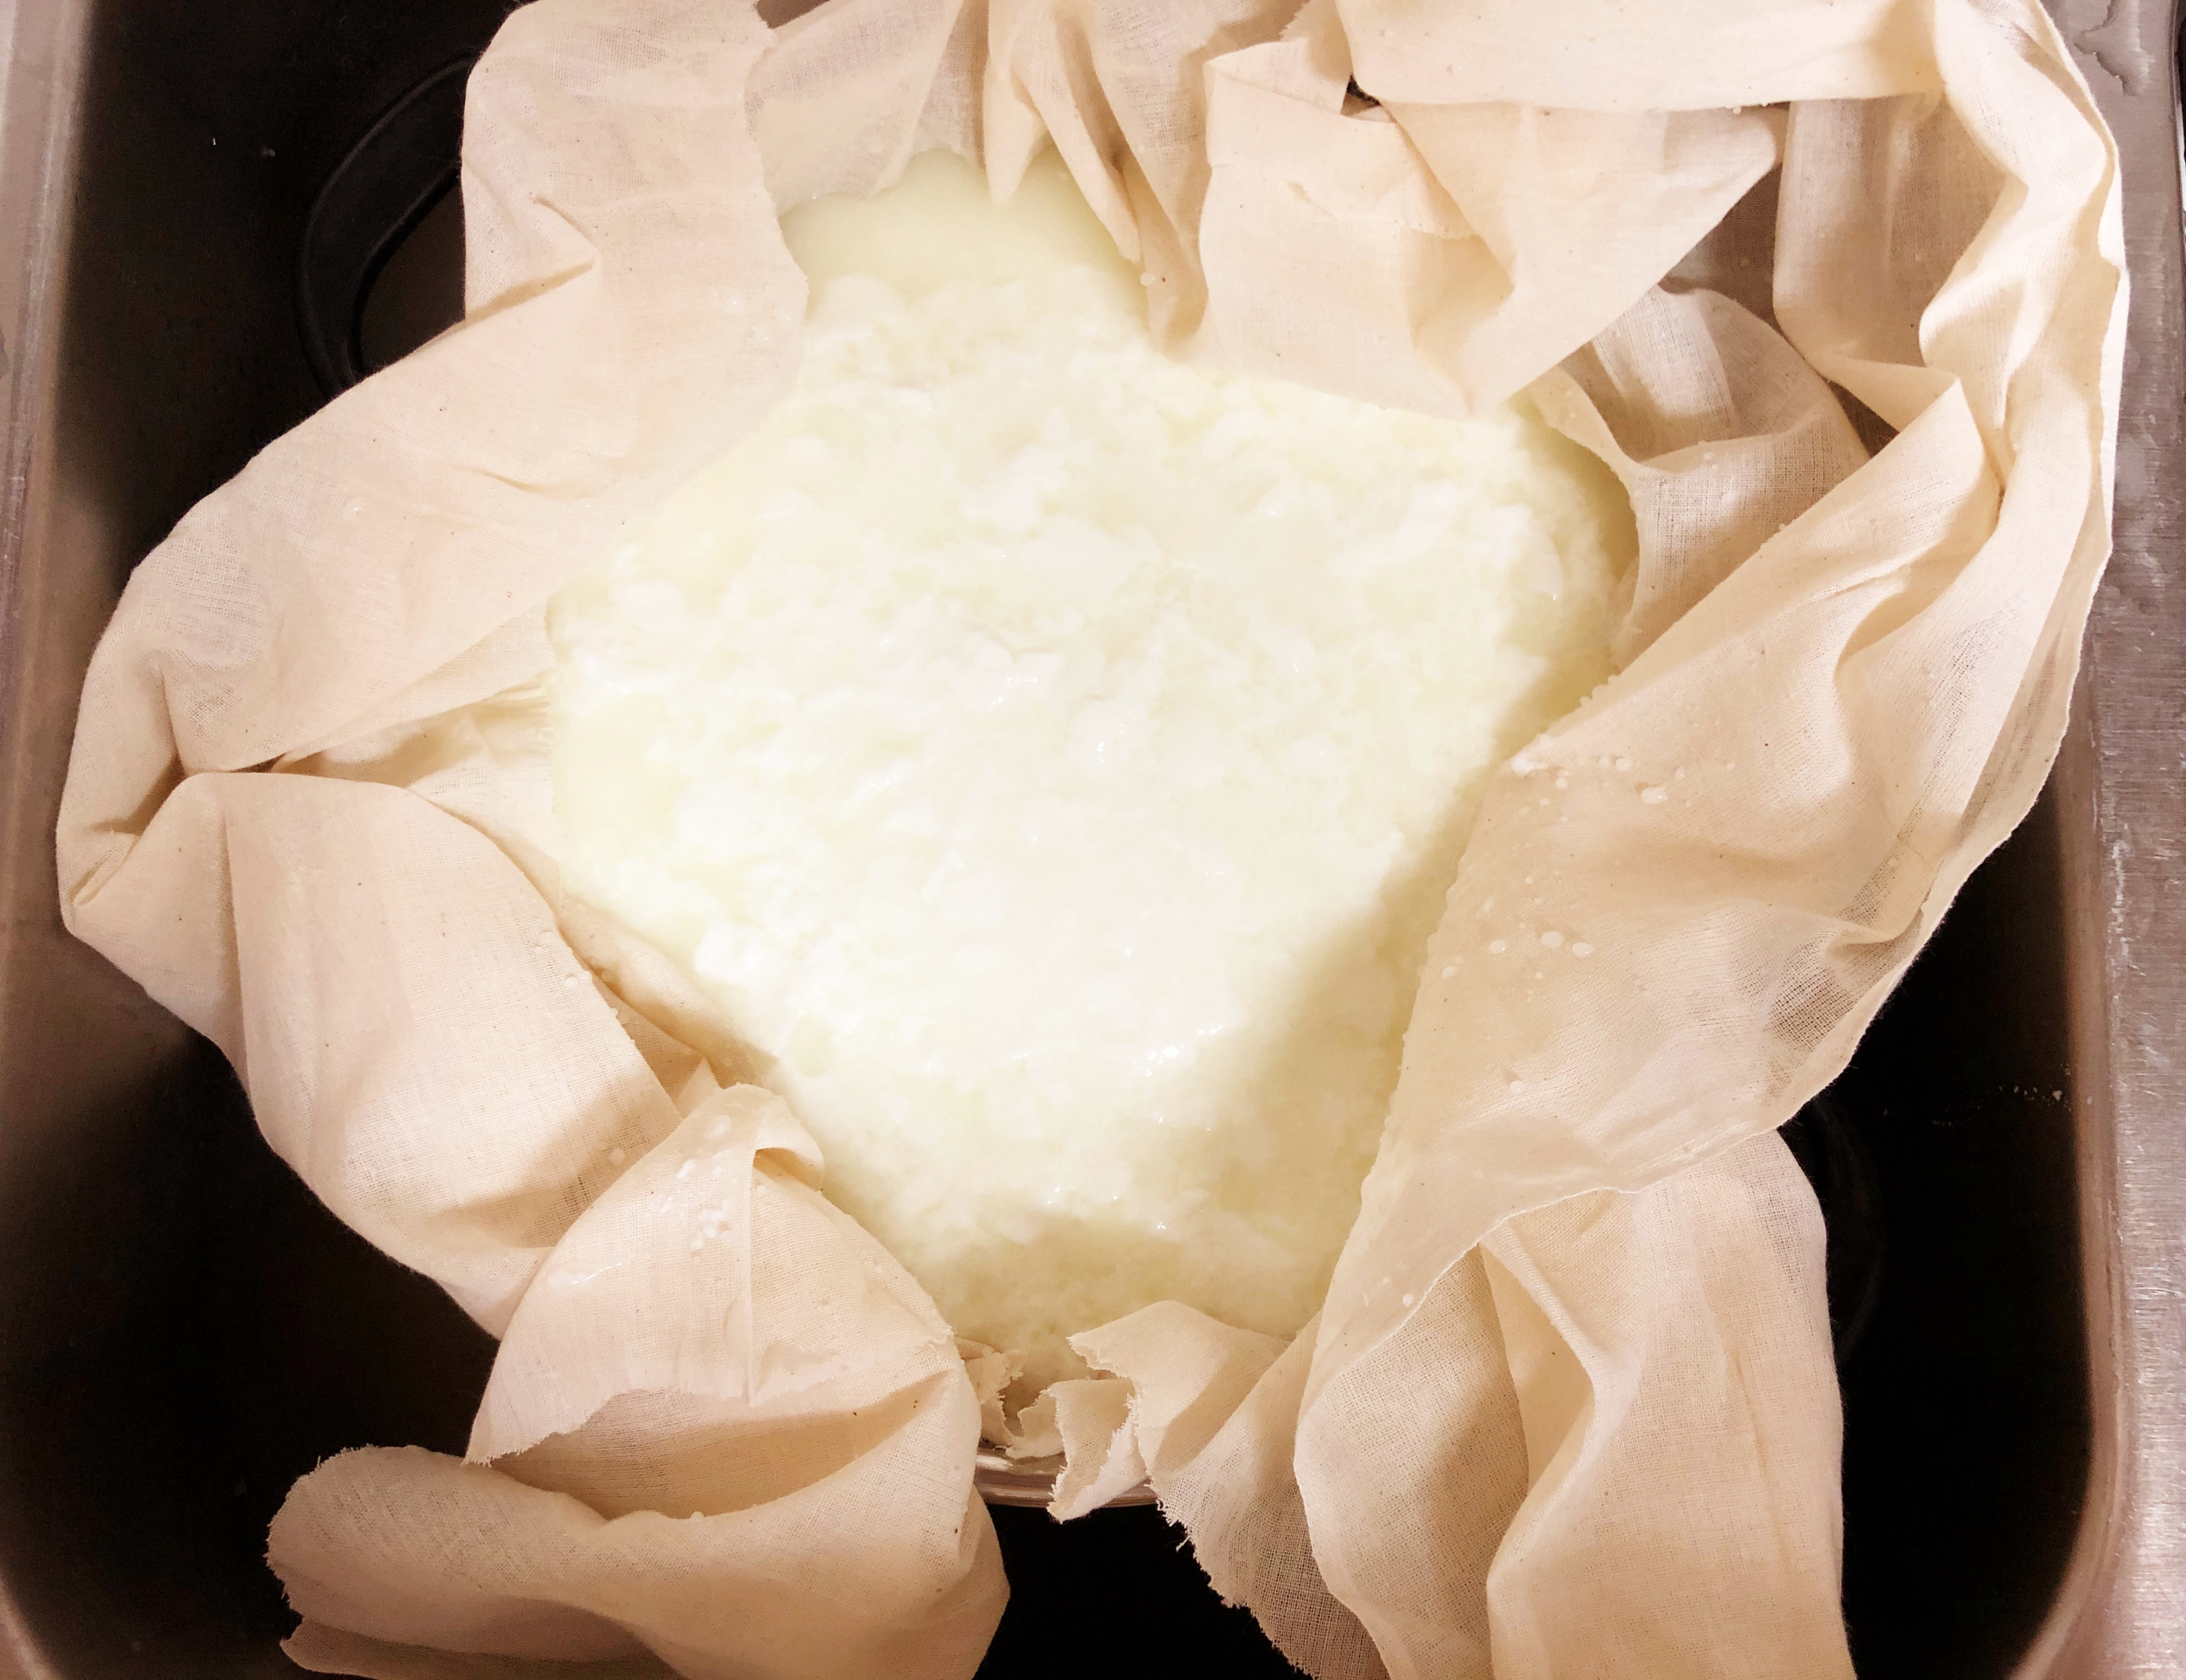
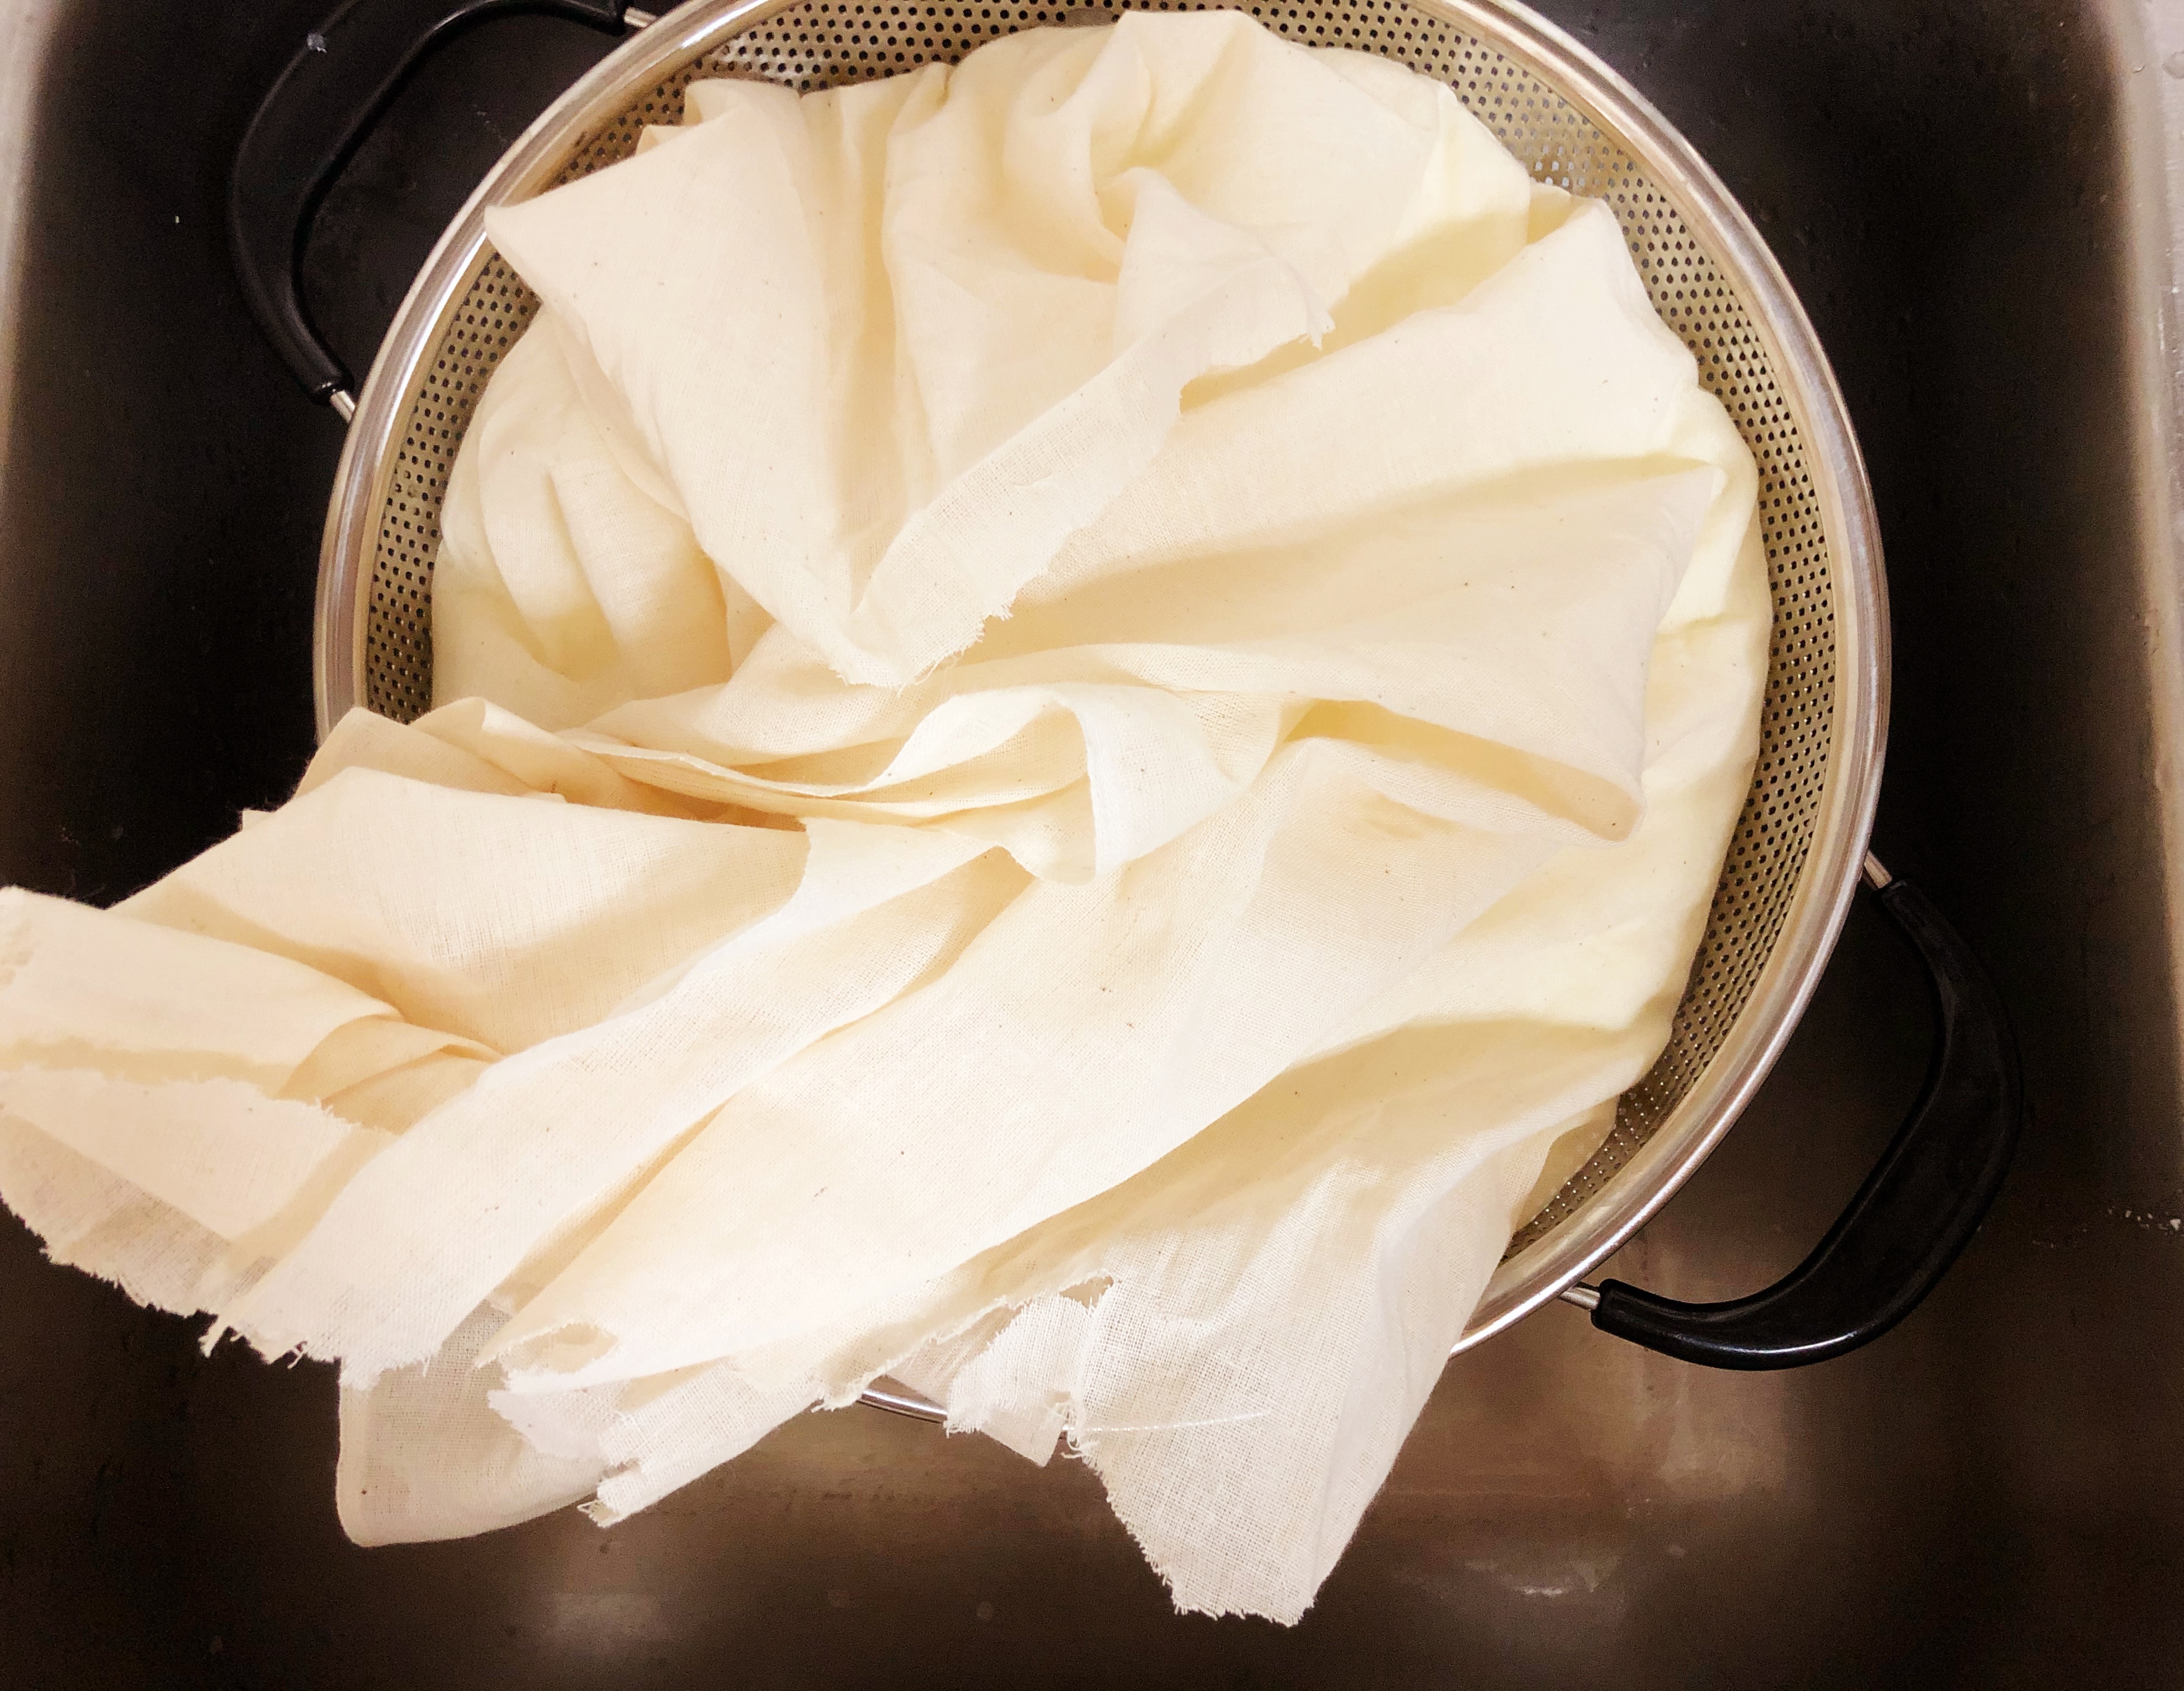
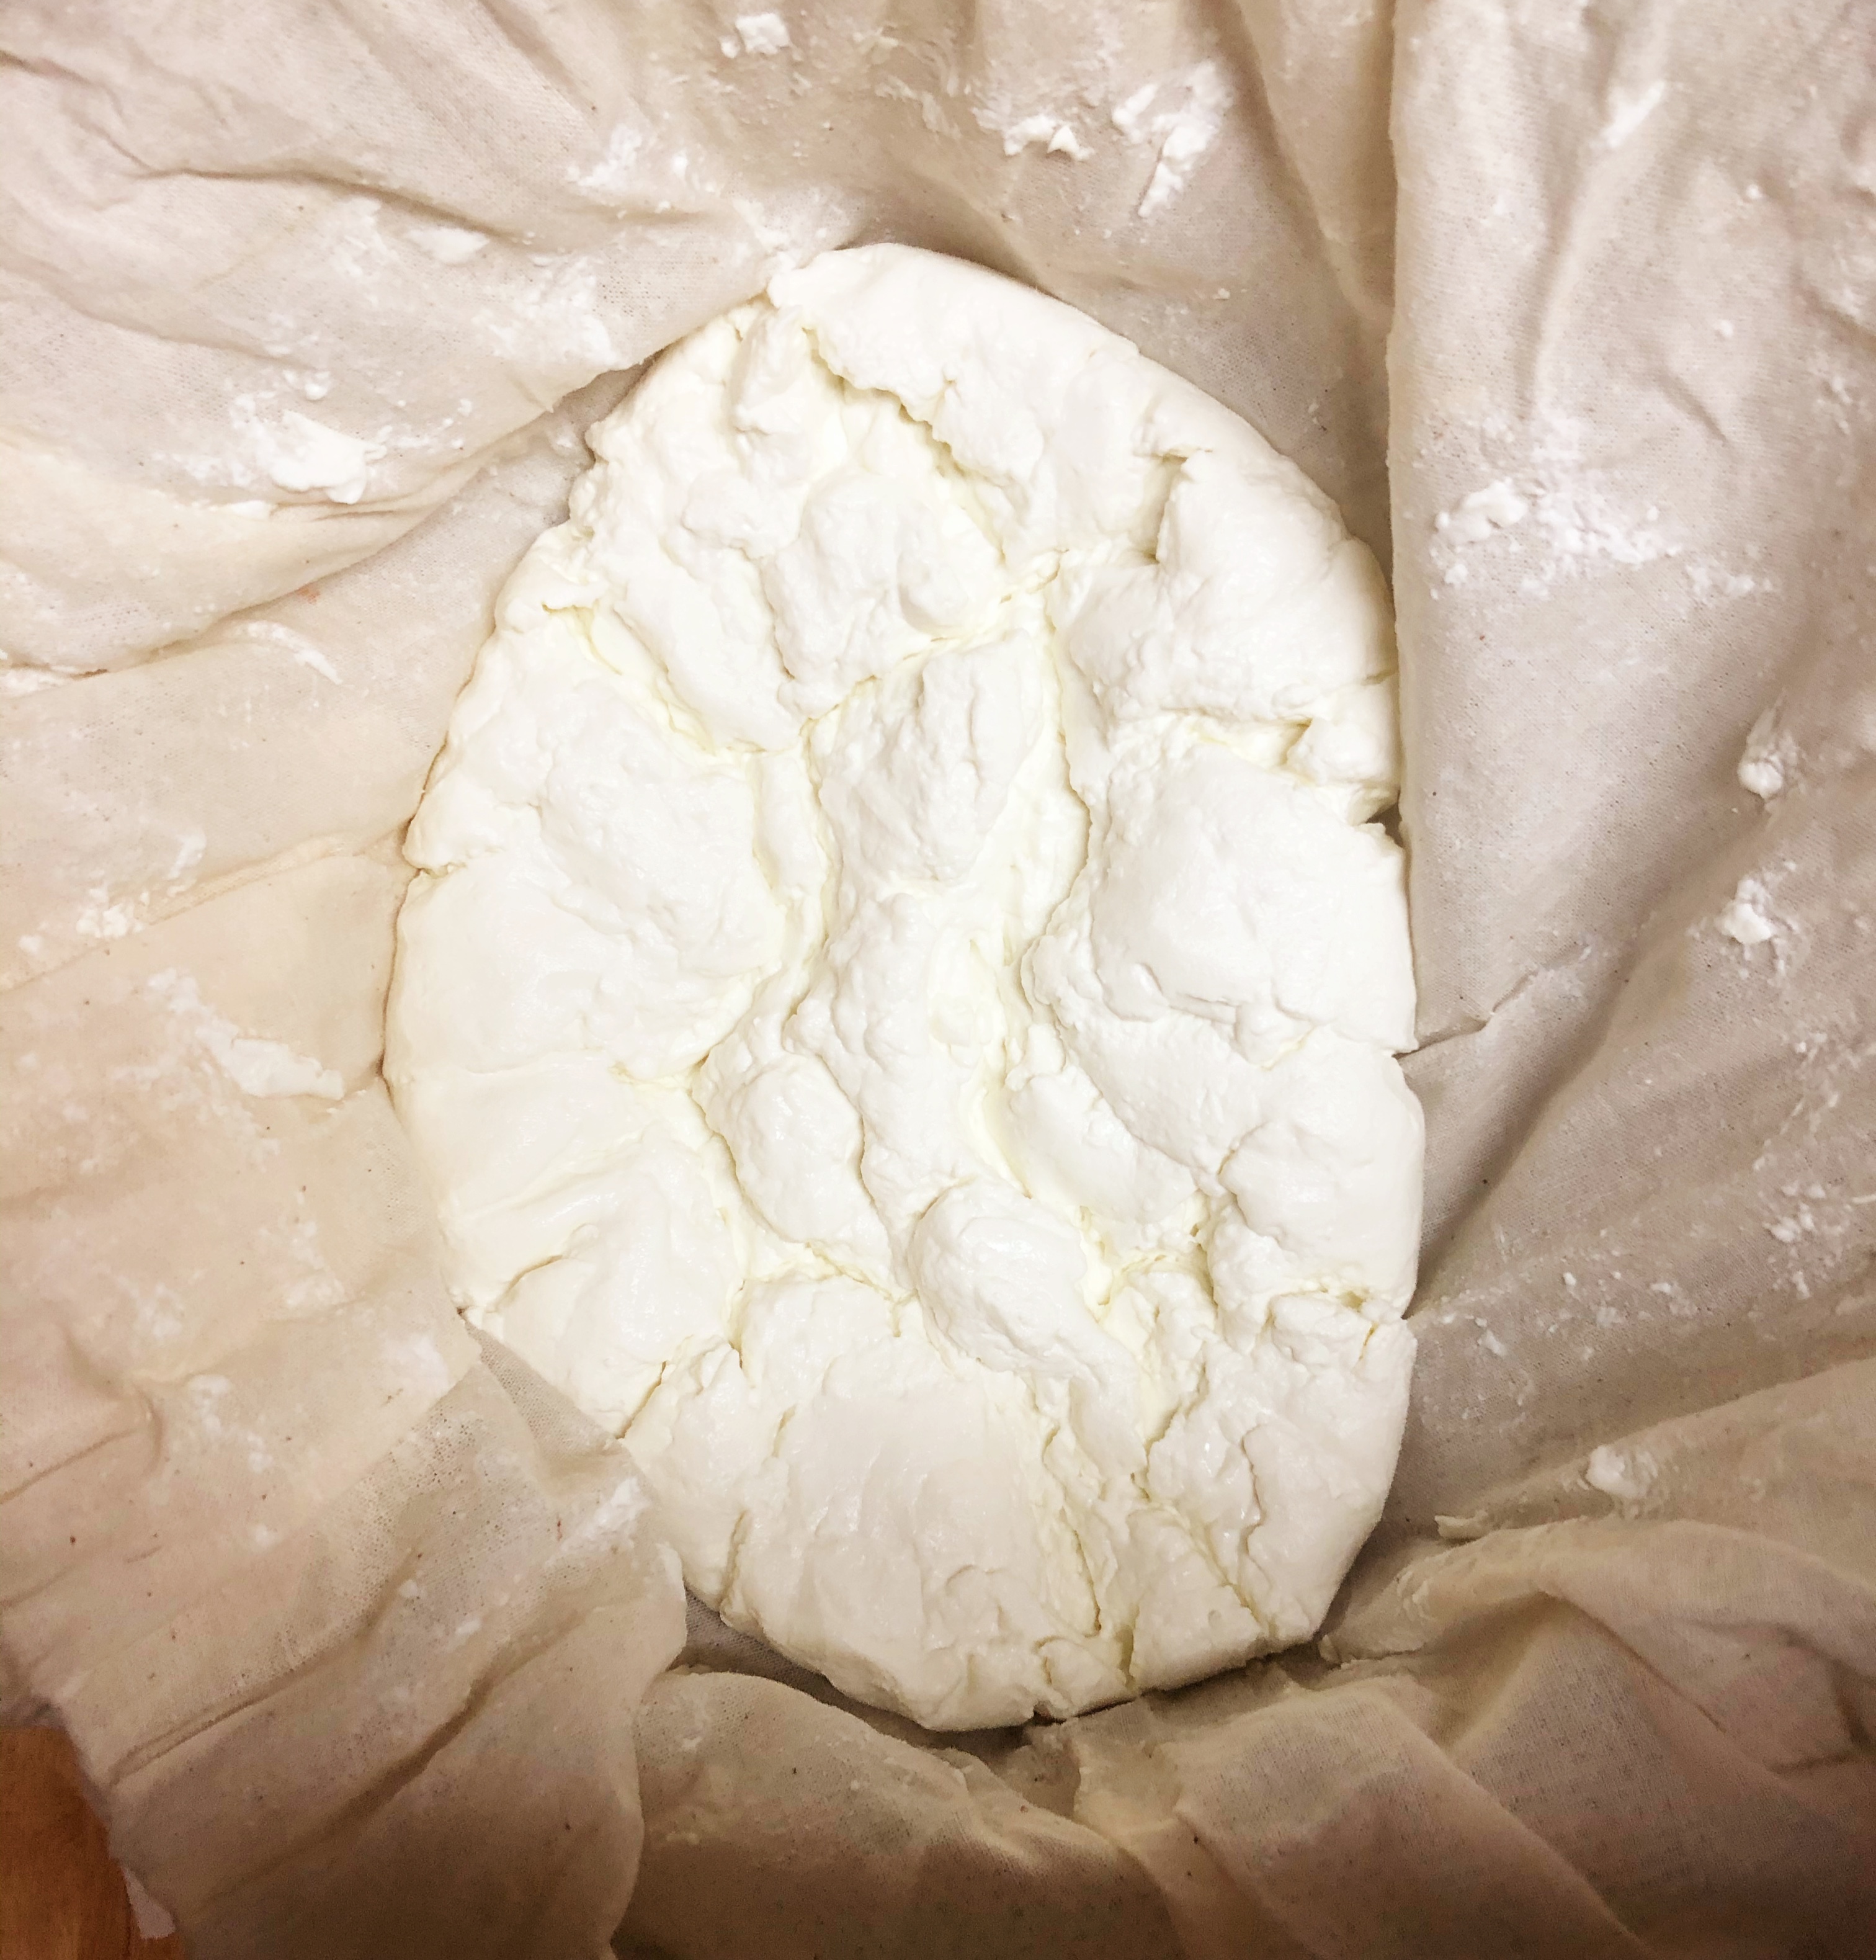
Line a large colander with butter muslin or cheesecloth and gently ladle the curds in. Fold the muslin over the top of the cheese to ensure no dust or flies find their way in, and let it sit. The overall draining period of this cheese for me was about 14 hours during winter, if it is warmer weather you can cut the draining short at 10 hours. Since we are going to be molding the cheese, we want a slightly drier cheese. The longer you allow the cheese to drain the tangier it will be. I usually allow it to drain about 2-3 hours in the sink, which is when the largest amount of liquid will drain off, and then I will place my colander in a large mixing bowl so that I can continue using my kitchen. It’s important to keep an eye on the amount of liquid draining off of your cheese if you keep your colander in a bowl, and make sure to empty the bowl frequently so that the level doesn’t rise high enough to leave the cheese sitting in liquid.
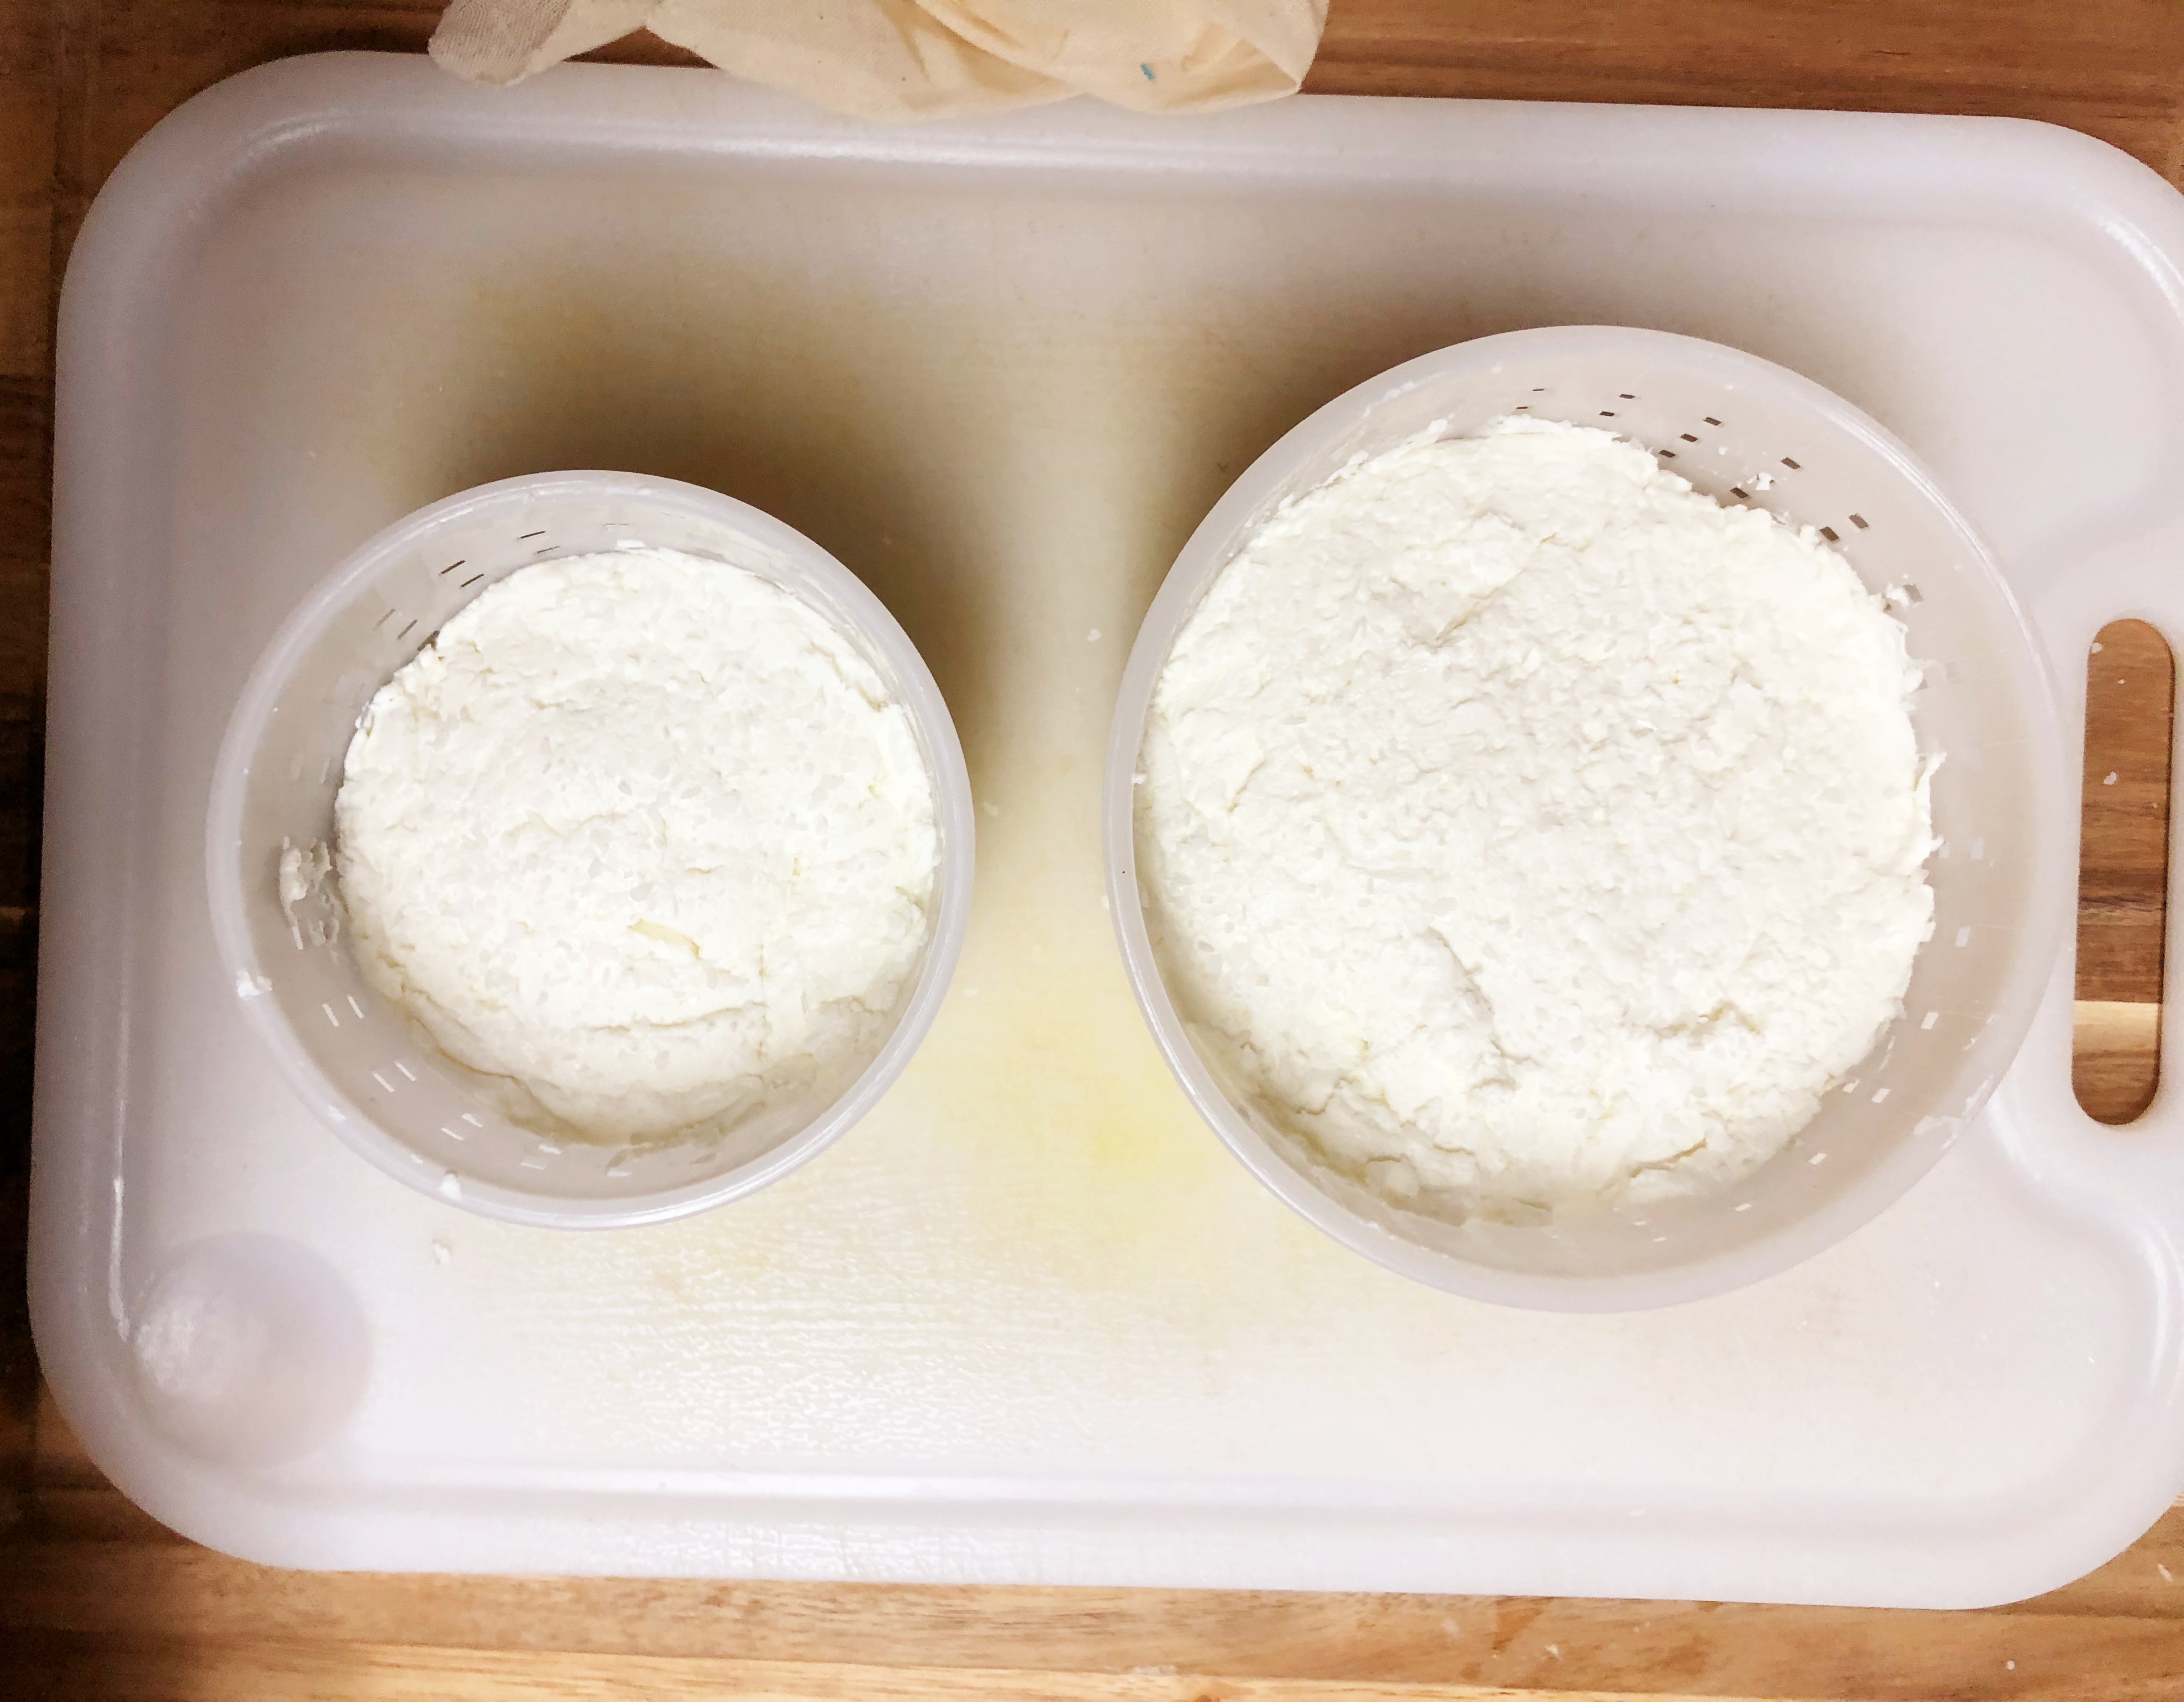
After the draining time it is time to mold and salt the cheese. Carefully spoon the curds into your molds (I recommend using two smaller molds, this will enable your cheese to form faster than one large mold) pushing down gently with each additional spoonful to ensure the mold is filled with minimal pockets of air. I alternated filling between each mold and was able to fill to about 1-1 1/2 inches high. After the molds are filled, smooth over the tops of the cheeses gently with the back of a spoon, and sprinkle about 1/4 teaspoon of coarse kosher salt over each. Allow the cheese to sit in the molds for 8-10 hours.
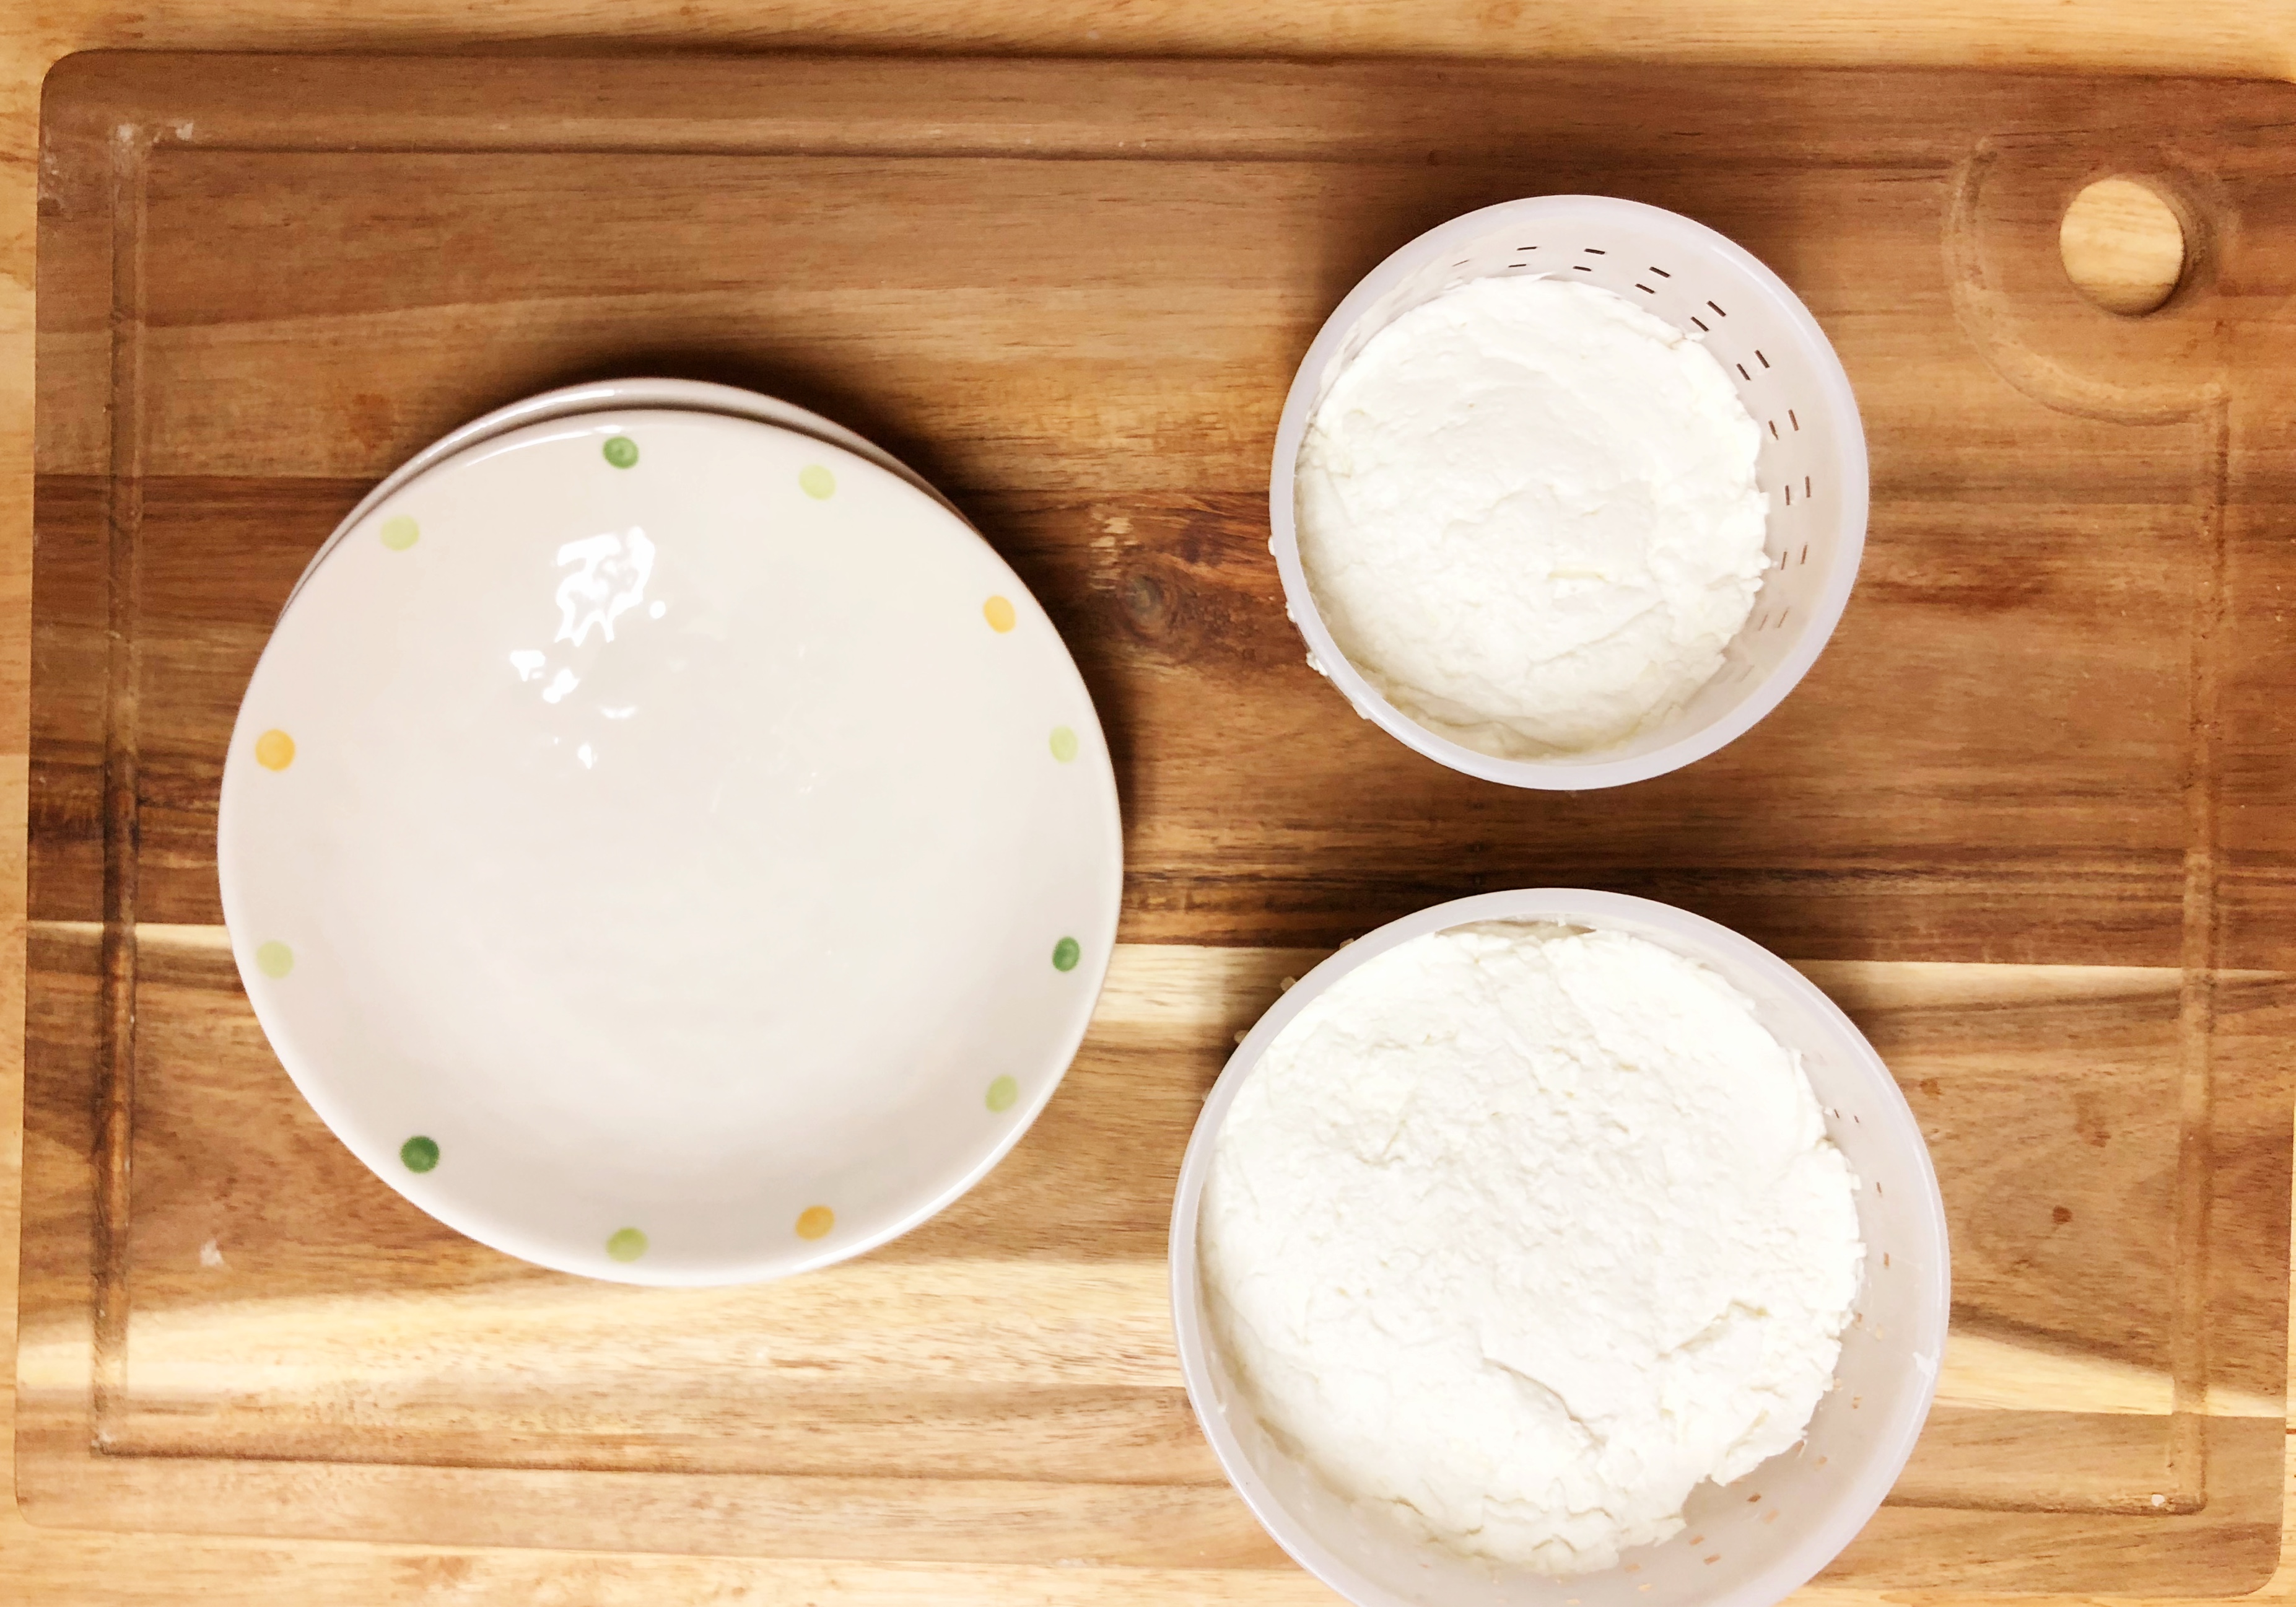

After 8-10 hours it will be time to turn and remold the cheese. I like to use two plates for ease of flipping. Turn out the wheel of cheese onto one plate, and place the other plate on top of the wheel. Flip the plates around so that you have flipped your cheese wheel, and then gently place the mold back over the cheese wheel, so that now it has been flipped upside down in the mold. I’ve found that this method enables me to turn the cheese in the molds without accidentally crumbling any bits off. Once again salt the tops of the cheese with about 1/4 tsp coarse kosher salt and leave them for another 8-10 hours.

After the second 8-10 hours has elapsed, turn your cheese out onto a cheese drying mat. I bought a cheap sushi mat at Daiso (a Japanese Dollar Store) and found that it works excellently for the purpose. Allow the cheese to sit for another 8-10 hours to firm up. During this time I usually gently cover the cheese with a piece of cheesecloth, which allows the air to reach the cheese but not any wandering fruit flies or bits of dust.
While the cheese is airing out for the last time, it is a good time to roast the hazelnuts.
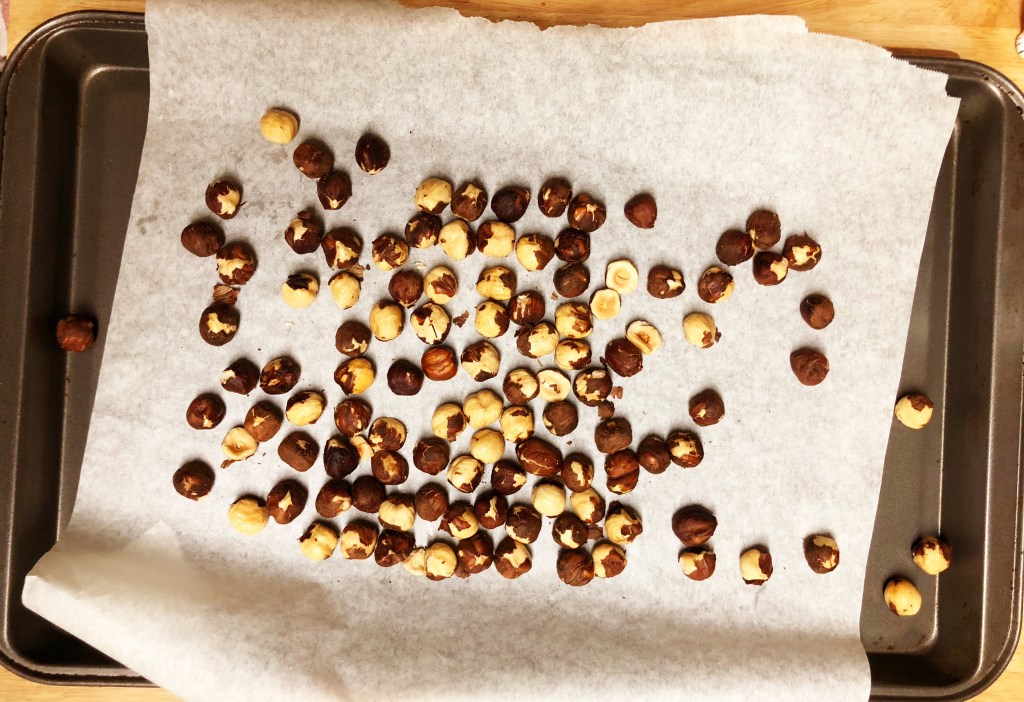
Preheat the oven to 350 degrees. Line a baking sheet with parchment paper and lay the hazelnuts out in a single layer. I doubled the amount of hazelnuts called for because I knew that I would be wanting to munch on them when I smelled them coming out of the oven! Bake the hazelnuts for about fifteen minutes, until they become fragrant, stirring occasionally.


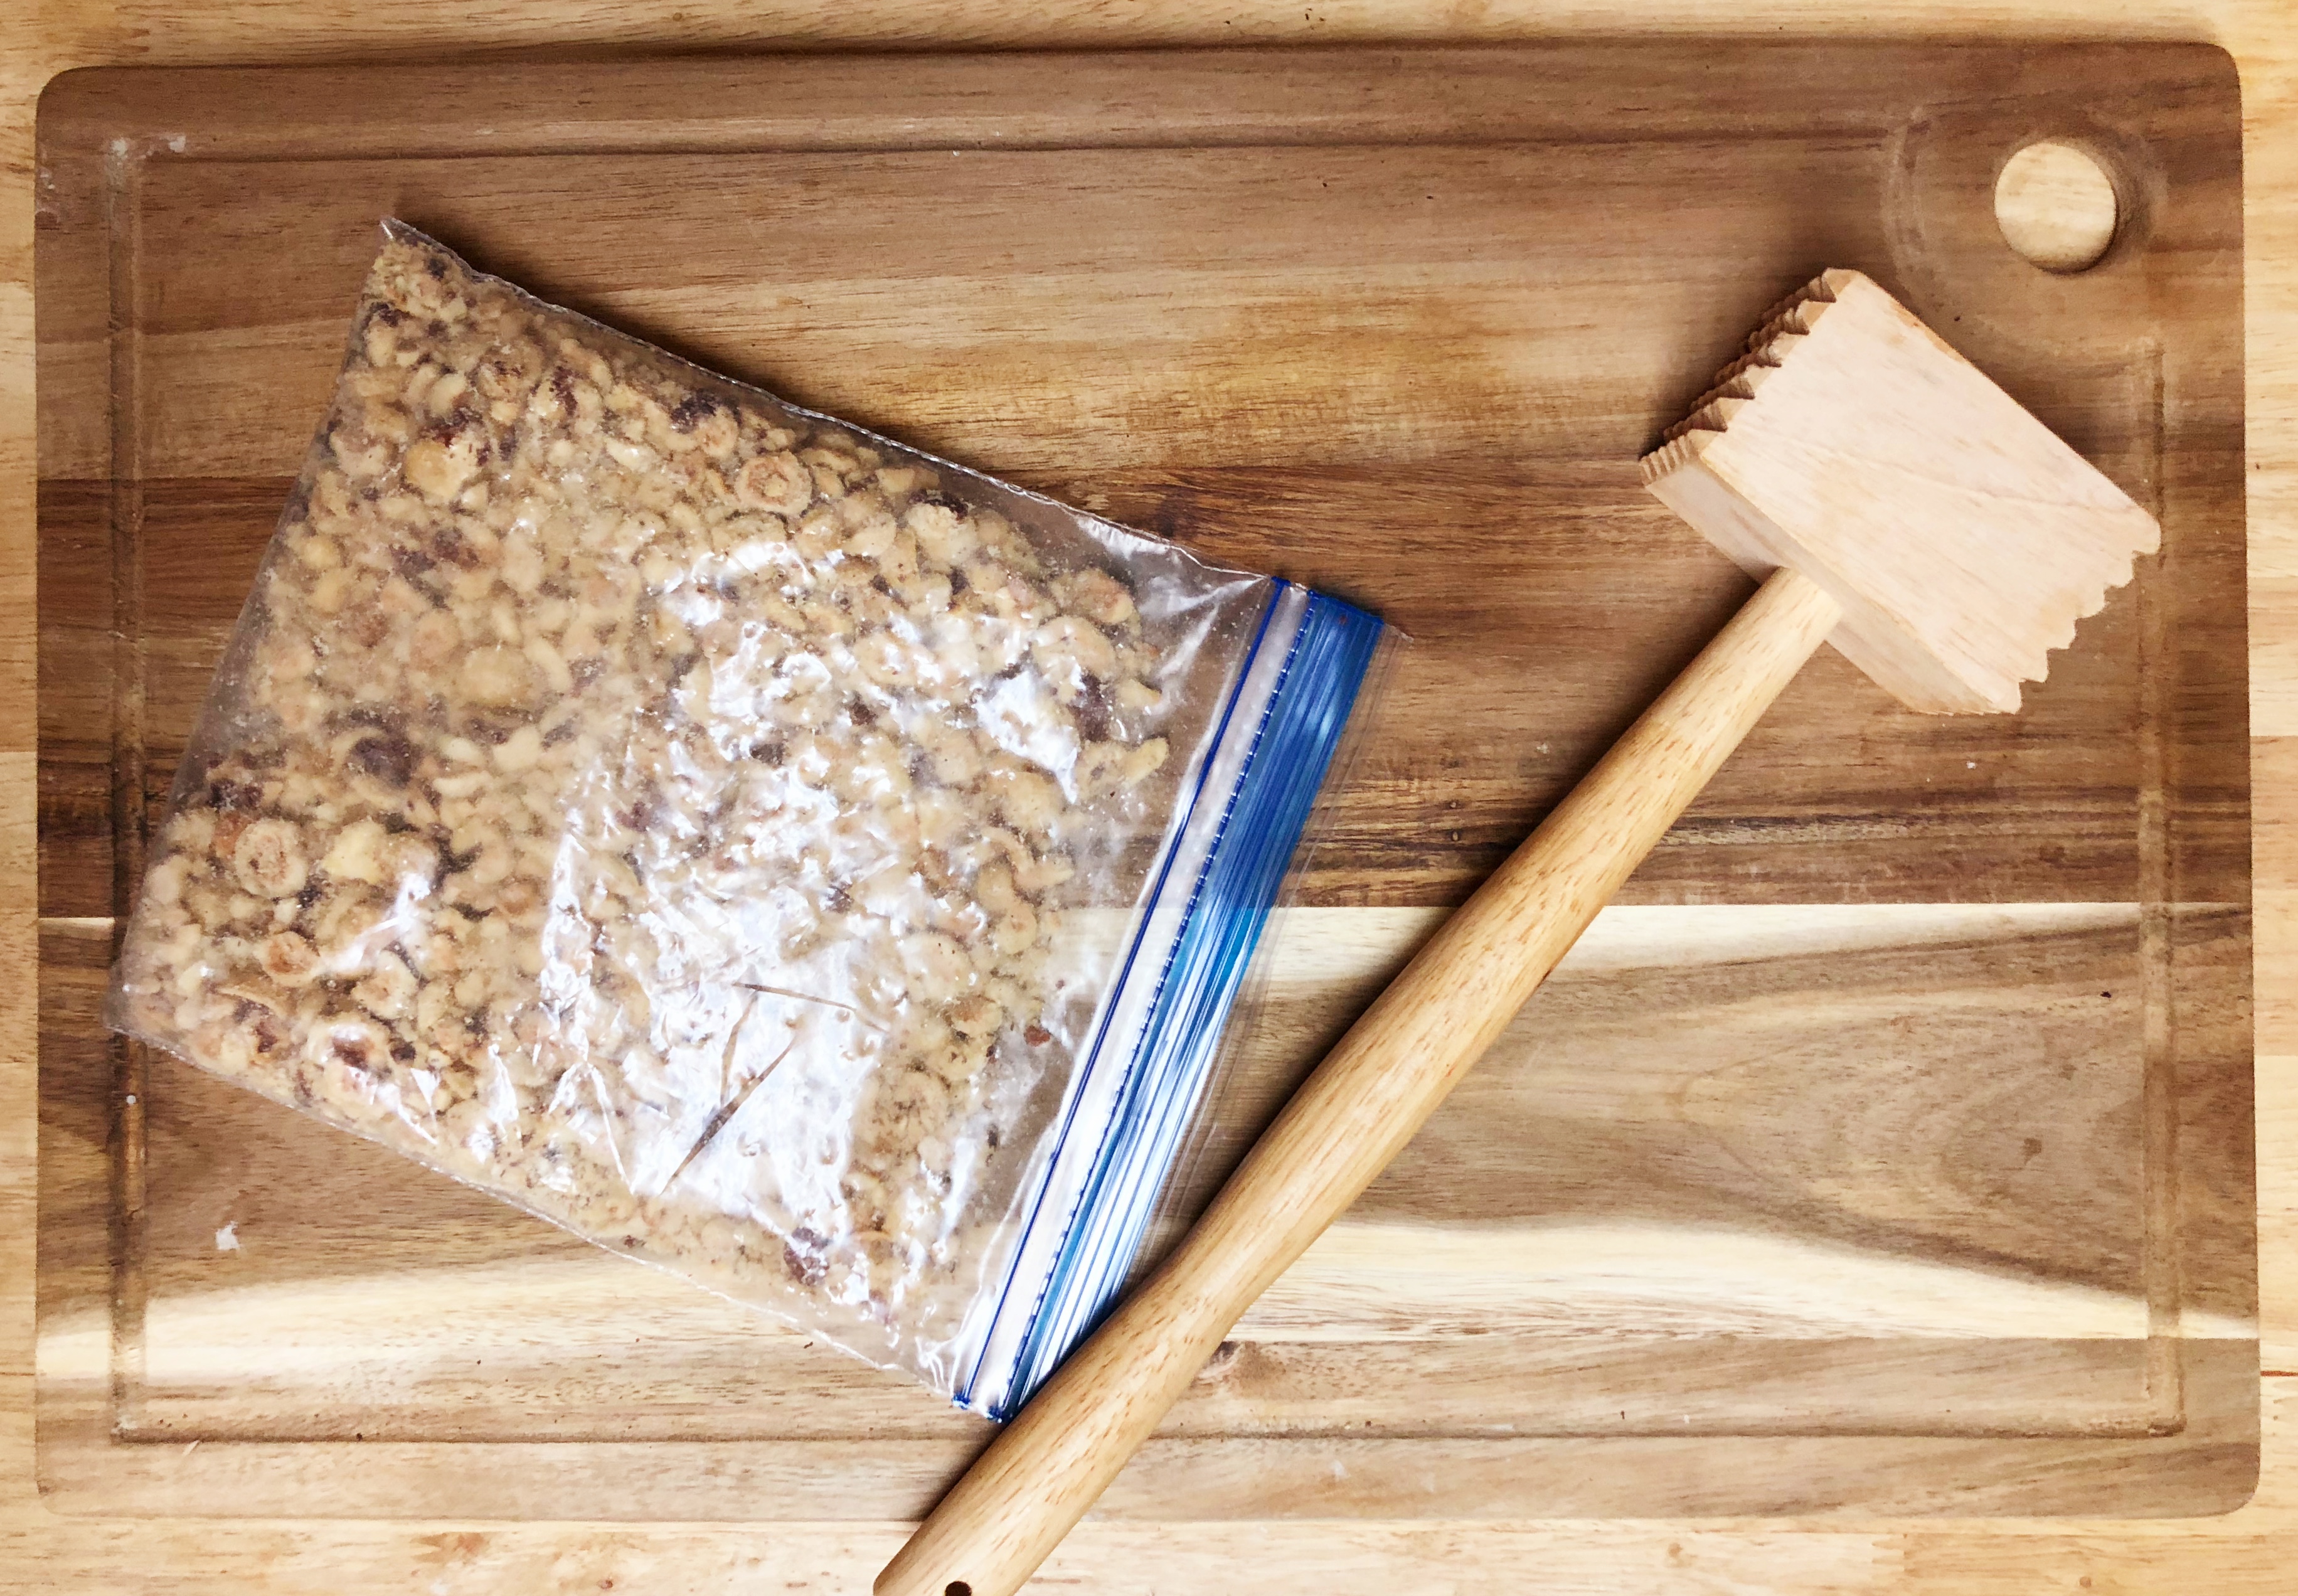
Pour the hazelnuts into a clean dishtowel and fold it over, allowing them to steam for two minutes. Using the towel, rub the nuts back and forth to release as much of the skins as possible. Allow the hazelnuts to cool completely and place them in a sealed baggie. Using a meat tenderizer, kitchen mallet, or even heavy bottomed pot, crush the fully cooled hazelnuts until they are broken into small 1/4 pieces.
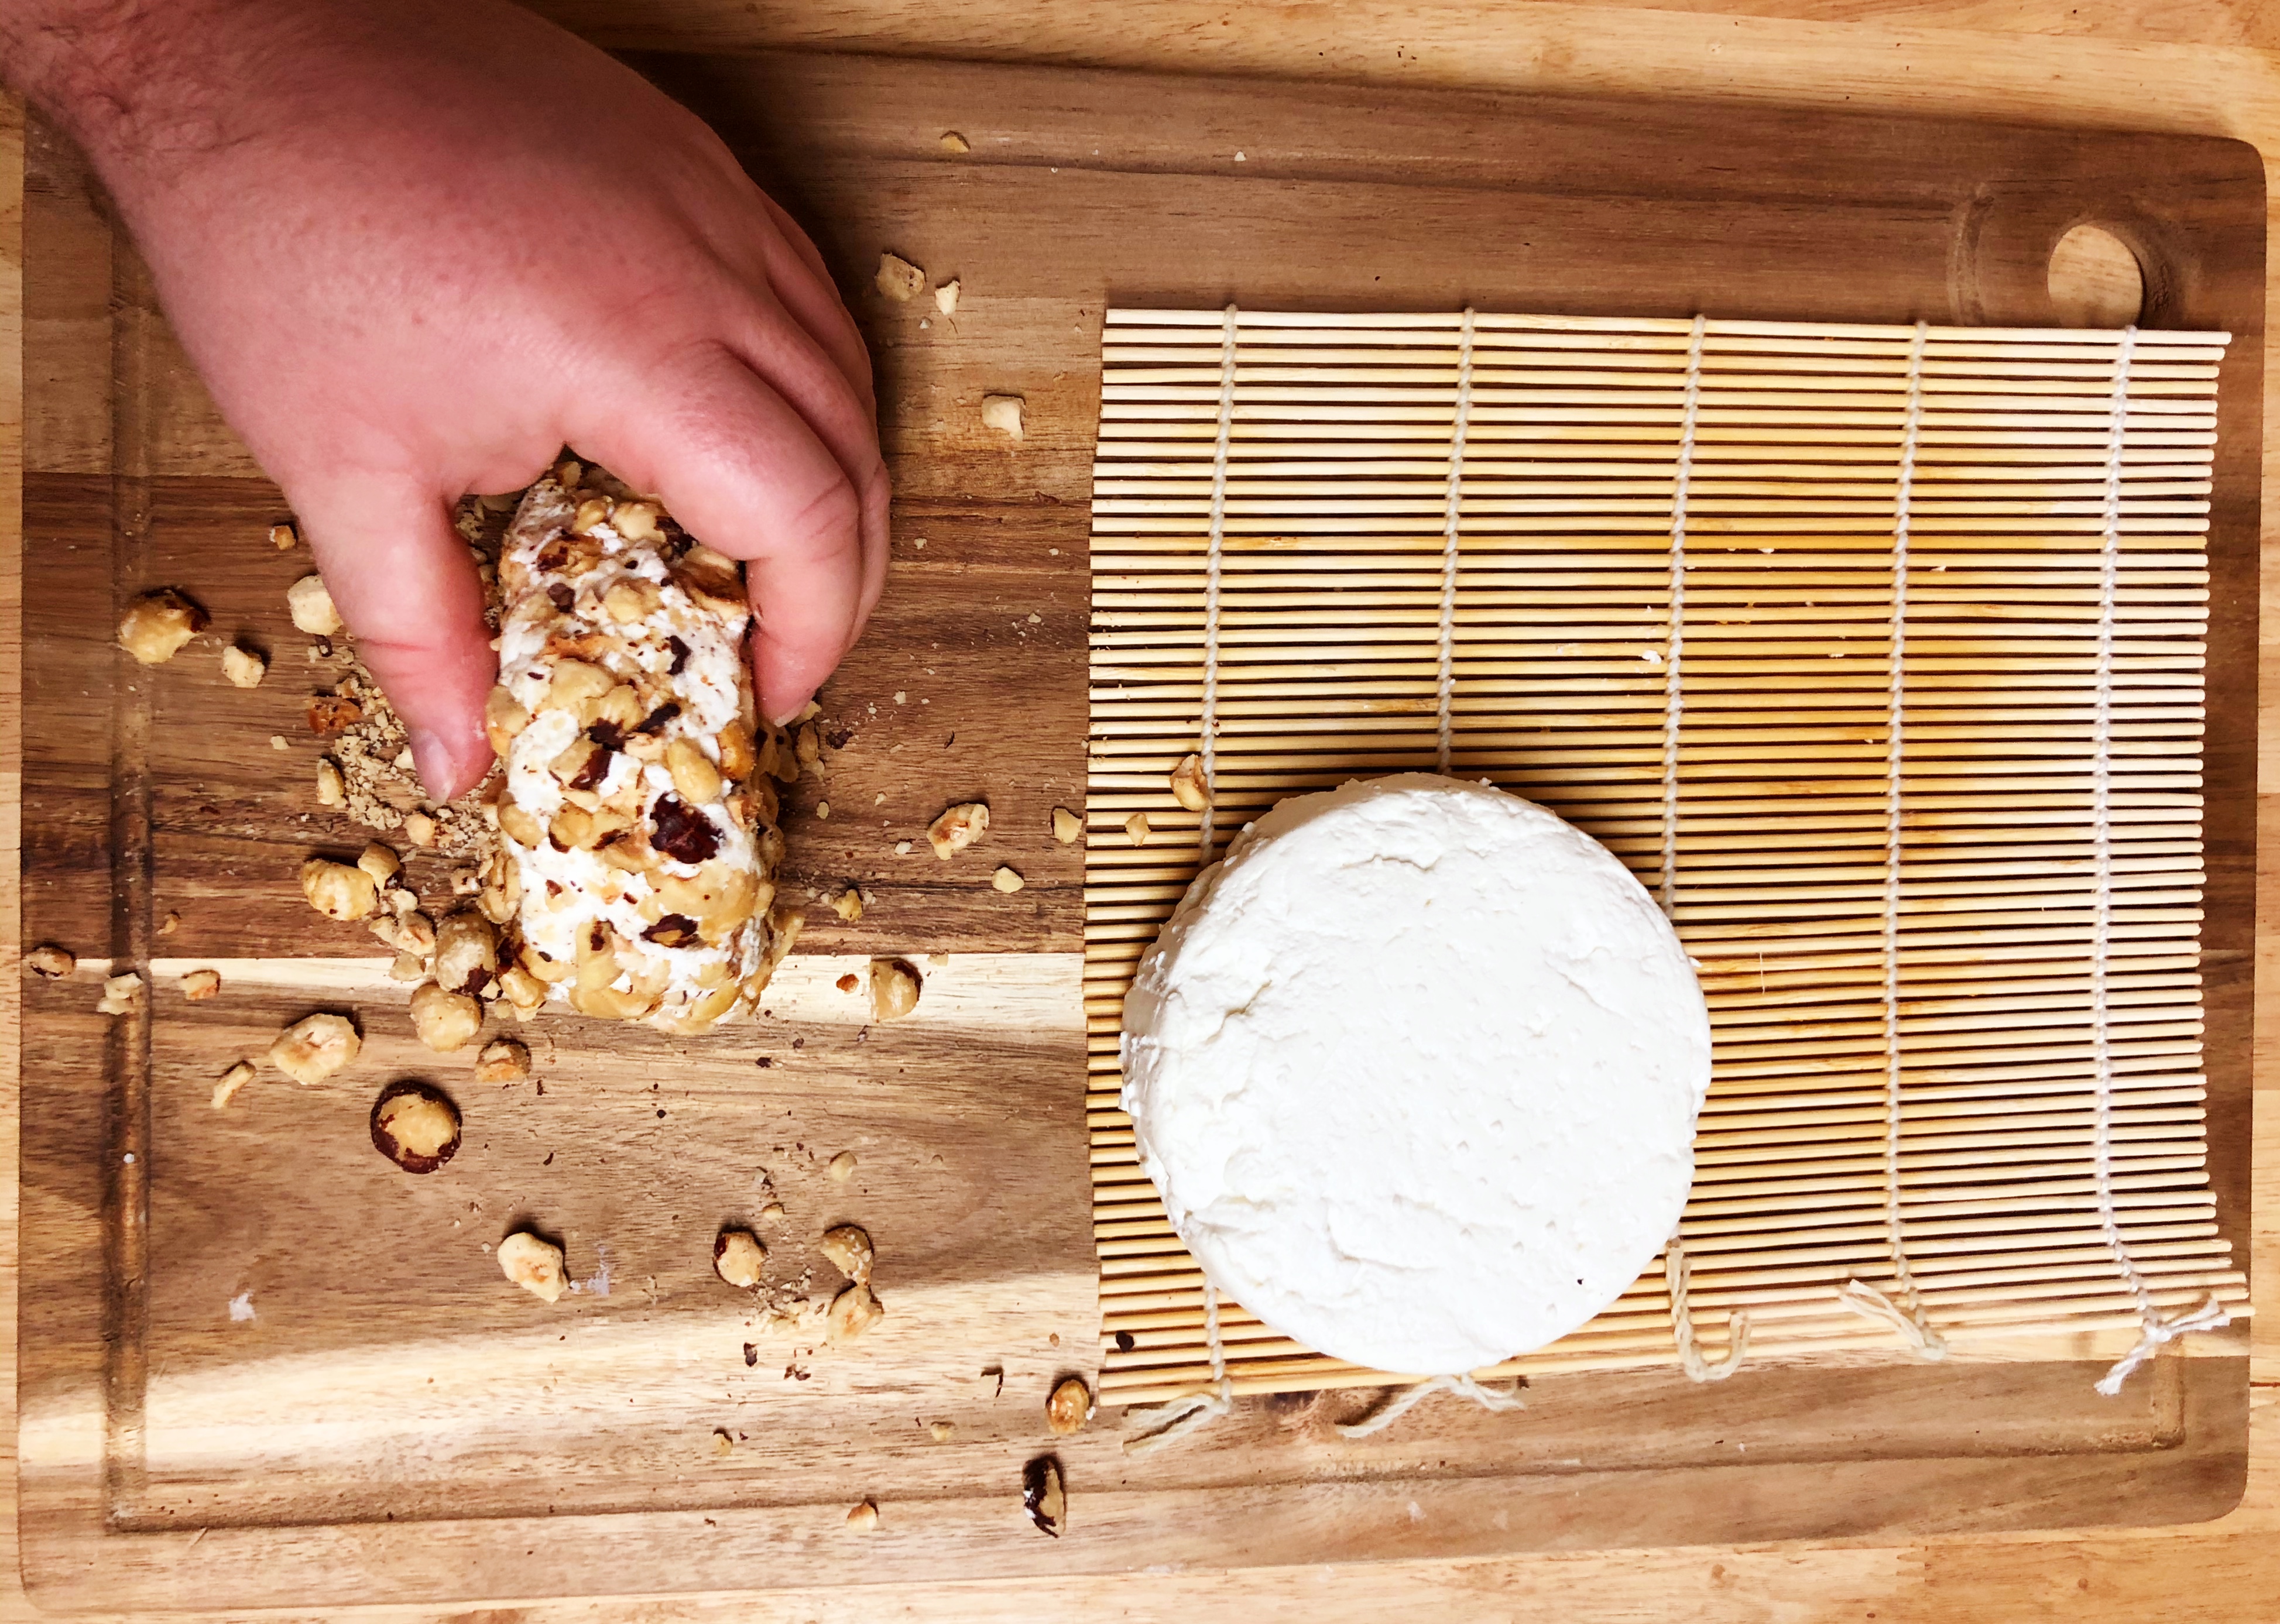
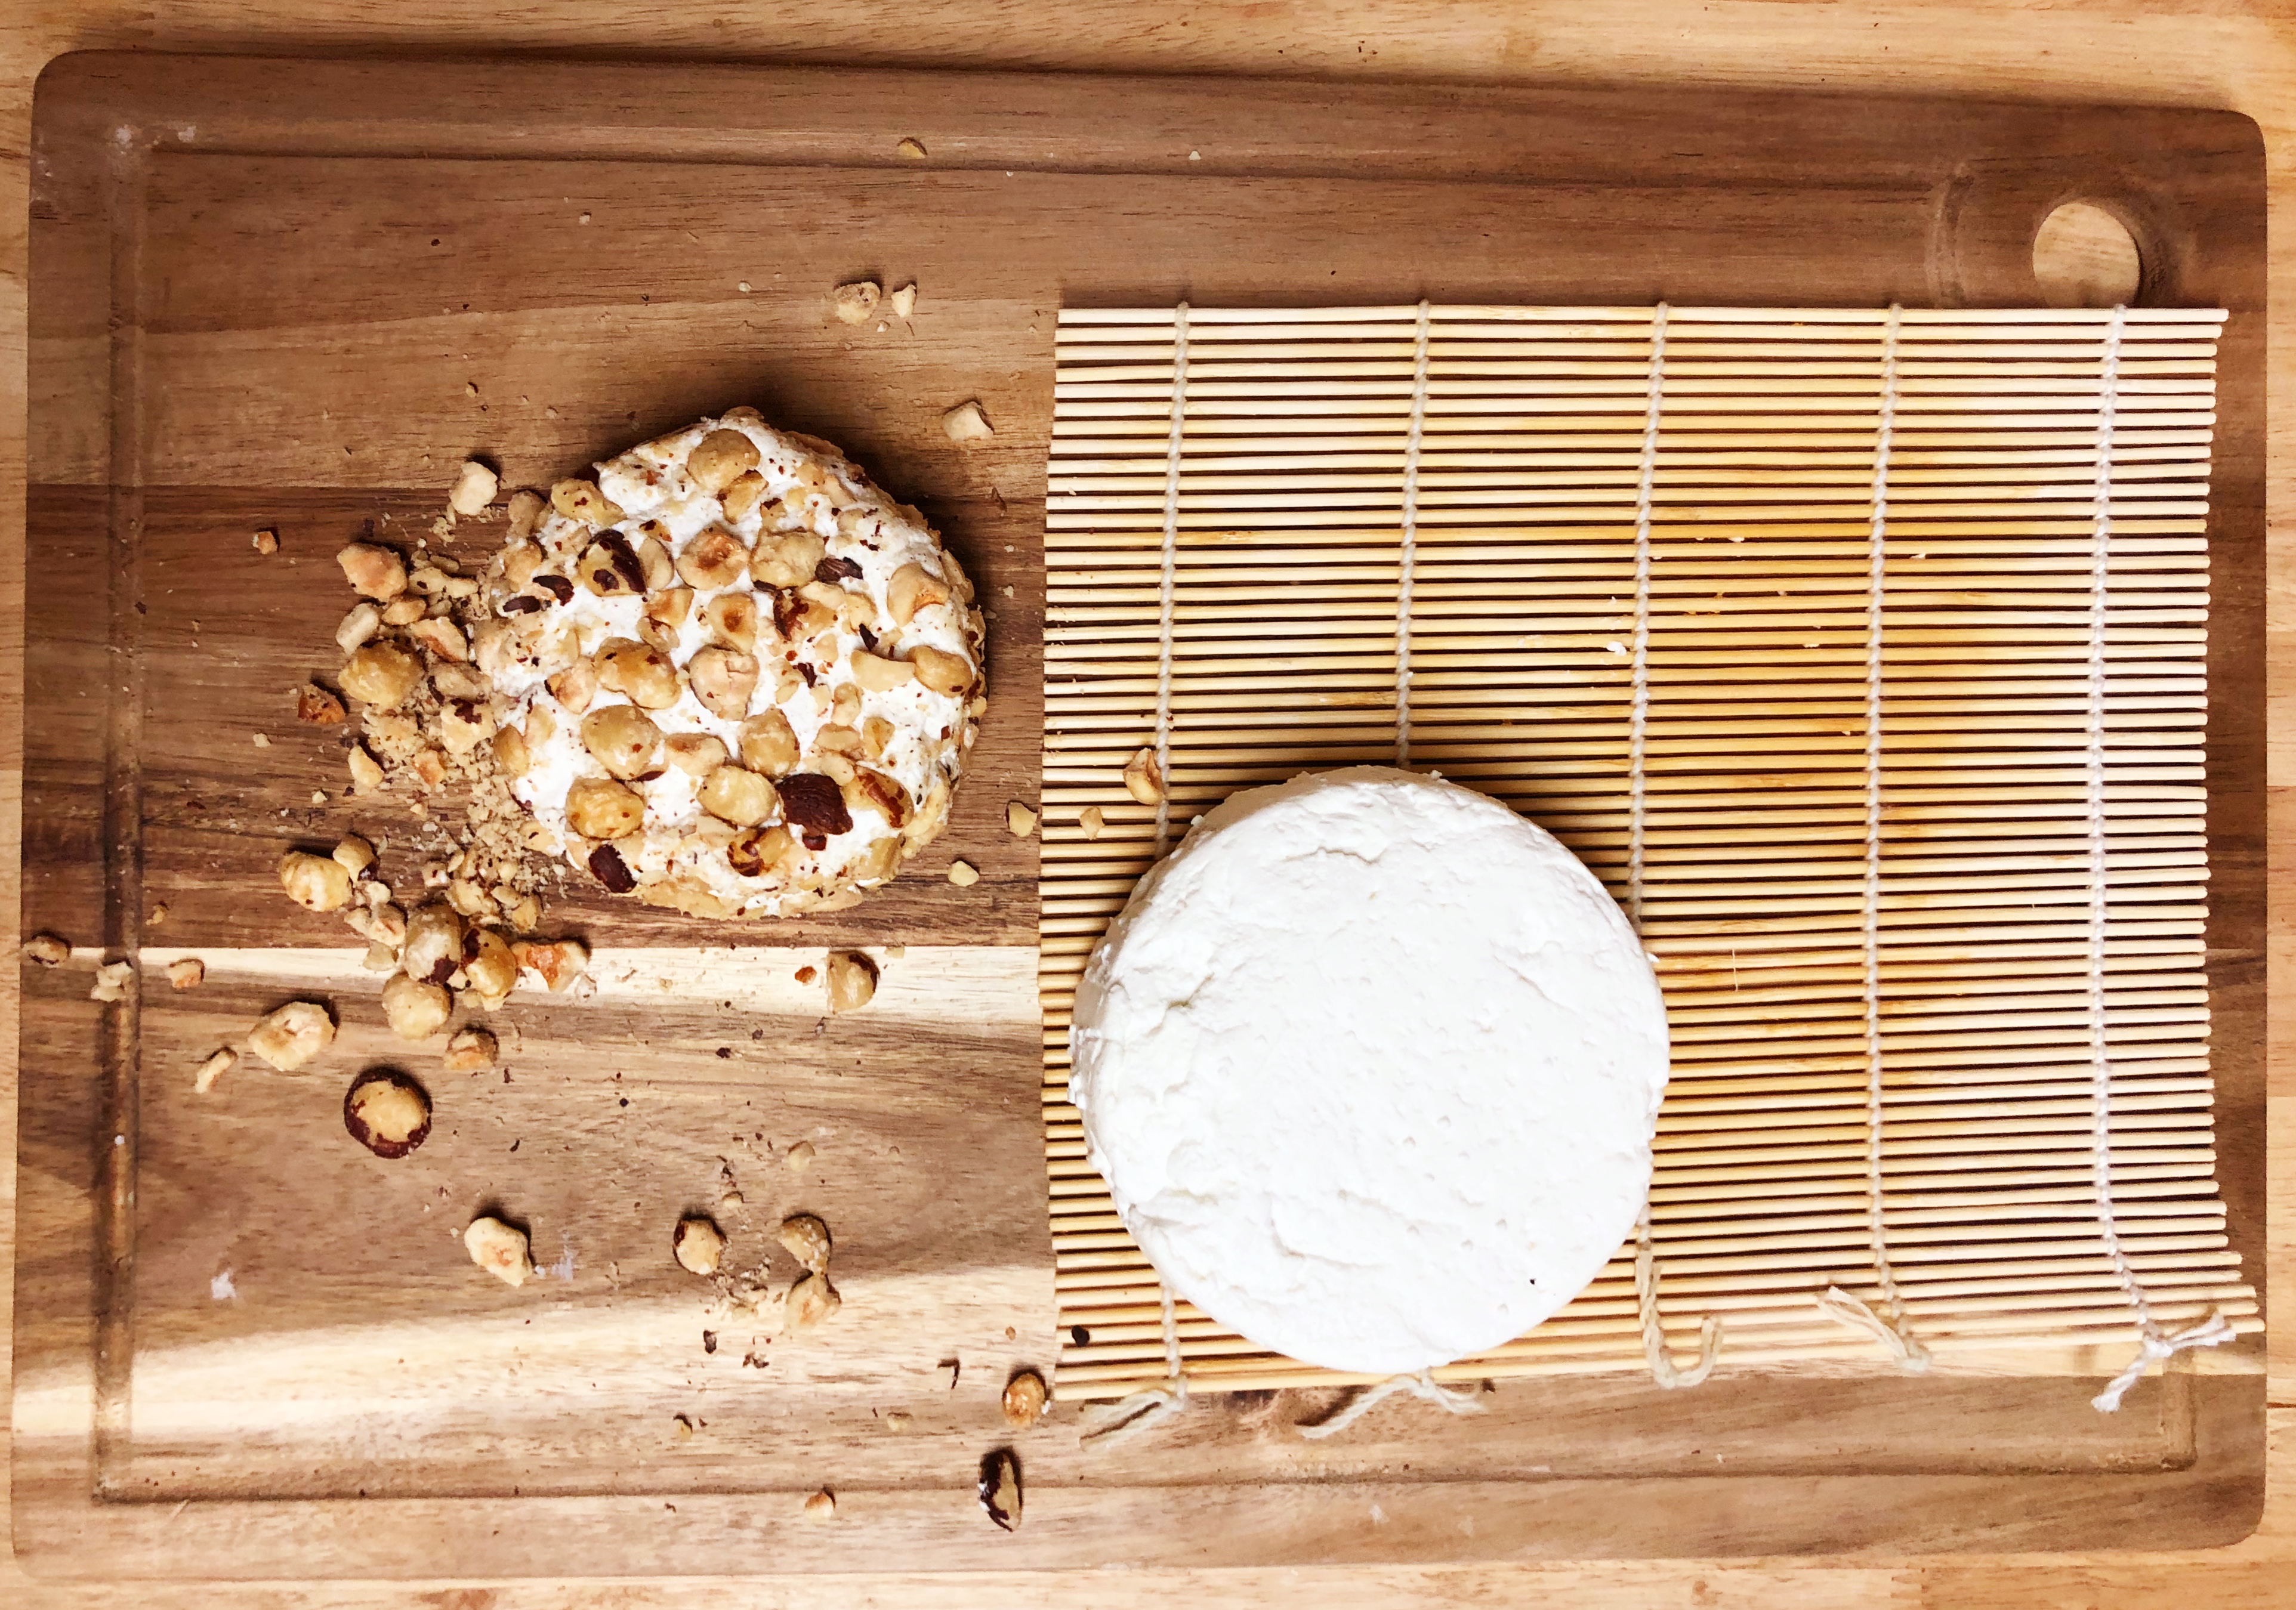
When the cheese has finished its drying period, roll each wheel in the crushed hazelnuts on all sides, gently pressing the larger pieces into the cheese.

Store the cheese in a vacuum-sealed bag for 12-24 hours to allow the flavors to meld, and then serve! The cheese will keep for 1-2 weeks in the refrigerator, on the longer end if you revacuum seal any unused portion.
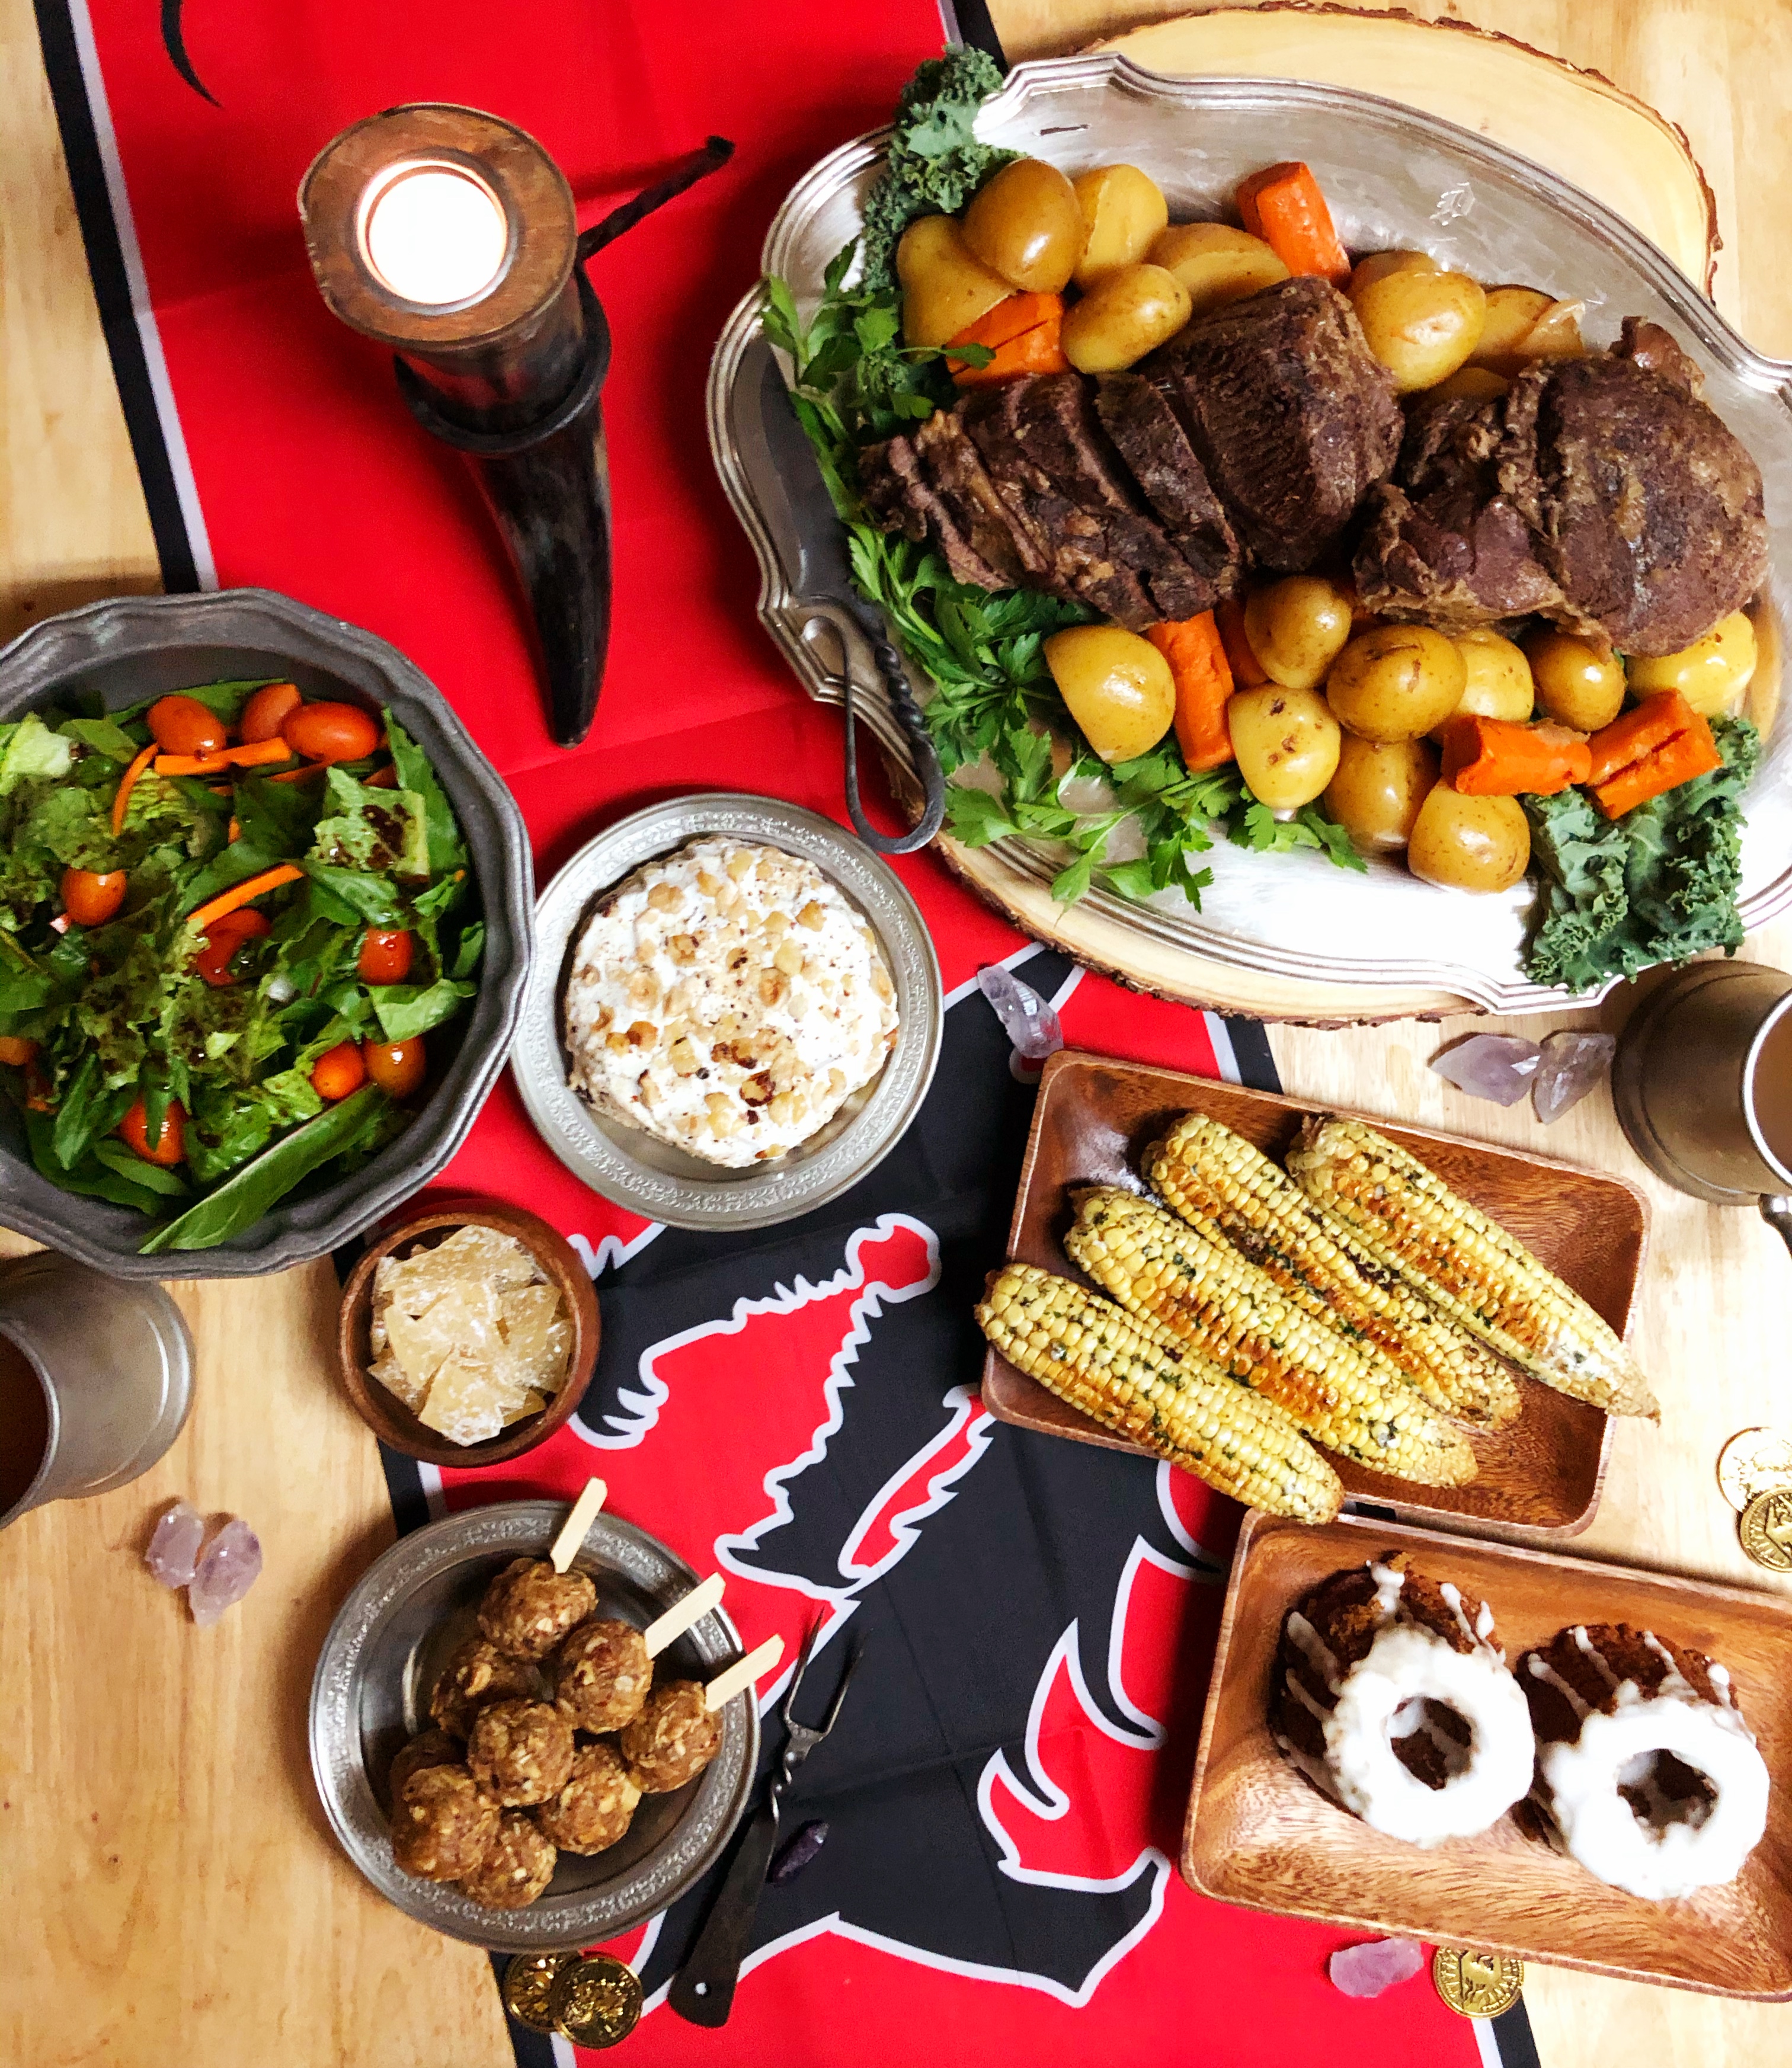
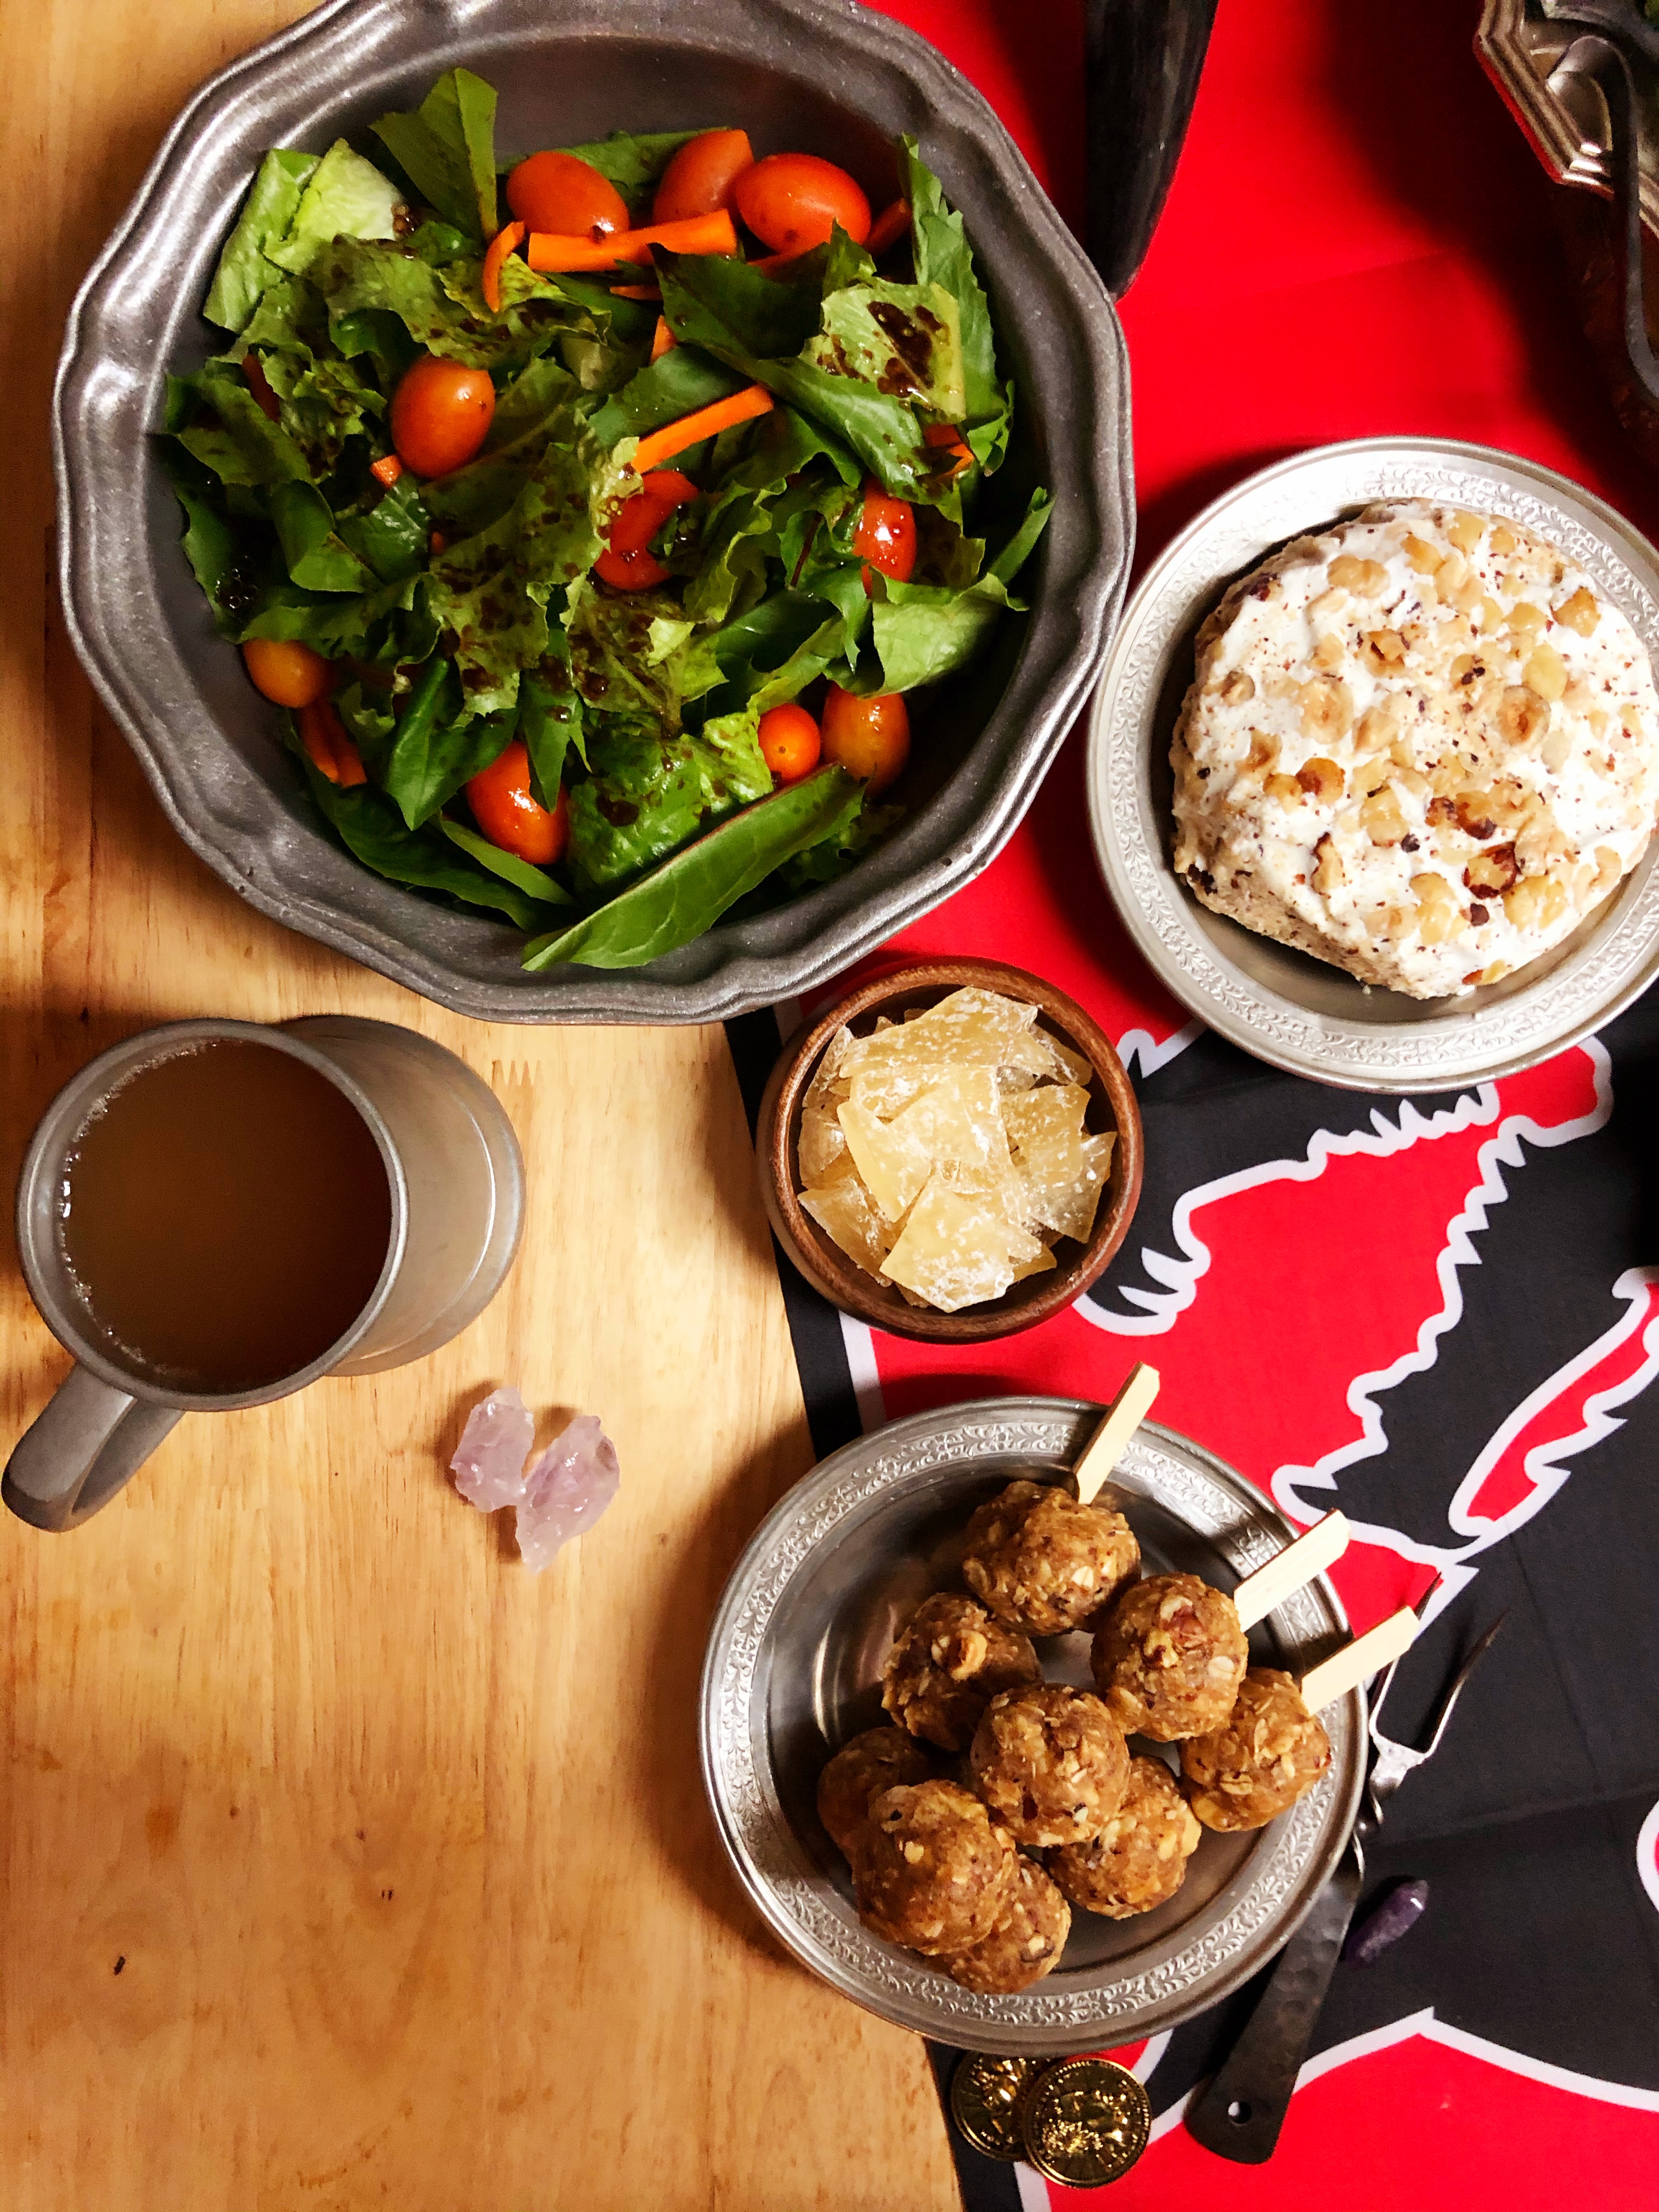
Serve with crackers, bread, or crumbled over salad. This cheese is delicious on roast beef sandwiches, with fruit, be like Basil Stag Hare and let your stomach be the guide!


Goatsmilk Cheese with Hazelnuts
A good beginner's cheesemaking recipe, with many delicious applications.
Ingredients
-1 Gallon Goat Milk (Pasteurized or Raw, never Ultra-Pasteurized)-1 Tbs Unchlorinated Water
-8 Drops Rennet
-1 Packet Chevre C20G Starter Culture
-1/2 tsp Coarse Kosher Salt, Divided
-1 1/2 cups Raw Hazelnuts
Directions
- Gather your ingredients and tools for the cheese (goat milk, starter culture, rennet, unchlorinated water).
- Pour the goat milk in a large pot and attach a thermometer with a clip. Place the pot in a sink or basin filled with warm water and allow the temperature of the milk to raise to 68-86 degrees Fahrenheit, stir a couple of times to ensure the milk is evenly heated.
- Remove the pot from the sink and sprinkle one packet of Chevre Starter Culture over the top of the milk, allow it to sit for two minutes before stirring in.
- Add 8 drops of Rennet to 1 Tbsp of Unchlorinated Water. After two minutes has elapsed since the starter culture was added to the milk, add the rennet and stir the milk gently to ensure it is evenly mixed. Cover the pot and allow it to sit for 6-12 hours.
- When the curds have separated from the way, and testing the curd mass with a knife yields an even break, line a large colander with butter muslin or cheese cloth and place in the sink. Ladle the curds into the colander and cover gently. Allow them to drain for 10-14 hours.
- Gently scoop the curds into two small cheese molds, gently pressing down with the back of a spoon after each addition scoop to ensure there are no hidden pockets of air. Sprinkle 1/4 tsp Coarse Kosher Salt and allow the cheese to sit in the molds, loosely covered with cheesecloth, for 8-10 hours.
- Using two plates, unmold the cheese and flip it, so that it can be re-inserted into the mold upside down. Sprinkle 1/4 tsp Coarse Kosher Salt on the top and allow it to sit again, loosely covered with cheesecloth, for 8-10 hours.
- Unmold the cheese wheels onto a cheese drying mat (or sushi mat) and allow to sit, loosely covered with cheesecloth, for 8-10 hours.
- Preheat oven to 350 degrees and line a baking sheet with parchment paper.
- Spread hazelnuts in an even layer on the baking sheet and bake for fifteen minutes, stirring occasionally, until the nuts become fragrant.
- Transfer the still warm hazelnuts to a clean kitchen towel and fold it over, allowing them to steam in the towel for two minutes.
- After two minutes has elapsed, rub the towel back and forth to loosen the skins from the nuts. Allow the hazelnuts to cool completely before placing in a plastic baggie.
- Using a kitchen mallet or meat tenderizer, shatter the hazelnuts into small pieces. Set aside.
- After 8-10 hours has elapsed, pour out the shattered hazelnuts onto a cutting board and roll the goat cheese in the nuts, covering every surface and gently pressing the nuts into the cheese.
- Vacuum seal the cheese wheels into plastic bags and allow to age for 12-24 hours in the refrigerator before serving.