Moon-Sugar

“This one brings you good news, my cats and kittens, tigers and tigresses—especially for everyone who loves moon-sugar! And that’s all of us, isn’t it, my lion-hearts, because admit it: nothing makes our tails twitch like a moon-sugar-glazed sweet roll!”

-“Moon-Sugar for Glossy Fur? Yes!” by Rathuni-la Dawnwhisker, The Elder Scrolls Online

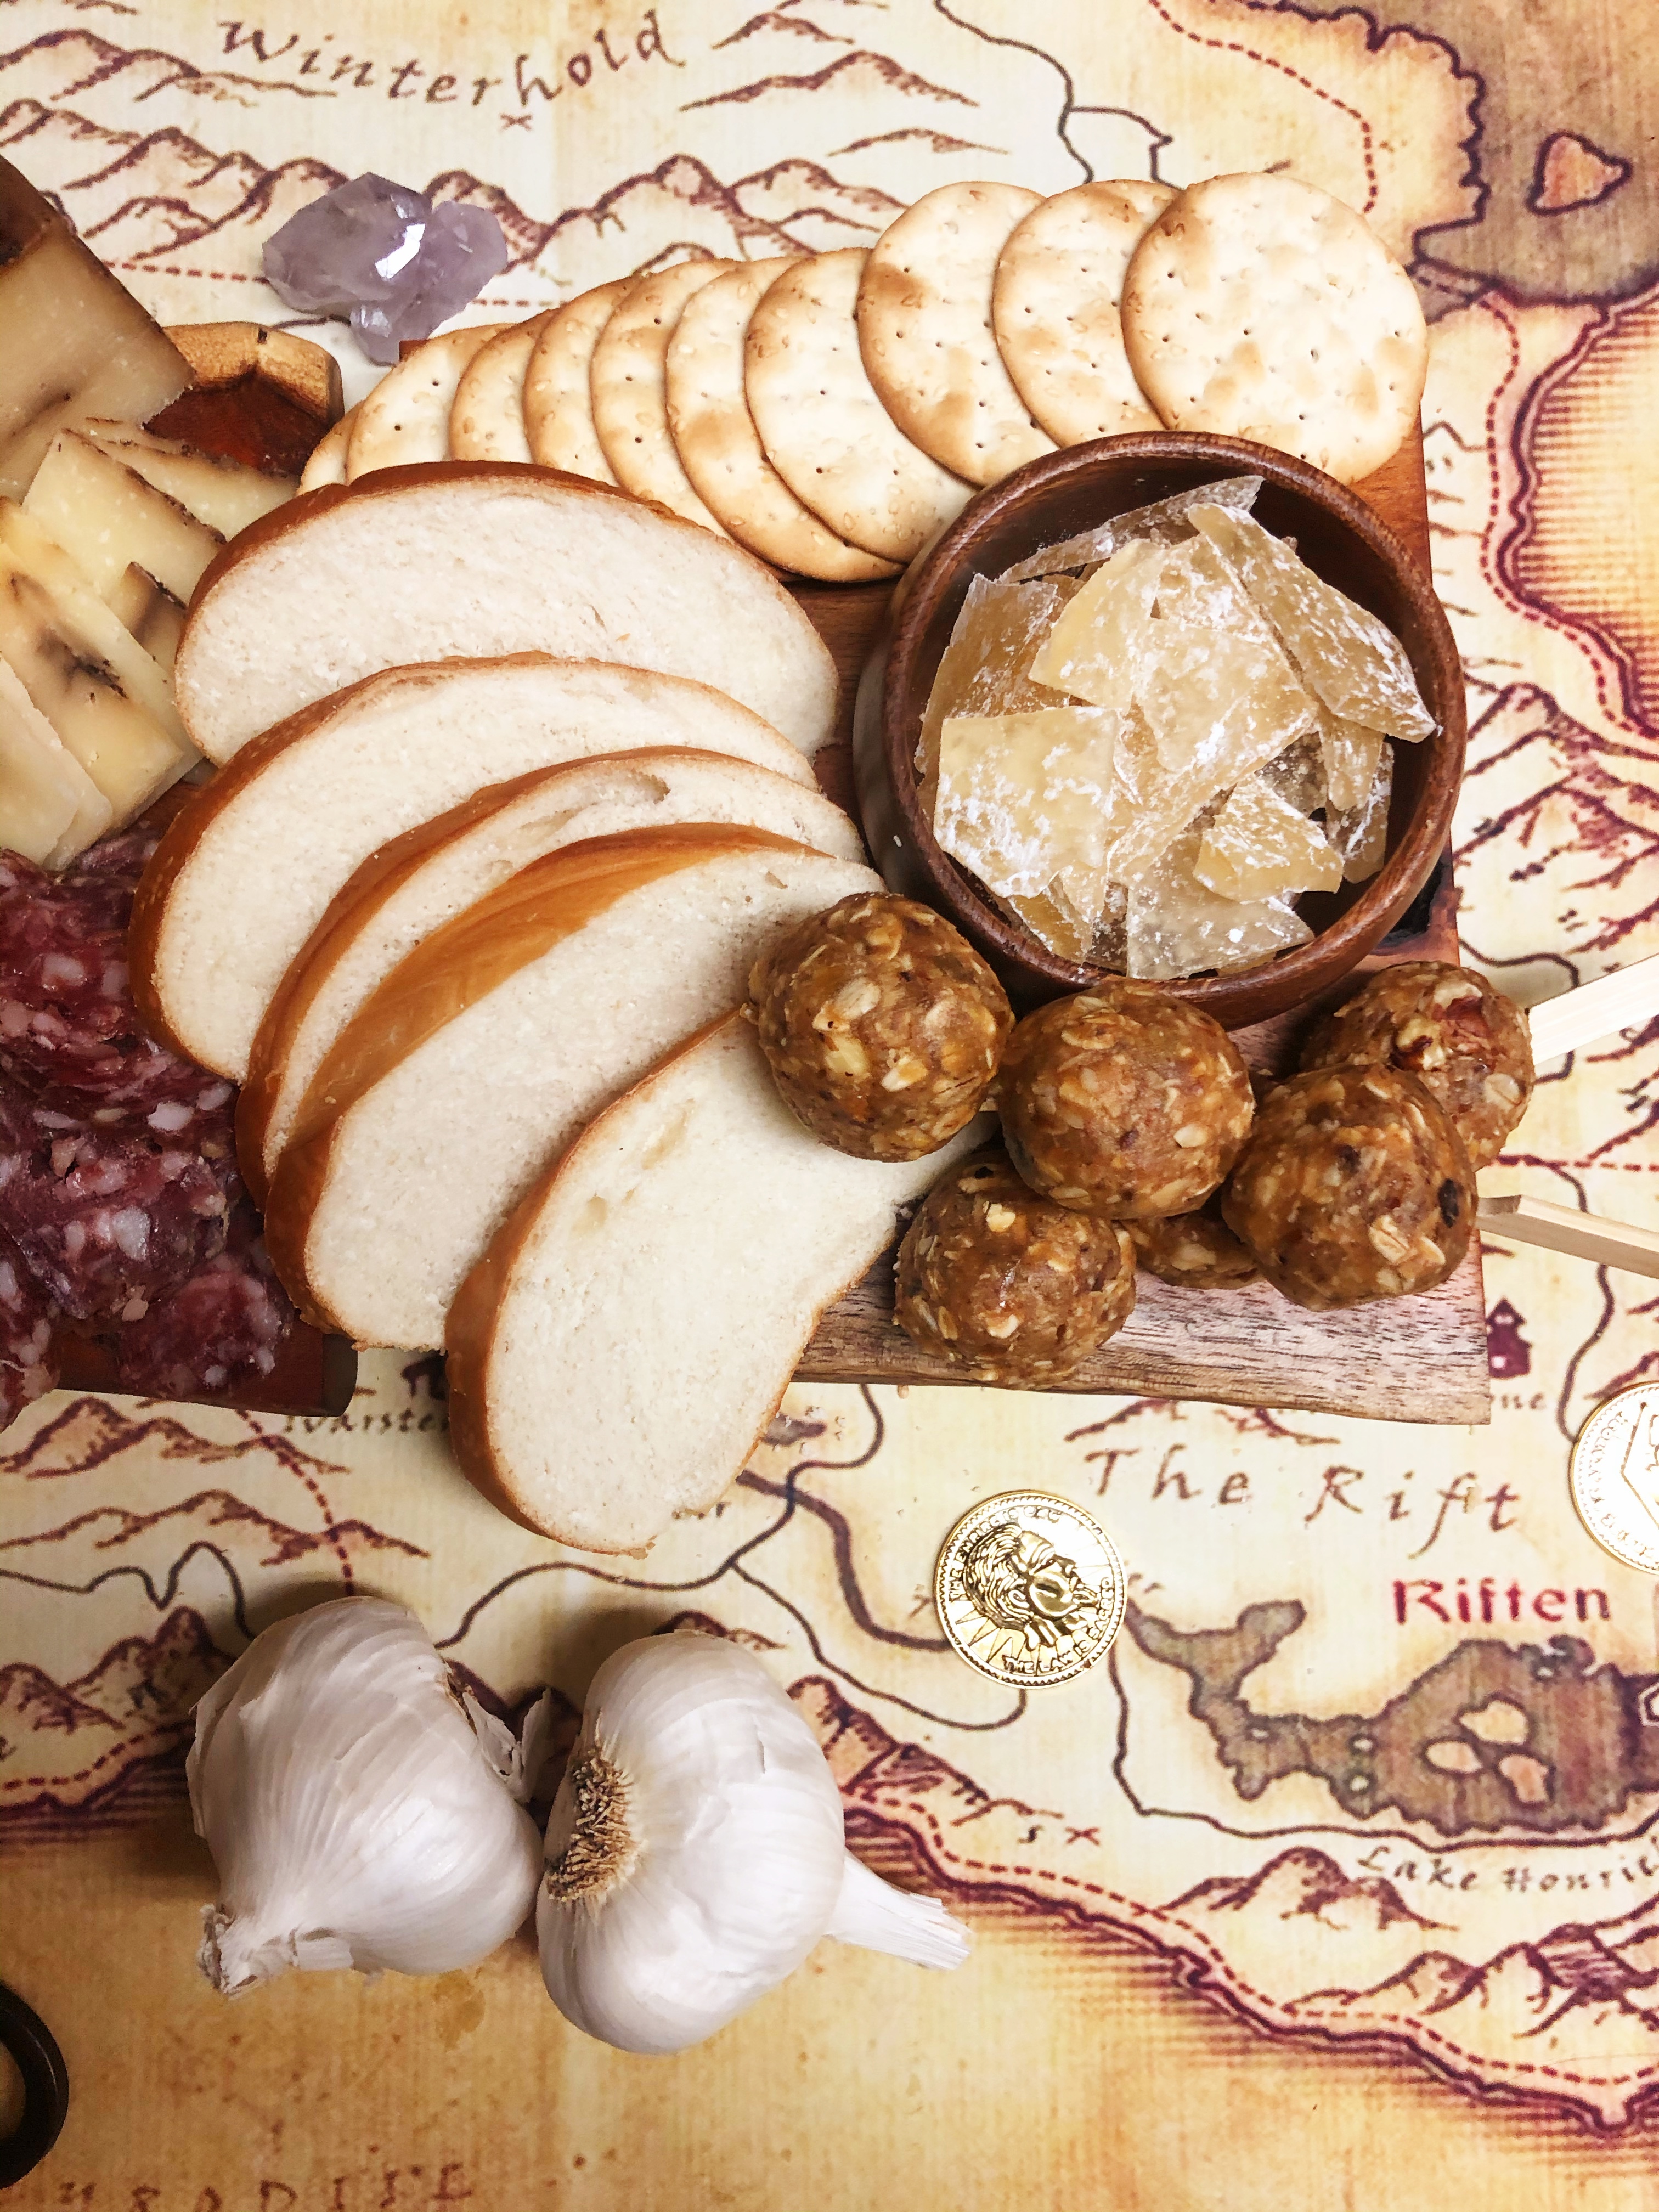
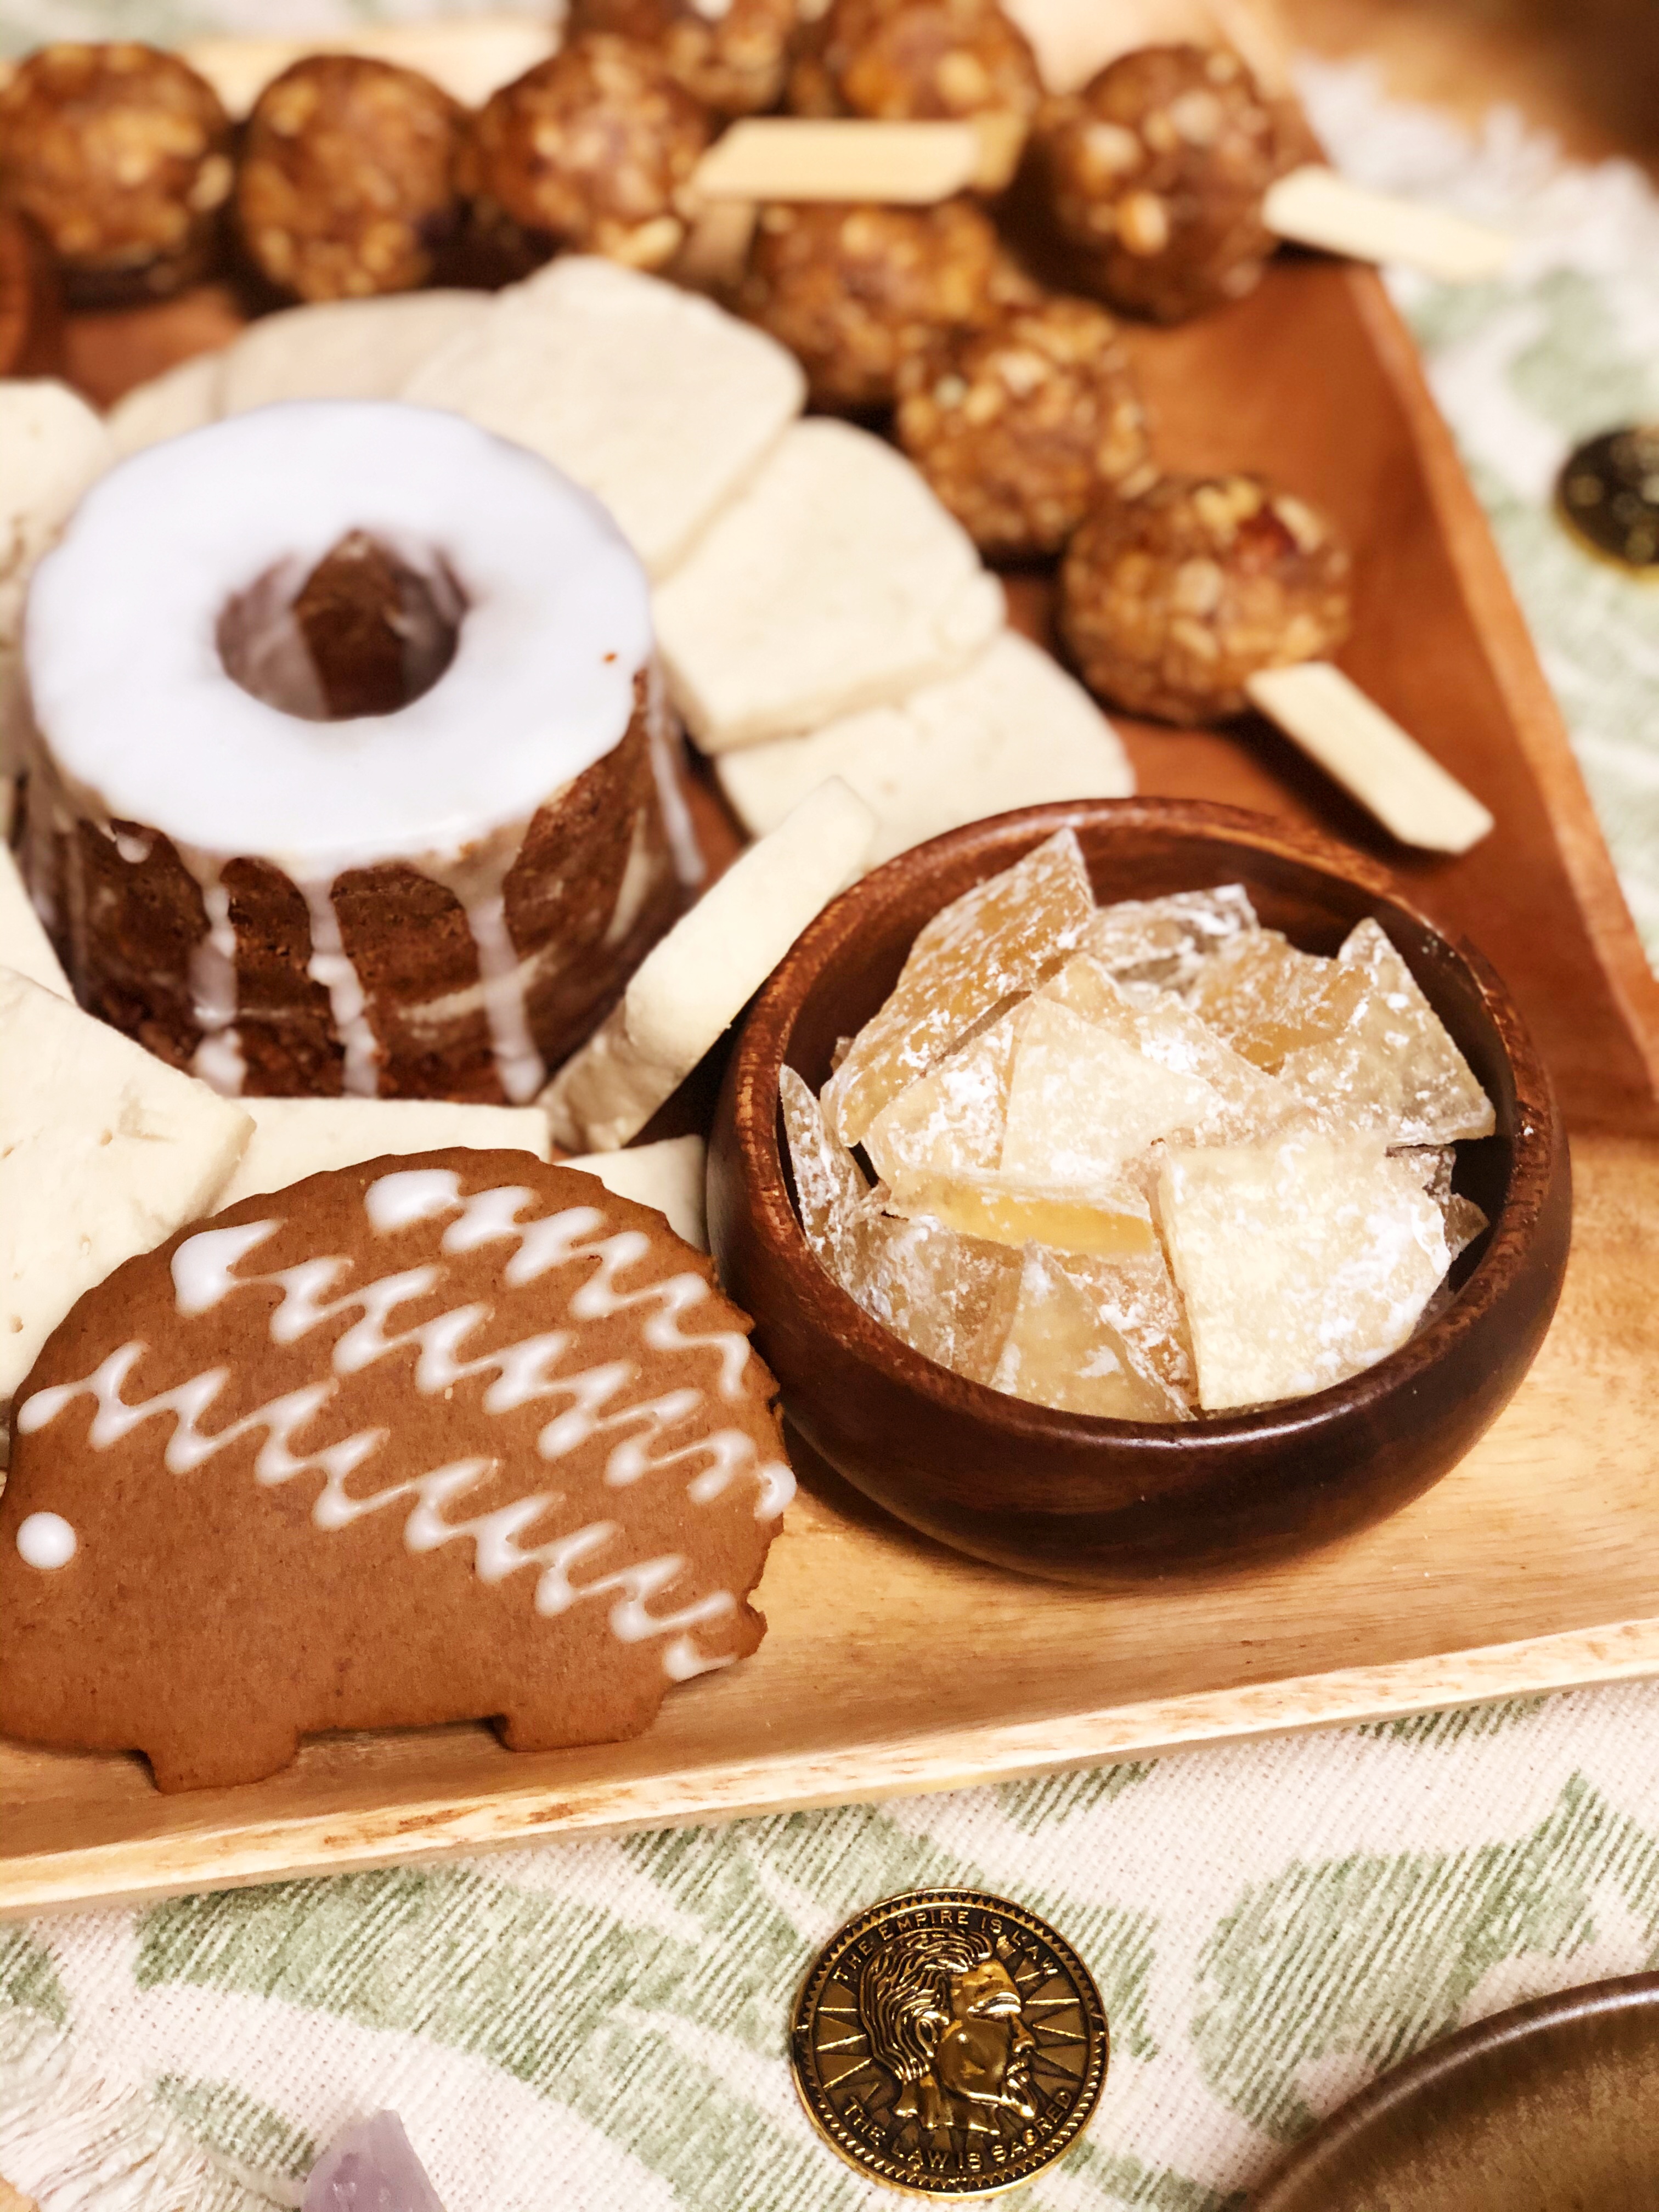
Creating edible alchemical ingredients is a special passion of mine, and there is none as iconic as Moon-Sugar. As a longtime fan of Khajiit, bringing this sugary treat to my holiday sweets smorgasbord was a must! When bringing fictional food to life, however, a Provisioner occasionally has to decide between two sometimes conflicting traits: should it taste as described, or look as shown? In the case of Moon-Sugar, creating a sweet treat that resembles a bowl of the ingredient was my primary purpose, with a secondary goal of creating a flavor that would suit an Elder Scrolls theme, while not behaving in the real world the way Moon-Sugar behaves in the video games. The candy we will be making is a hard candy often called “Shattered Glass Candy,” but with the slight change of using a herbal tea for flavoring and coloring.

To start, gather your ingredients. You will need 2 cups of granulated sugar, 3/4 cup of light corn syrup, 1/4 tsp Vanilla extract, and 1/2 cup strongly brewed herbal tea. I used a Citrus Lavender tea by Teavana, but you can really branch out and pick whichever tea sounds good to you! This tea created a soft yellow color that resembled the images of Moon-Sugar in Skyrim, which was one of the reasons why I picked it. If the color is not important to you, you could even substitute strongly brewed coffee! When steeping my tea I used two tea bags in a little over 1/2 cup of hot water and steeped it until the water had cooled. If you’re using herbal tea you can use this method, but if you decide to use any tea with actual tea leaves, I recommend using an extra tea bag and not steeping for more than five minutes, to avoid excess tannins causing bitter and astringent flavors in the tea.

As you prepare to make the Moon-Sugar, I also recommend wearing shoes and making sure no pets or small children can wander freely in the kitchen. You will be working with molten sugar!

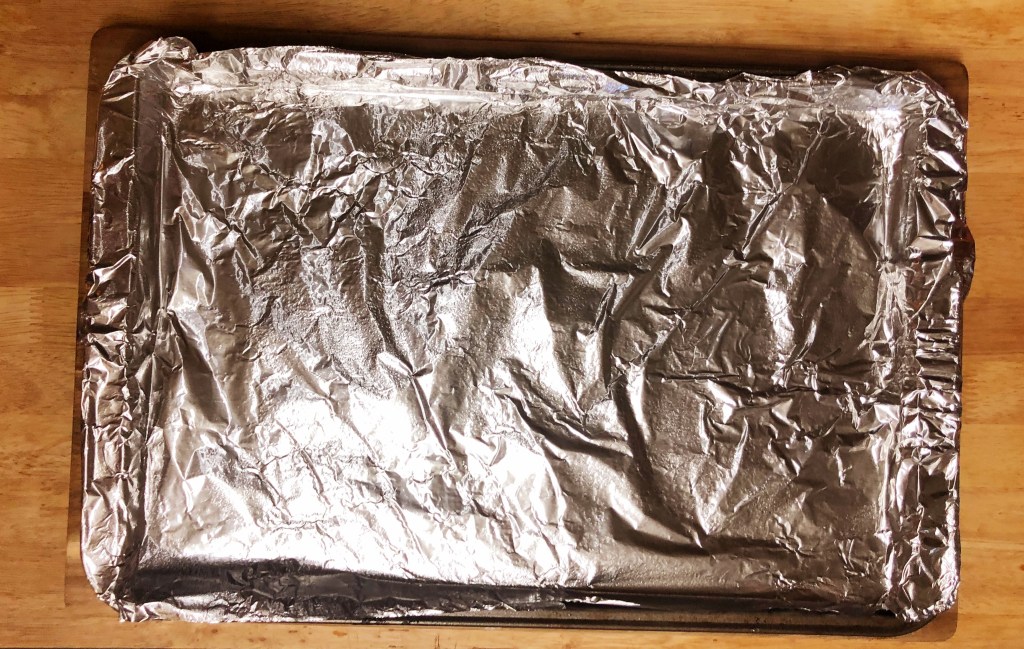
Before beginning with the sugar, line a medium-sized cookie sheet with tinfoil and spray with non-stick spray. If you would like, you could substitute a cookie sheet with a silicone mat instead.

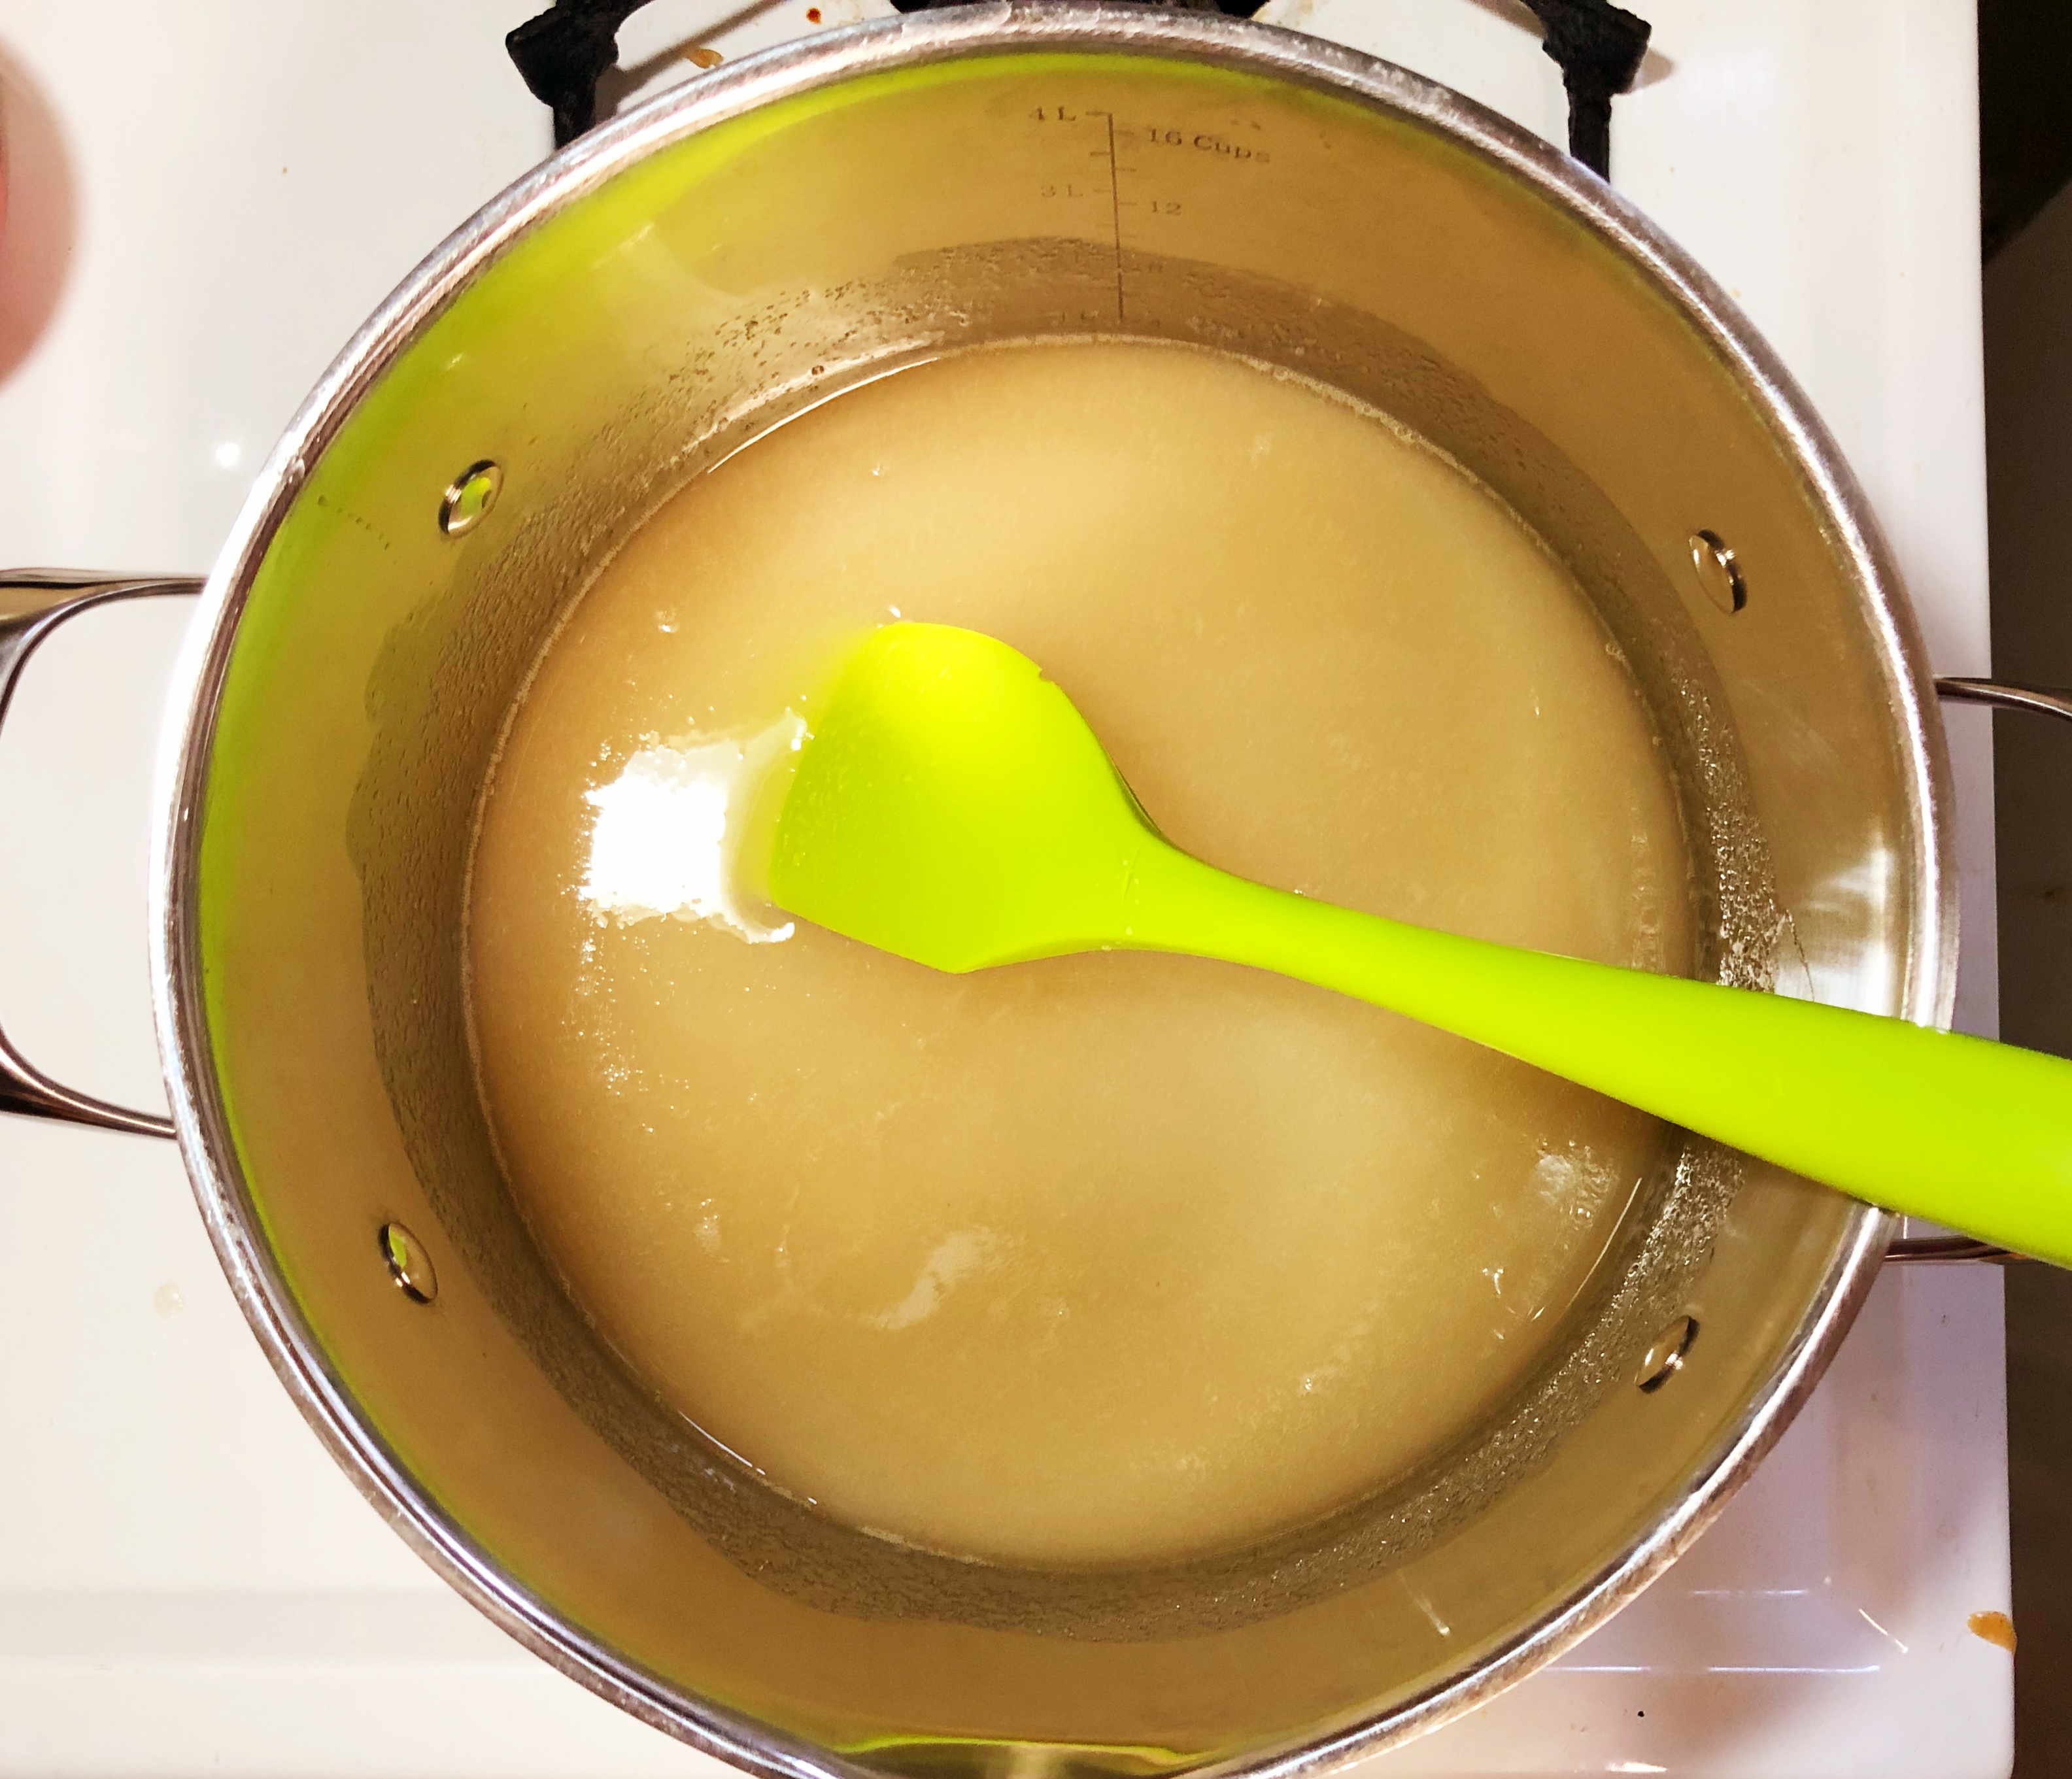
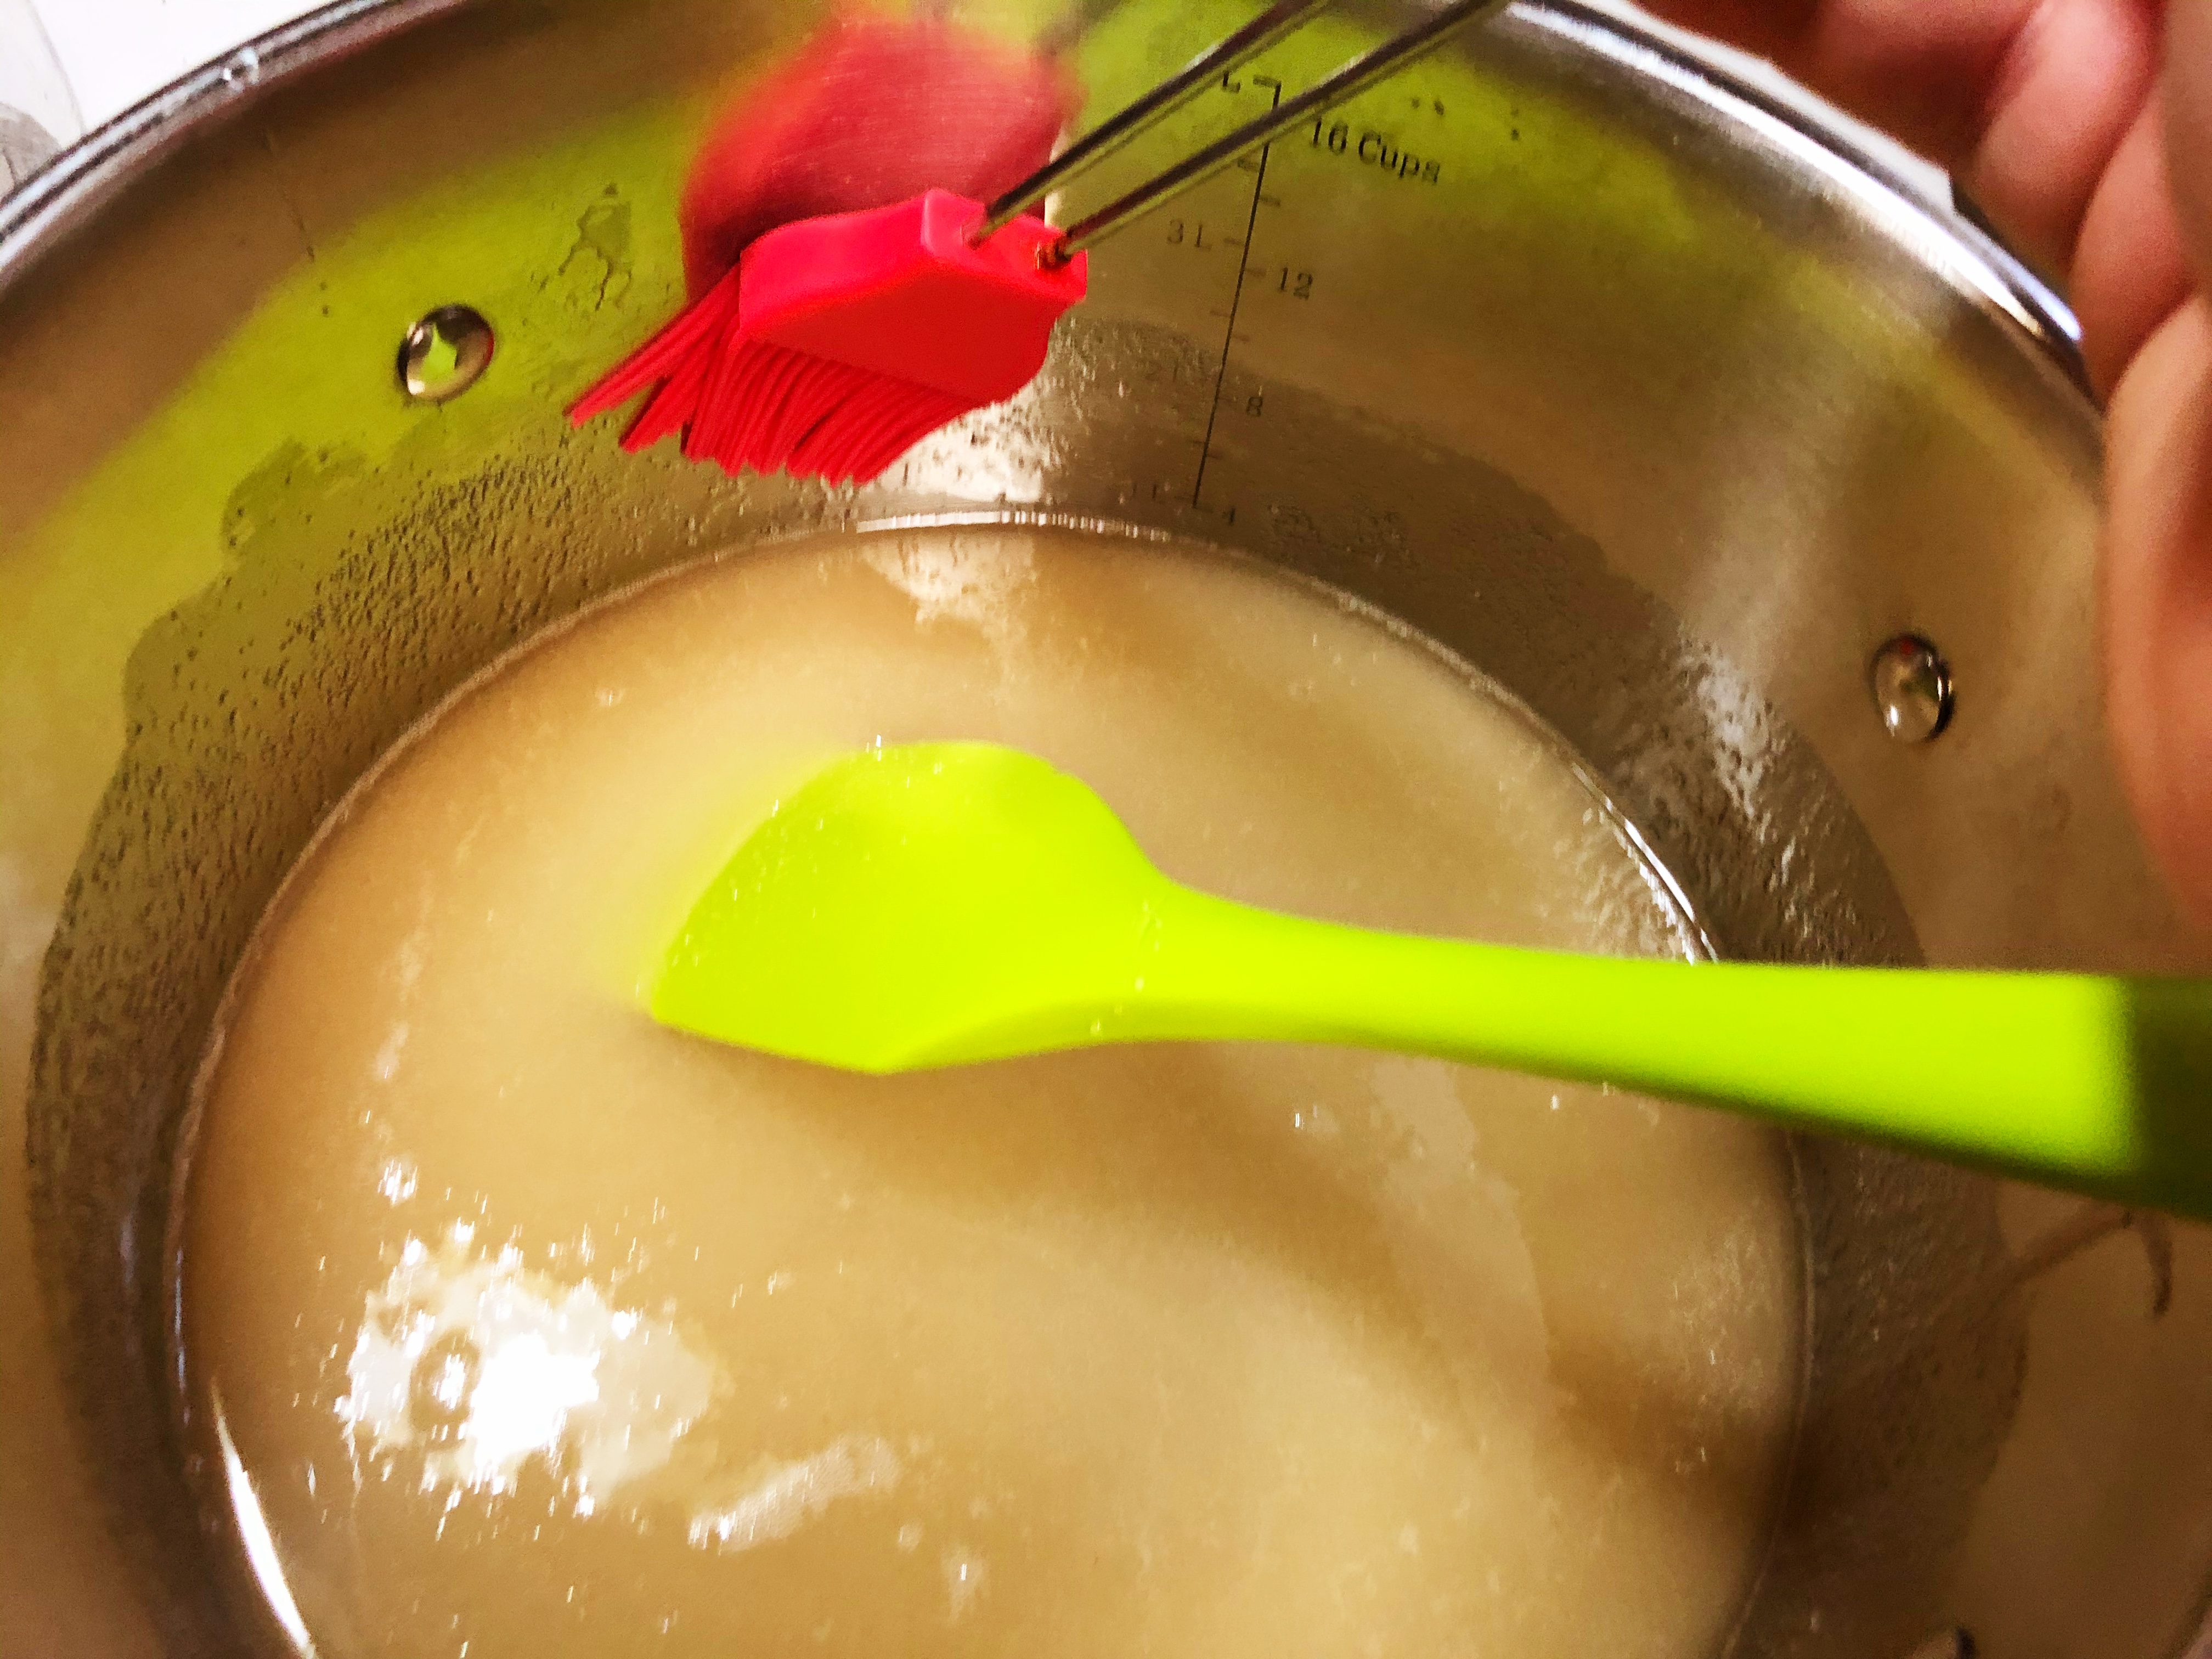
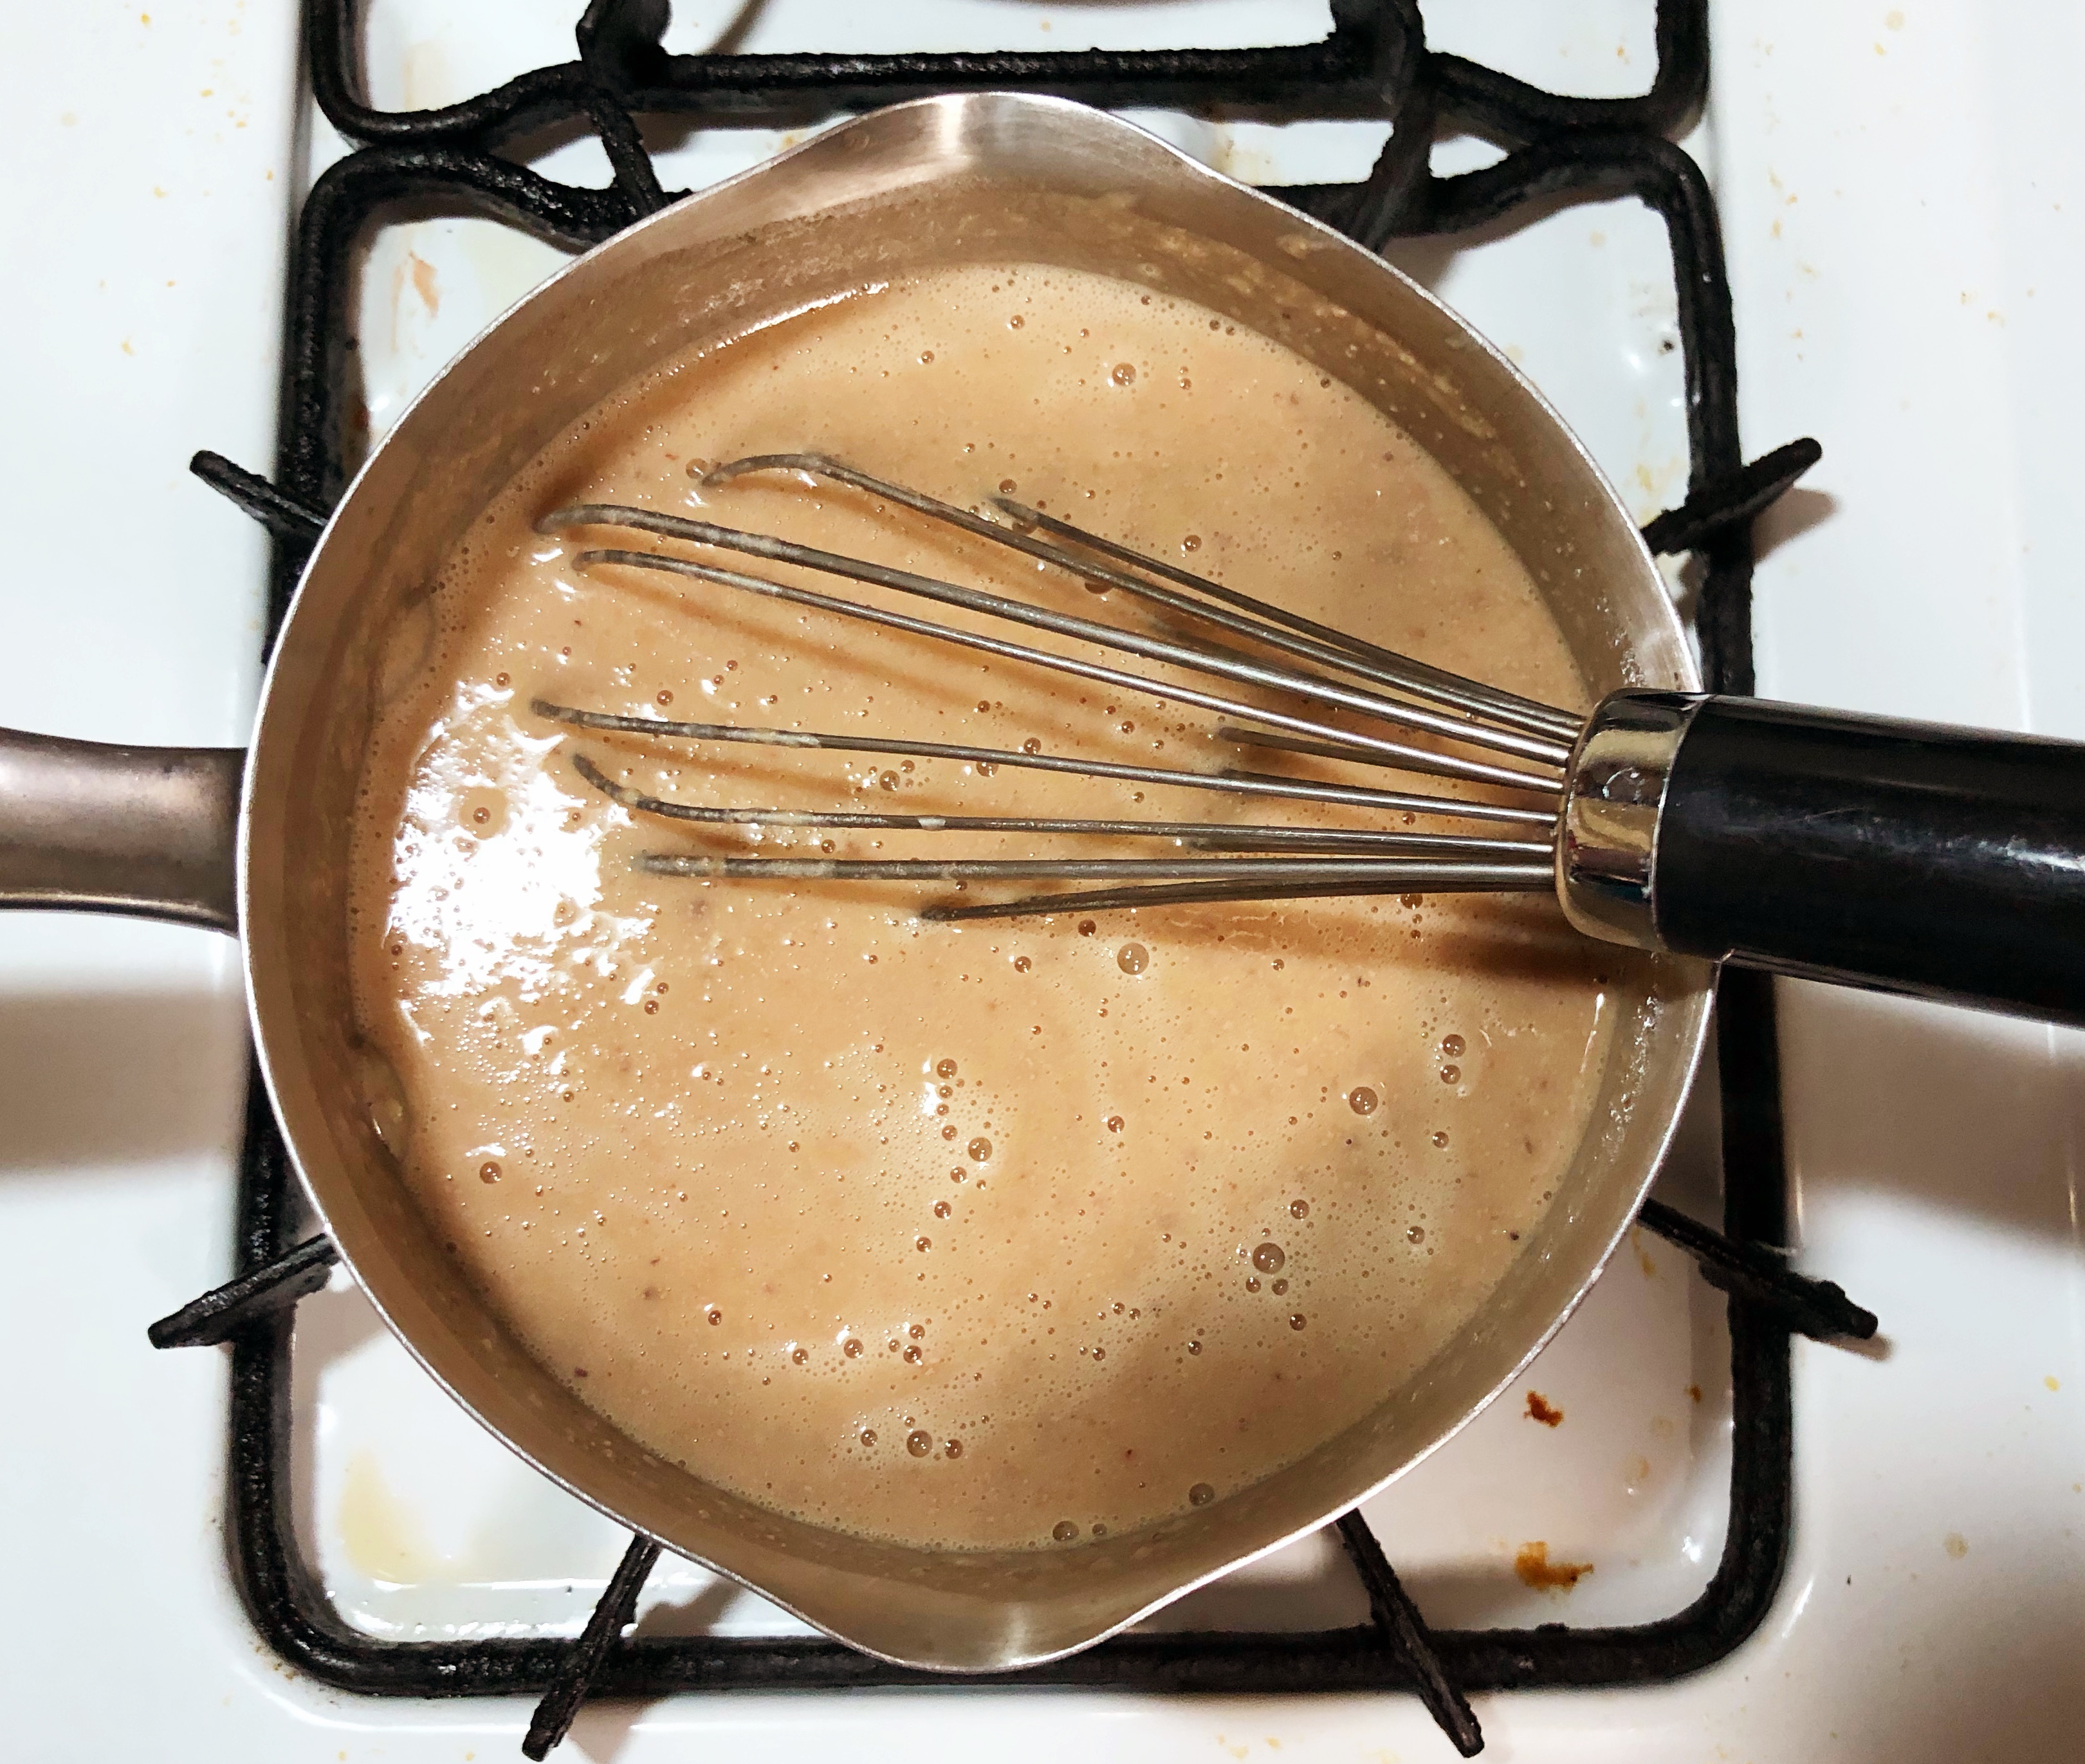
Begin by bringing the sugar, corn syrup, and tea to a boil in a high-walled pot, stirring frequently until the sugar is fully dissolved. Brush down the sides of the pot with warm water to help prevent sugar crystals from forming up the sides.

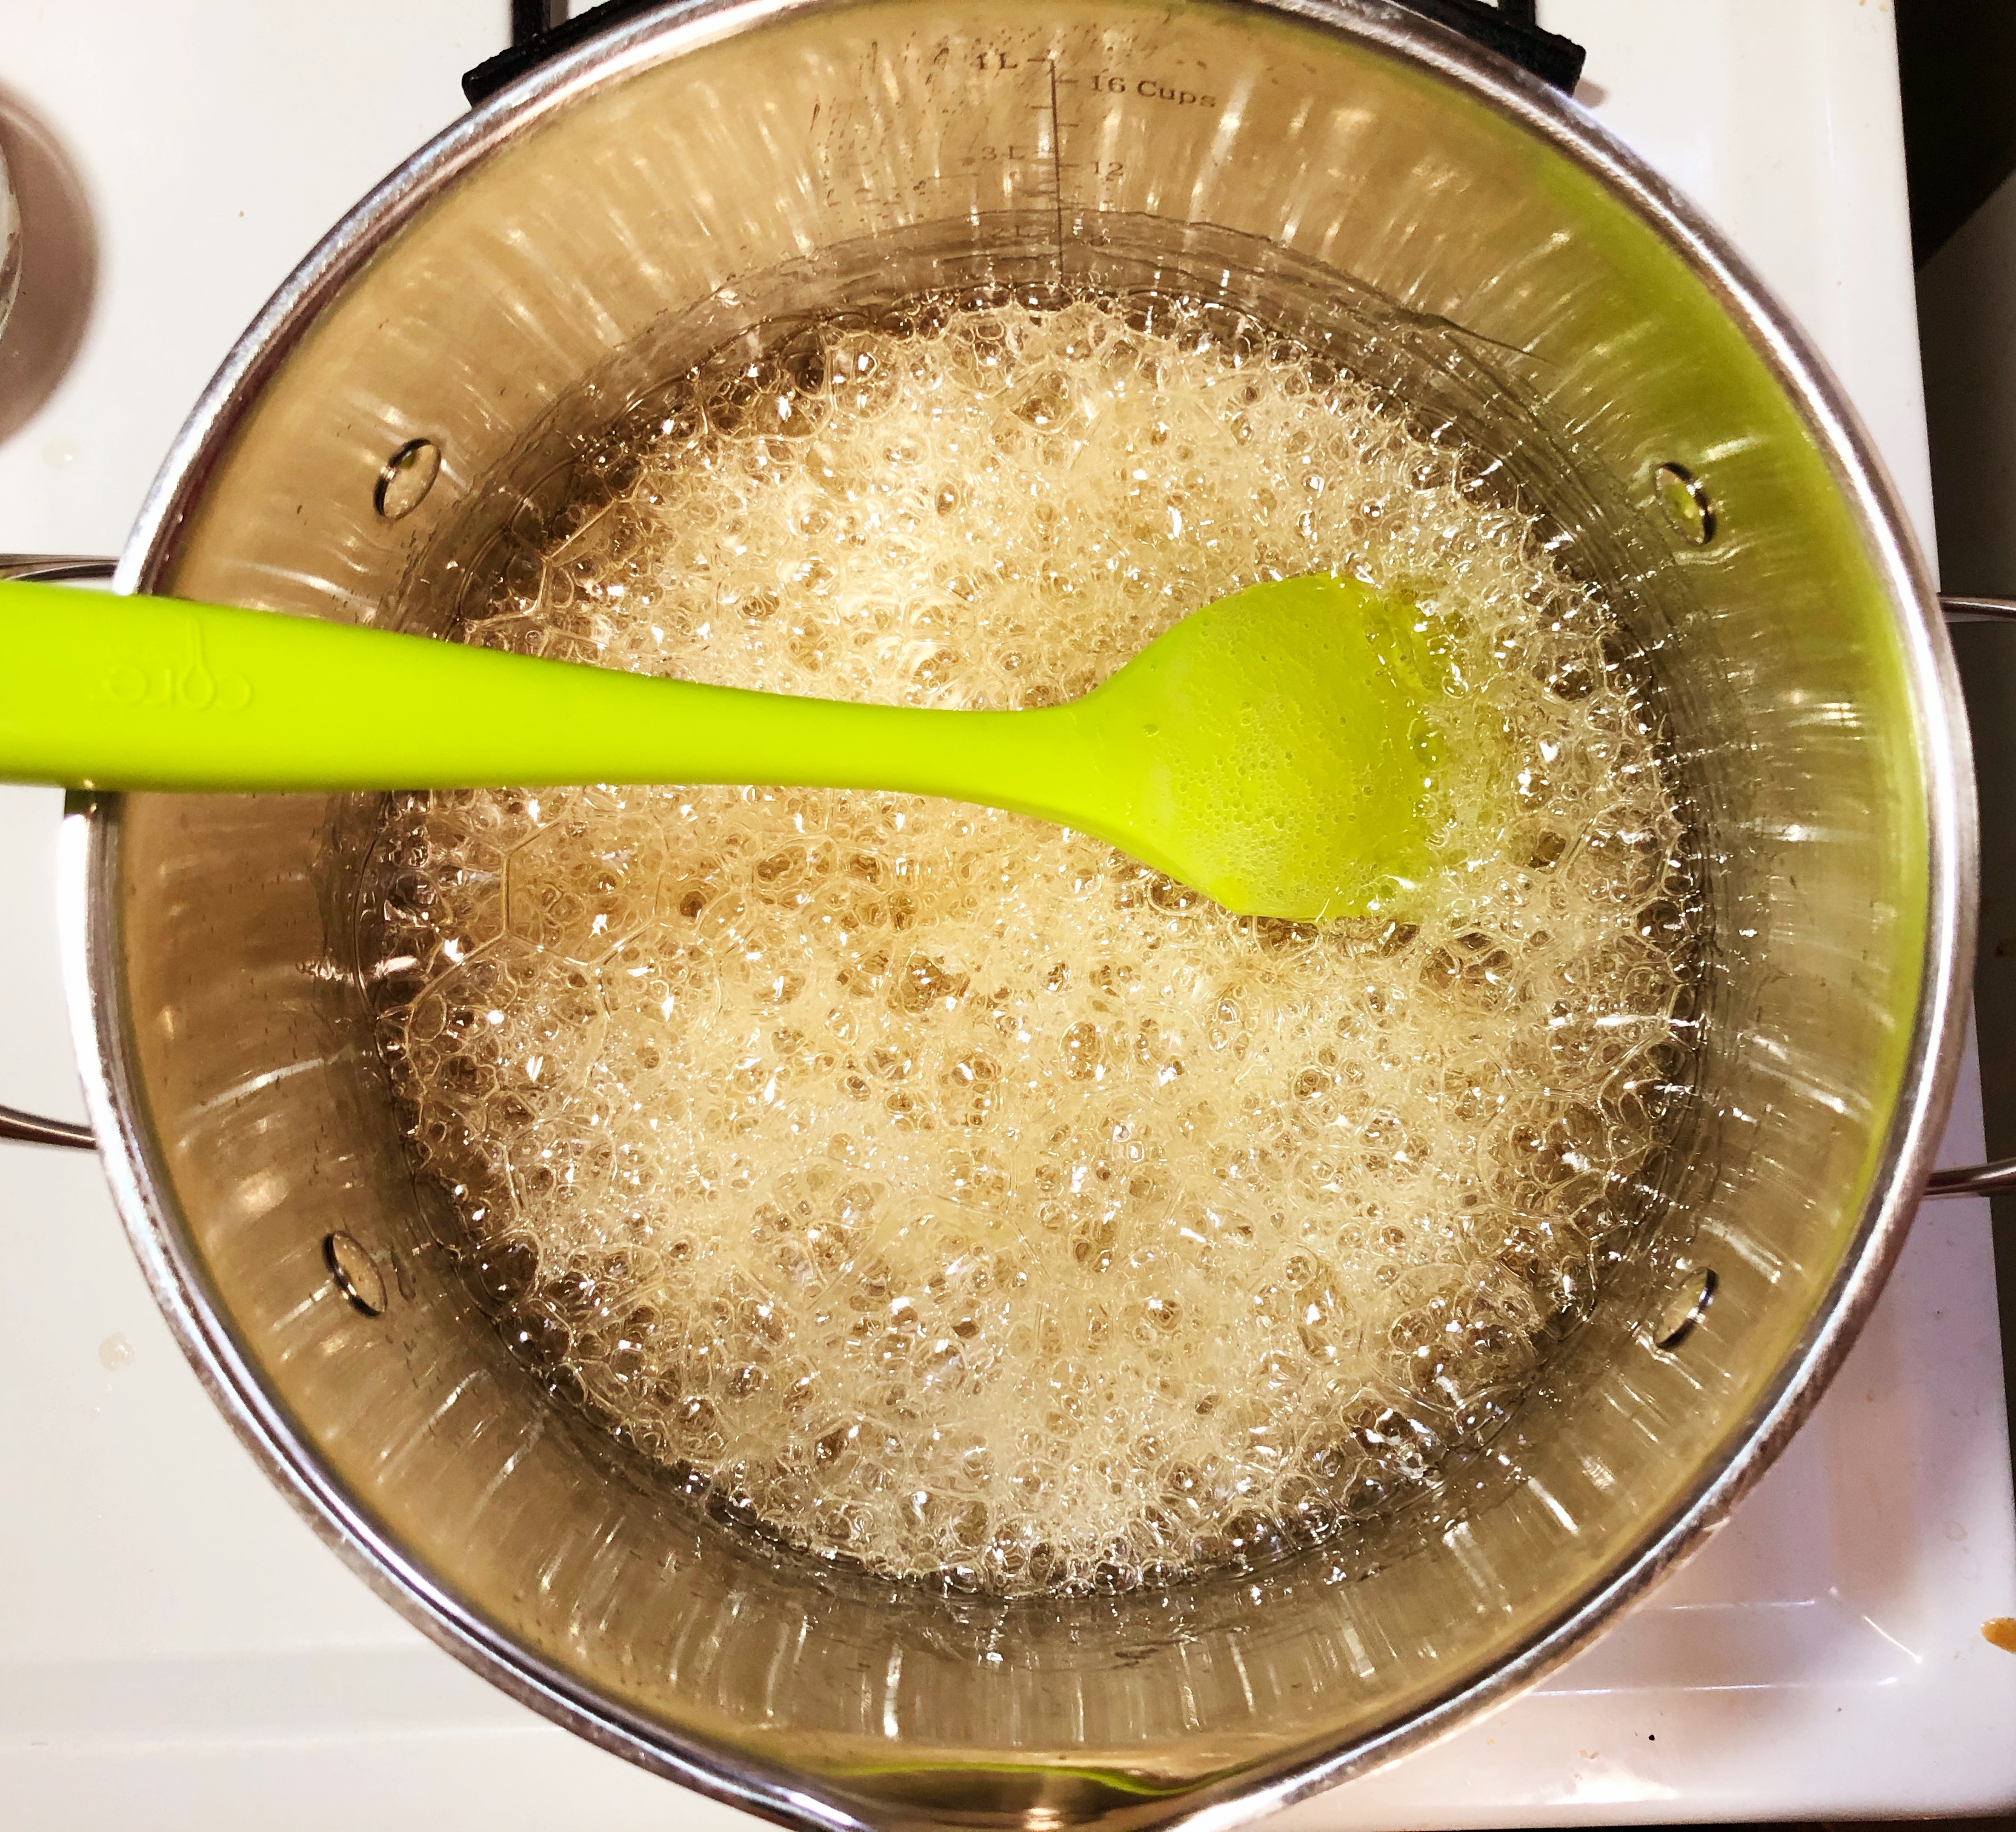
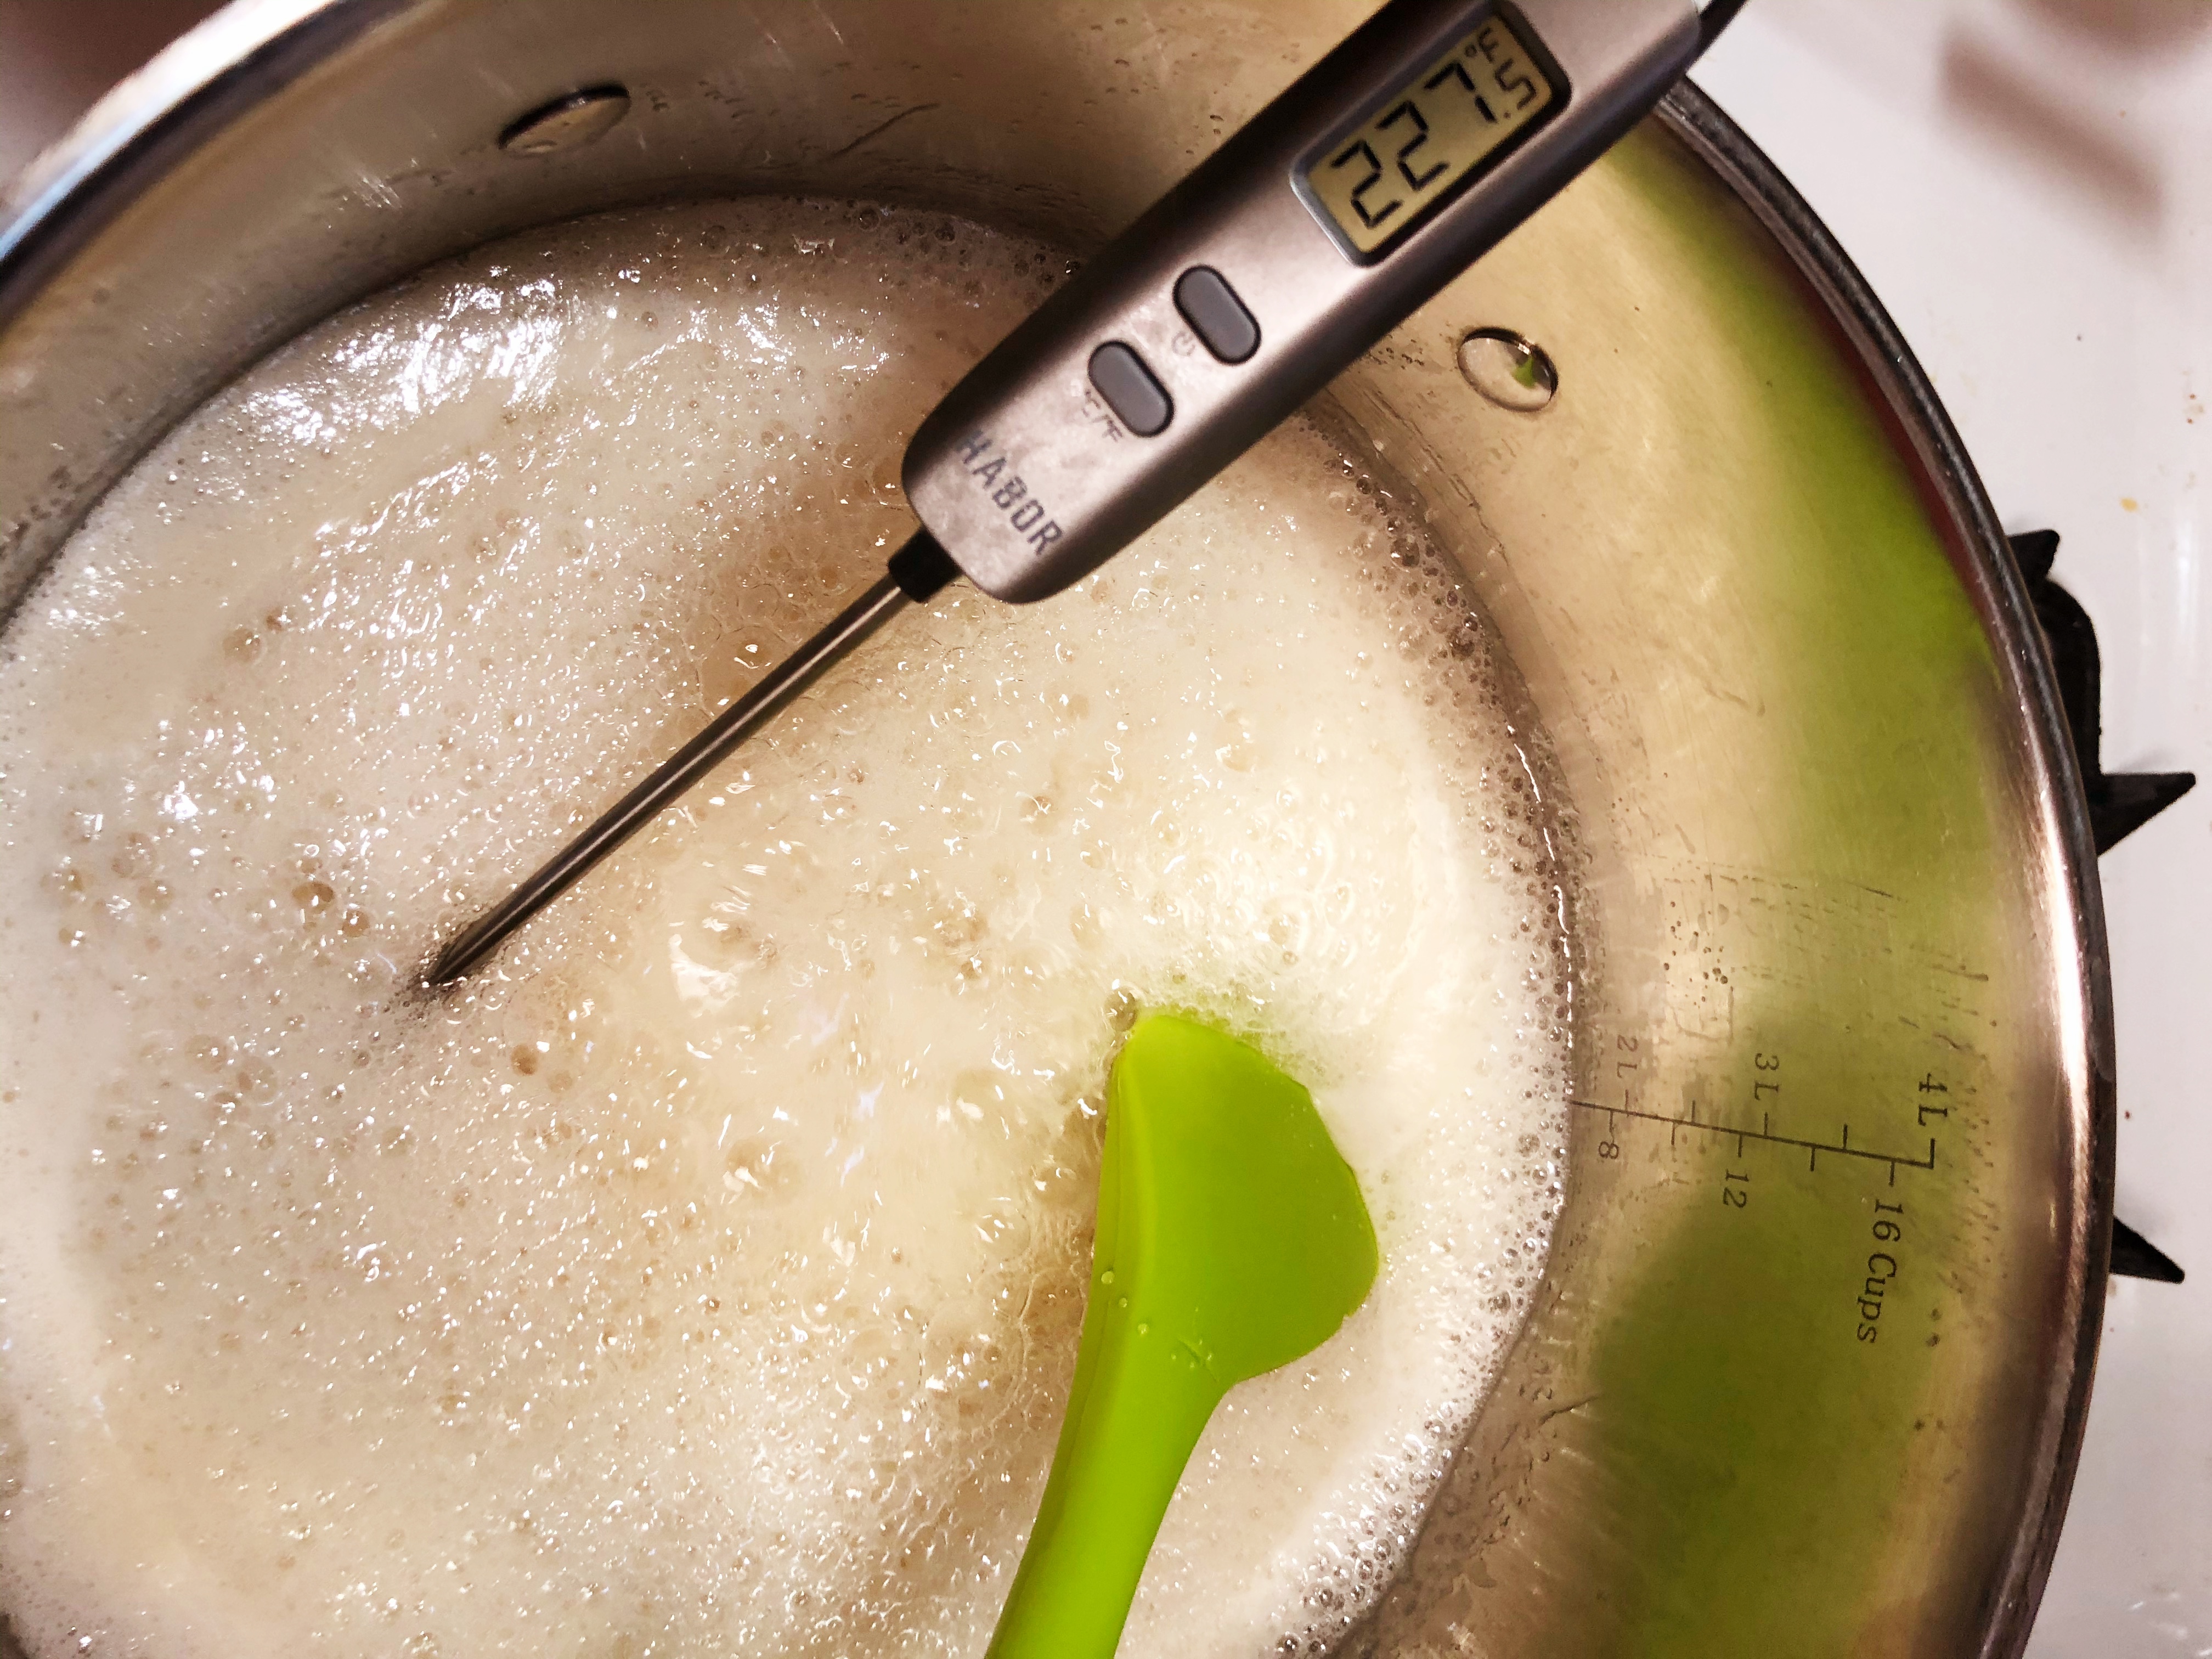
When the sugar mixture has come to a boil, continue stirring occasionally and insert a high-temperature thermometer. Continue boiling and stirring occasionally until the temperature reaches 300 degrees Fahrenheit. Turn off the heat and allow the pot to sit for a moment until the sugar stops bubbling (there will still be bubbles, but no new ones forming). Stir in the vanilla extract.

Pour the sugar syrup carefully into the prepared pan and allow it to cool completely and harden, about an hour.

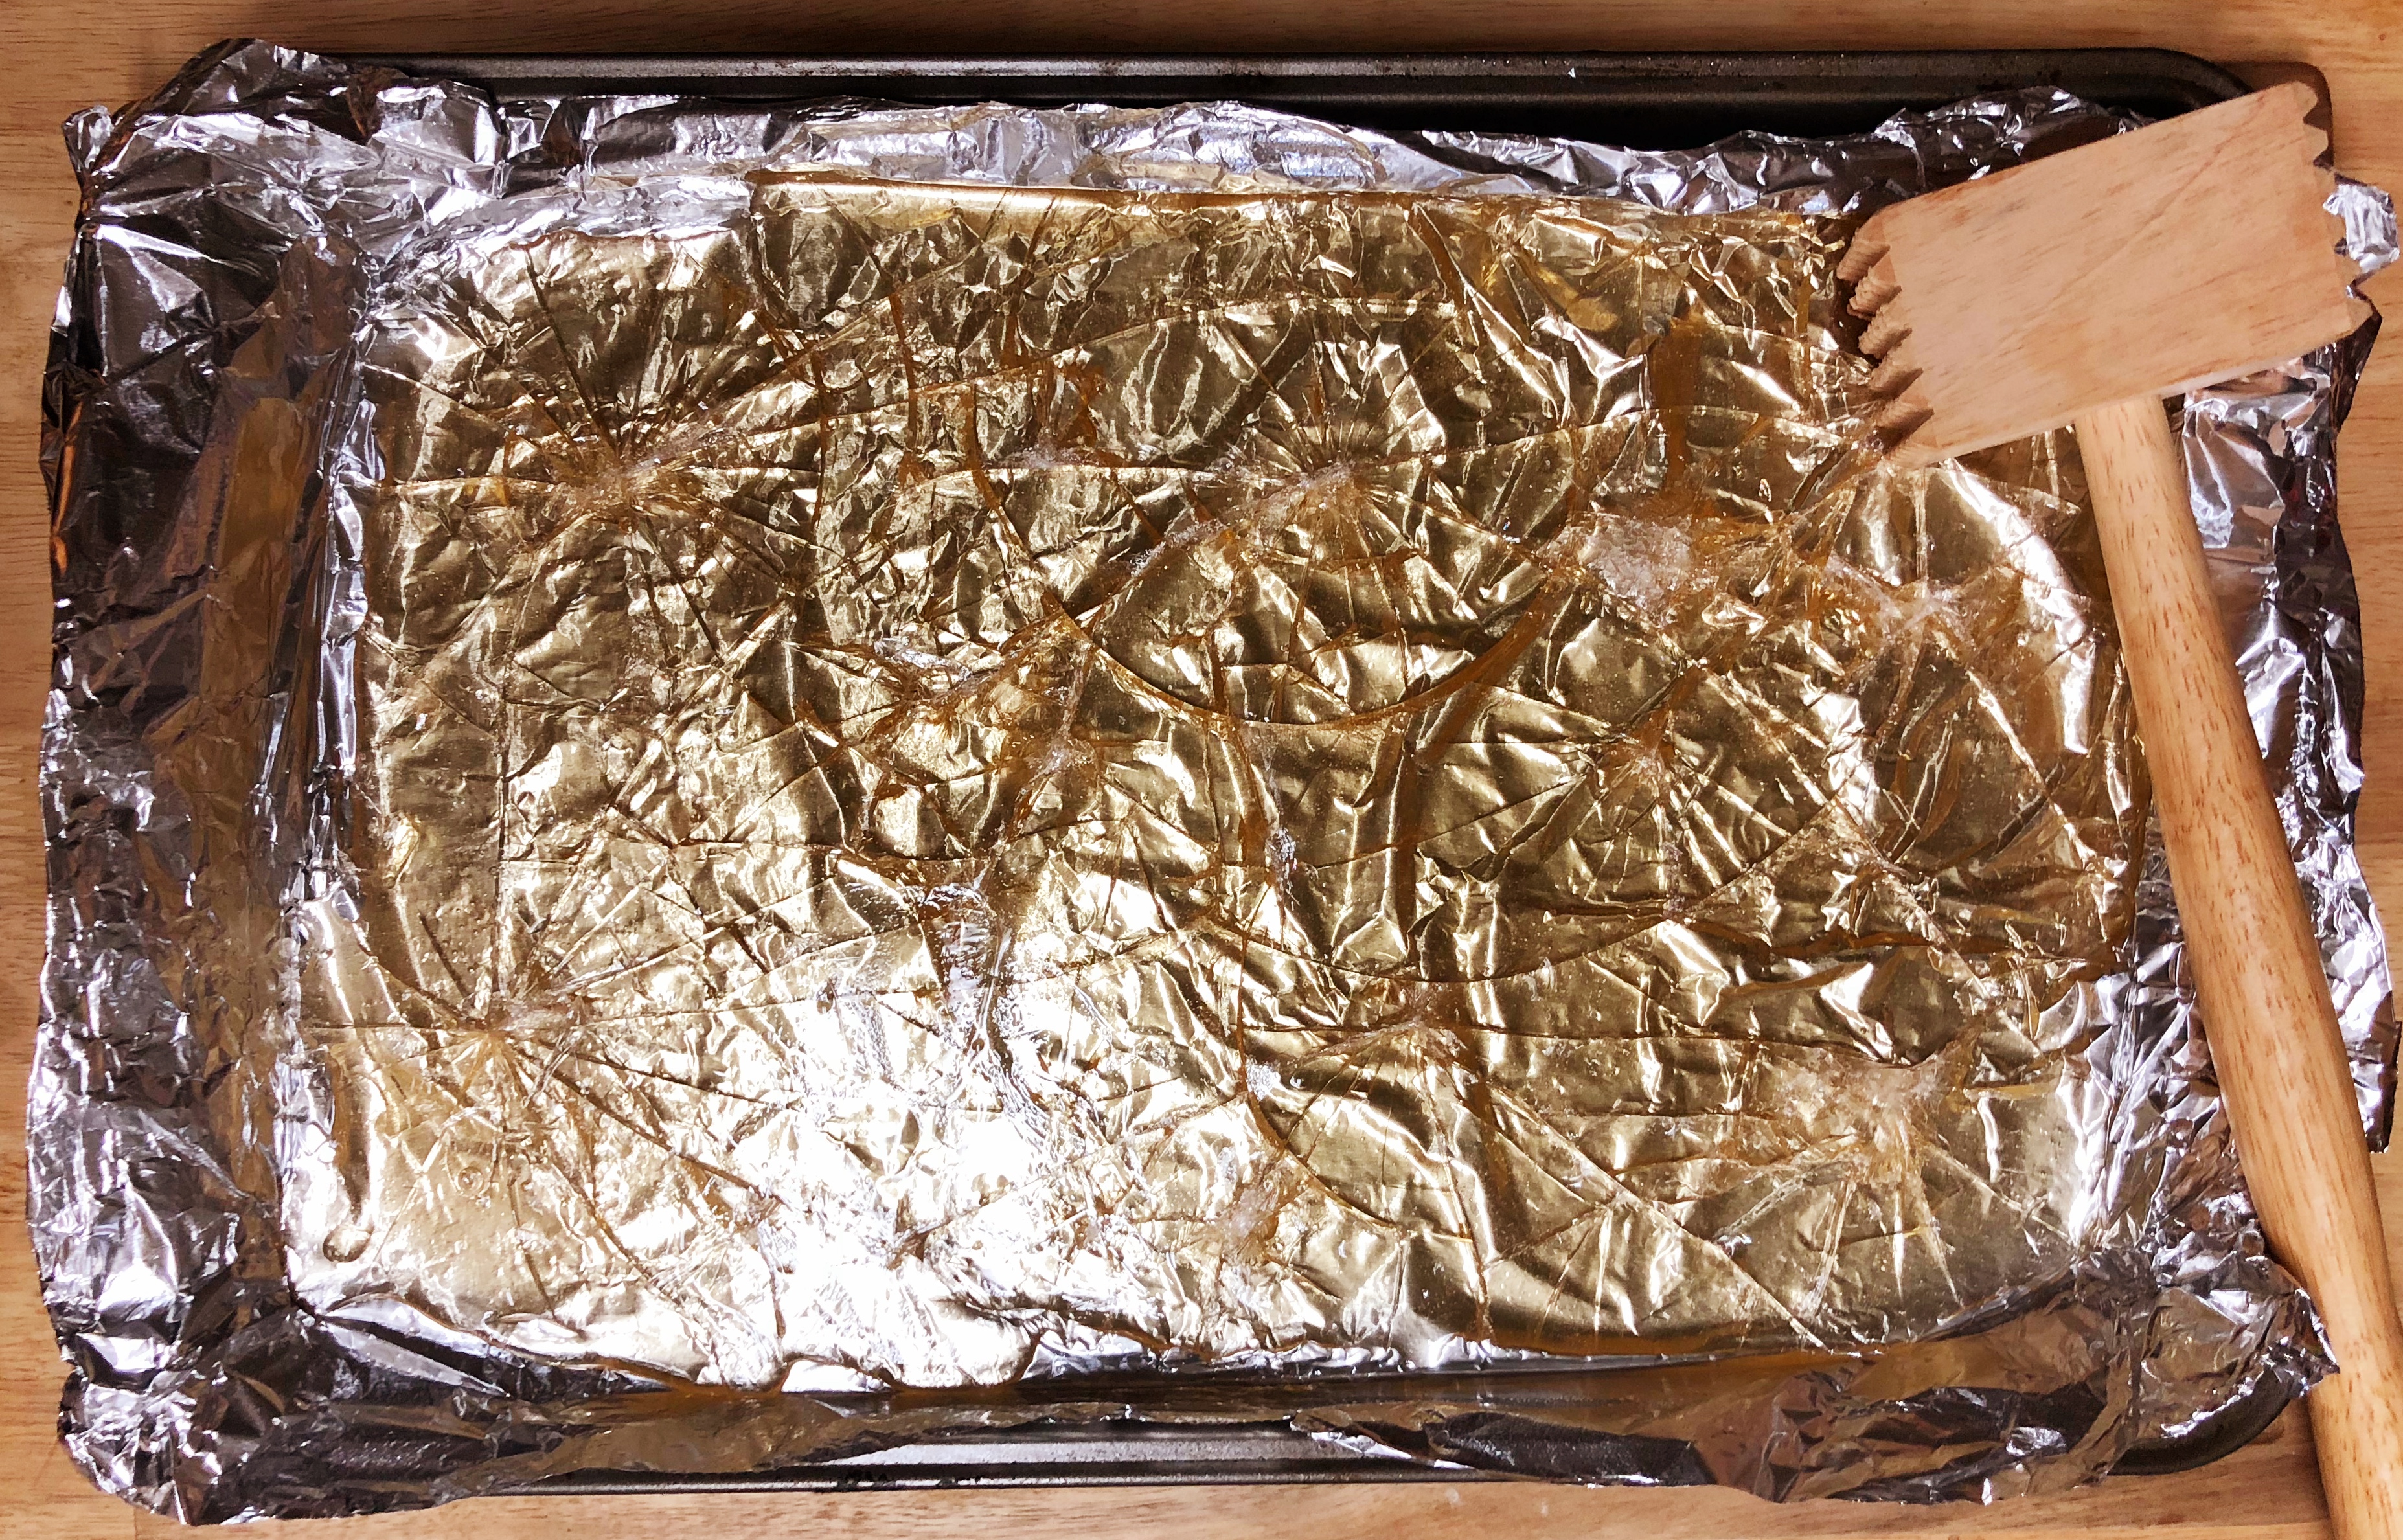
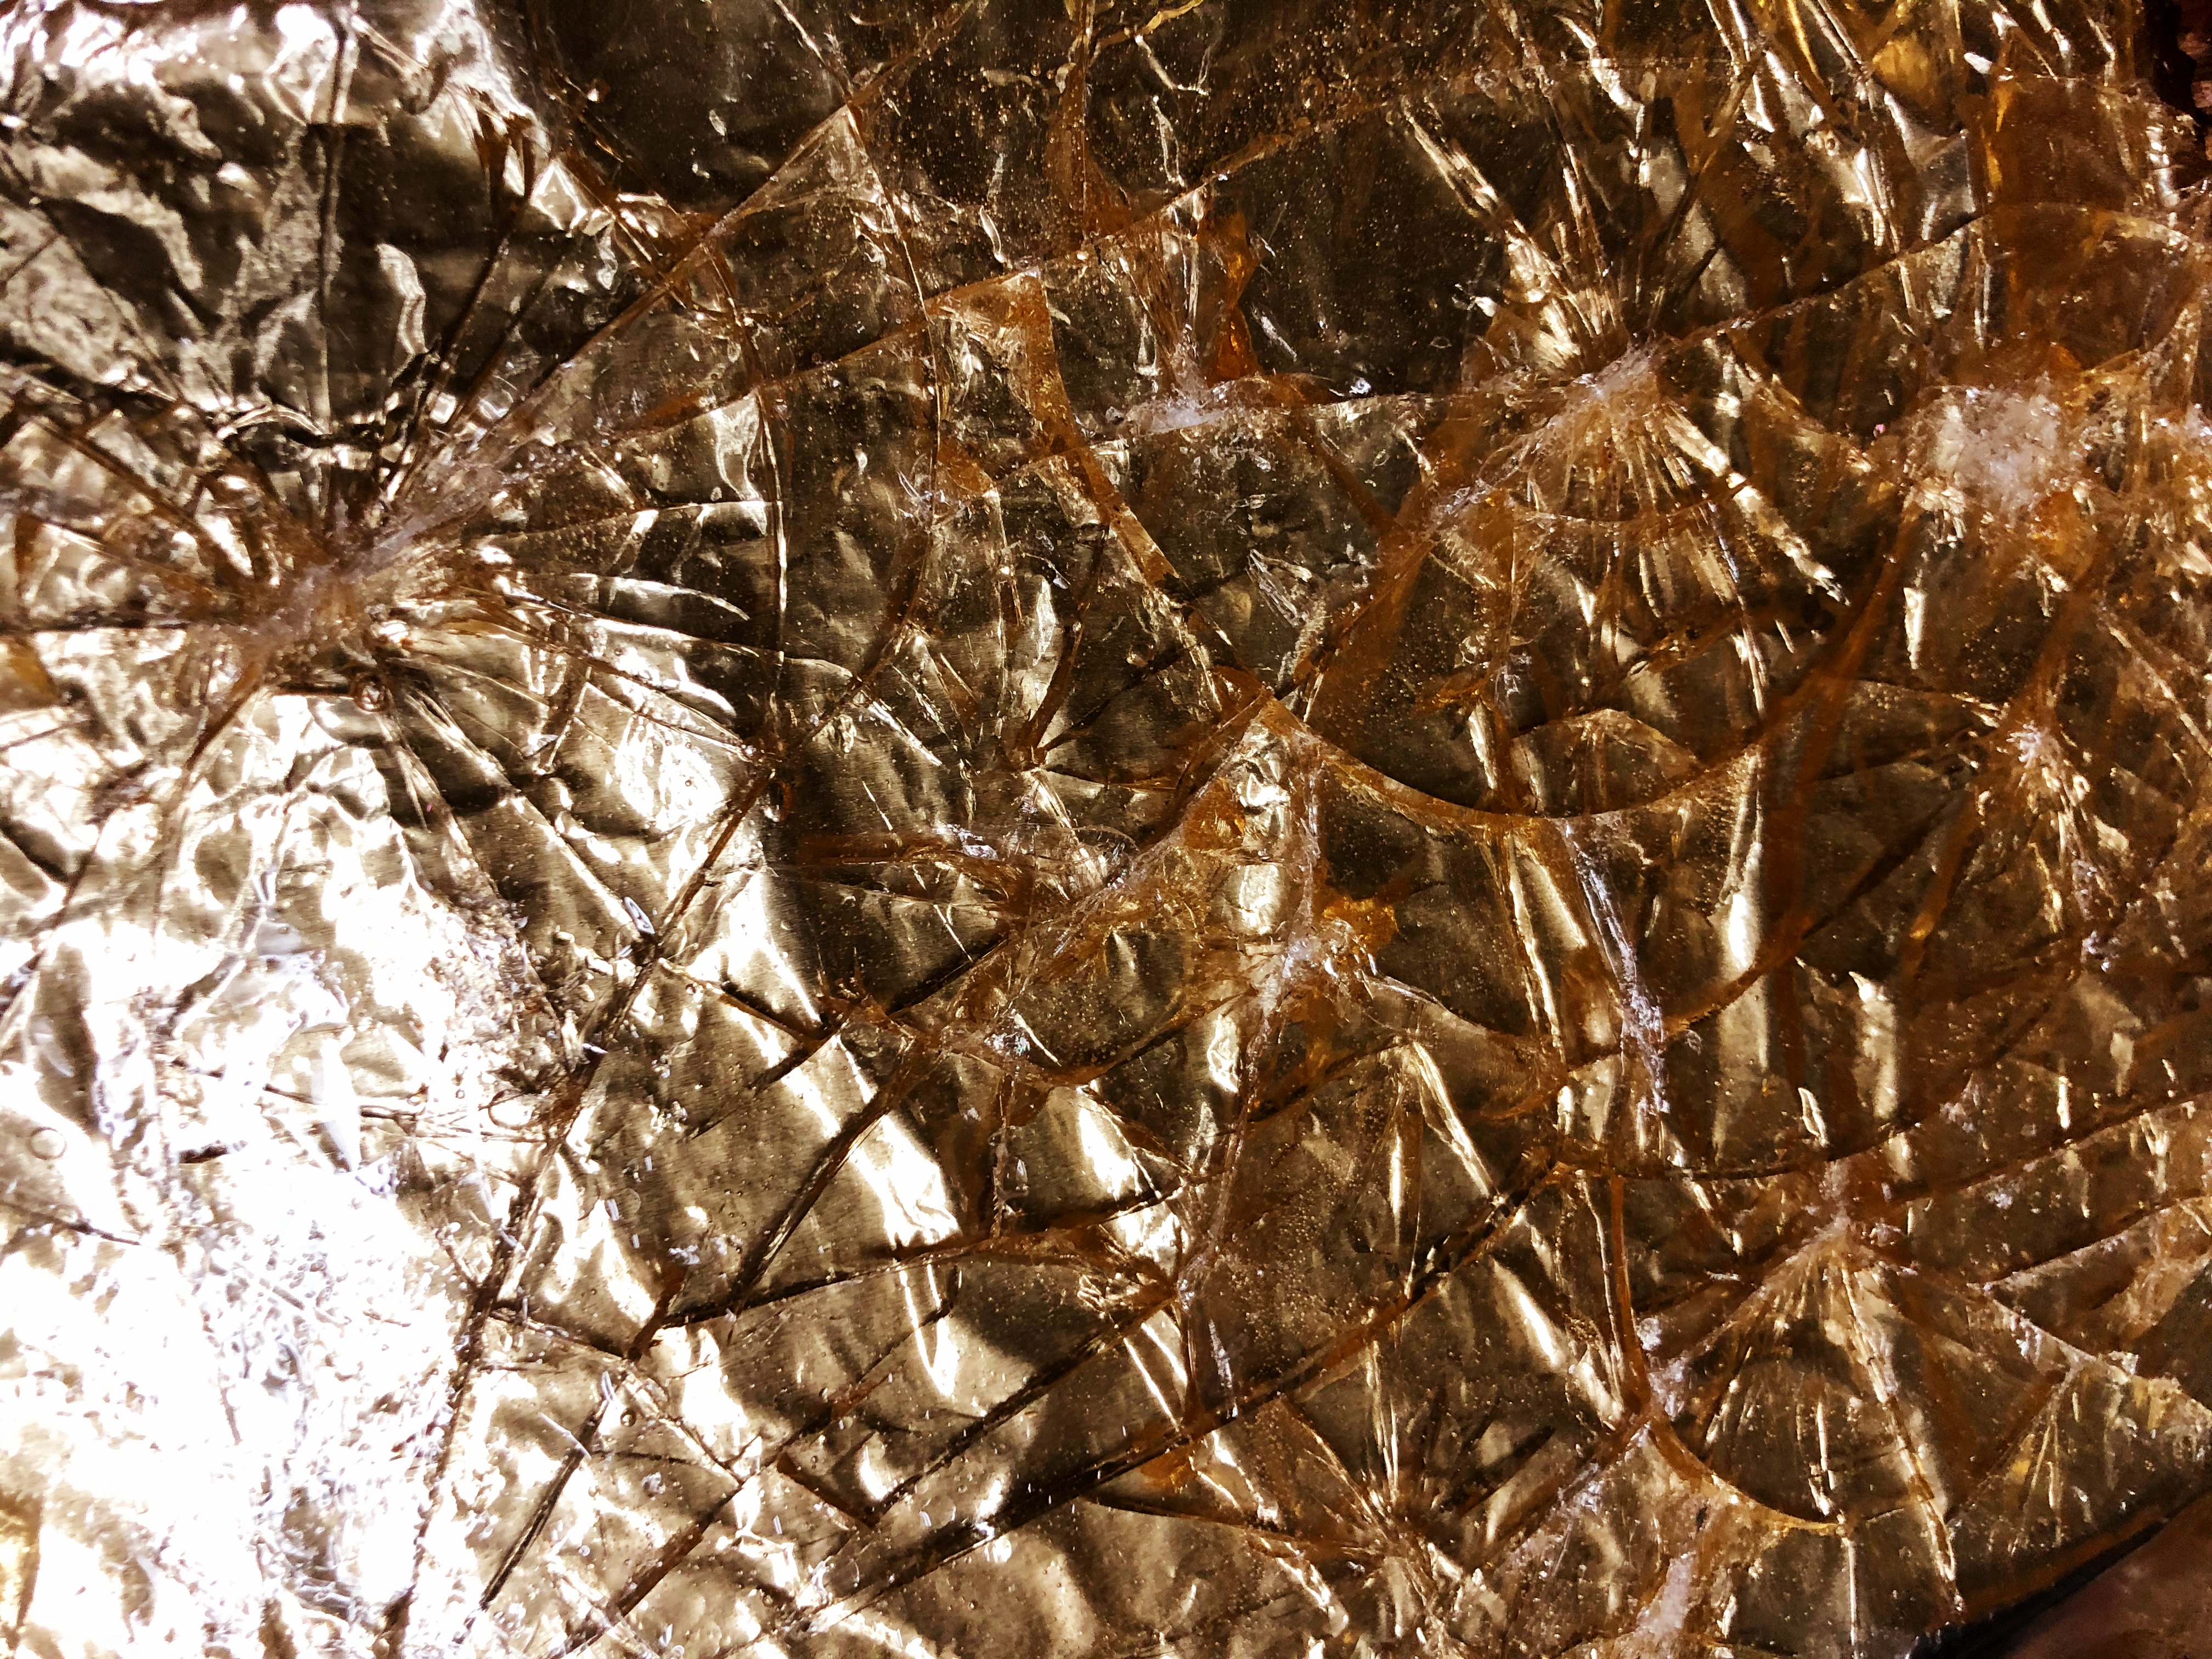
Using a kitchen mallet or meat tenderizer (or a heavy bottomed pot) shatter the hard candy. I recommend striking it in several places until the pieces are your desired size.

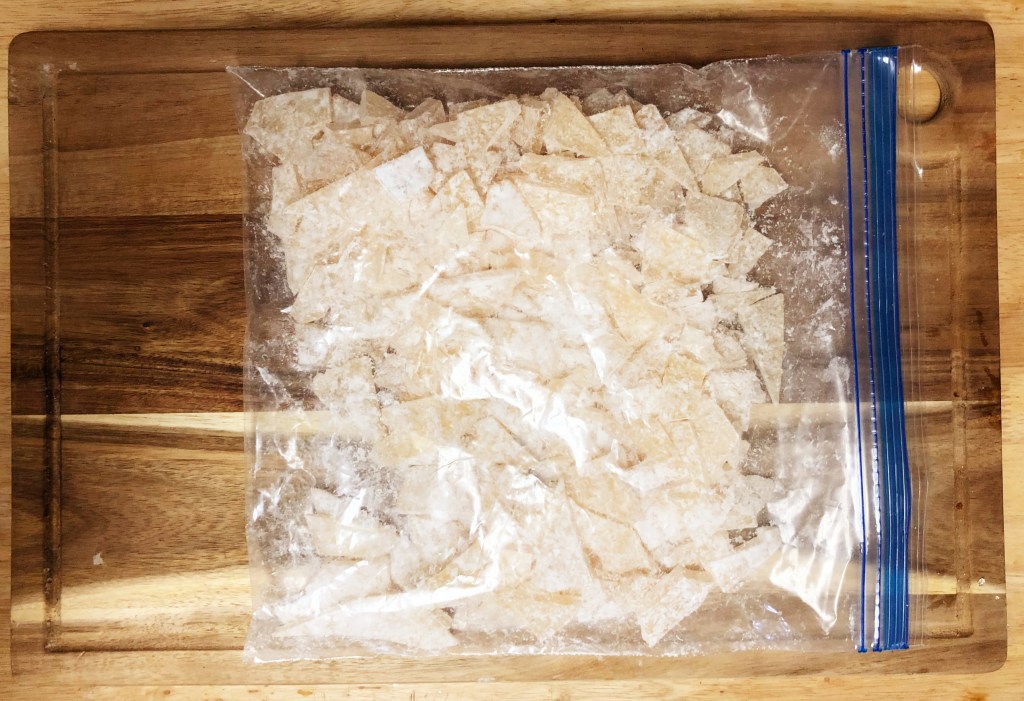
Add all of the candy shards as well as 1/4 cup powdered sugar, and shake until the candies are evenly covered. Store in an airtight container (or the aforementioned baggie). It will keep for several weeks, if it lasts that long!

Moon-Sugar

  • Servings: 10-12
  • Difficulty: Medium
  • Print

The holiest of treats in the Khajiiti culture.


Ingredients

-2 Cups Sugar

-3/4 Cups Light Corn Syrup

-1/2 Cup Strongly Brewed Herbal Tea

-1/4 tsp Vanilla Extract

-1/4 Cup Powdered Sugar


Directions

  1. Gather your ingredients. Line a cookie sheet with tinfoil and spray with nonstick cooking spray.
  2. Bring sugar, corn syrup, and tea to a boil over medium heat, stirring frequently. Wipe down the sides of the pot with warm water to avoid sugar crystals forming.
  3. When sugar mixture reaches a boil, insert a high temperature thermometer. Stir occasionally until the temperature reaches 300 degrees Fahrenheit.
  4. Turn off the heat and allow the sugar mixture to sit until bubbles stop forming. Stir in the vanilla extract.
  5. Pour the sugar mixture carefully and evenly into the prepared cookie sheet. Allow to full cool and set (about one hour).
  6. Using a kitchen mallet or meat tenderizer, shatter the candy into small pieces.
  7. Add the candy pieces and powdered sugar to a large baggie and shake until the candy is evenly coated. Candy will keep for about two weeks and can be served immediately.

No comments to show.

Roast Corn

“Come, come and eat! If your belly is empty, fill it!”

-Masarha, the Sundry Swills Inn in Alten Corimont, the Elder Scrolls Online

As fun as creating big showy recipes like Colovian Roast Turkey is, sometimes it’s nice to add an easy side dish to the old repertoire. This Roast Corn recipe, based on the Provisioning Recipe from Elder Scrolls Online, is easy to adapt to match the flavors of any meal, and easy to assemble and throw in the oven for a delicious and unique side with minimal extra labor. And once you’ve had roast corn, you’ll never boil your corn on the cob ever again!

Preheat the oven to 400 degrees and assemble your ingredients. You’ll need 4-6 ears of corn (any more and you can adjust the recipe to add a little more butter and herbs), 1/2 cup of softened room temperature butter, about 2 teaspoons each of finely minced fresh parsley and thyme, and coarse kosher salt and pepper to taste.

Add butter, parsley, thyme, salt, and pepper to small bowl and mix thoroughly with a fork.

Arrange the ears of corn on a baking sheet lined with tinfoil and thoroughly slather each ear in the herbed butter, reserving about 1/4 of the butter. Bake at 400 degrees for 40 minutes, flipping each ear of corn once at the twenty minute mark.

Remove from oven and allow to cool slightly before plating. After plating, slather each ear in the remaining herbed butter and serve warm.

Roast Corn

  • Servings: 4-6
  • Difficulty: Easy
  • Print

Flavorful roasted corn with herbed butter, the perfect no-mess accompaniment to any meal.


Ingredients

-4-6 Ears of Shucked Corn

-1/2 Cup Butter, Softened at Room Temperature

-2 tsp Finely Minced Fresh Parsley

-2 tsp Finely Minced Fresh Thyme

-Coarse Kosher Salt and Pepper to taste


Directions

  1. Gather your ingredients and preheat oven to 400 degrees.
  2. Combine parsley, thyme, salt, pepper, and butter in a small bowl and mix thoroughly with fork.
  3. Reserve 1/4 of the herbed butter. Slather the remaining butter over each ear of corn and arrange on a tinfoil lined baking sheet.
  4. Roast at 400 degrees for 40 minutes, flipping each ear of corn once halfway through.
  5. Allow to cool slightly before plating.
  6. After plating slather the remaining herbed butter over the ears of corn and serve warm.

No comments to show.

Colovian Roast Turkey

“Skingrad County is famous for its wines, tomatoes, and cheeses, and the town of Skingrad is one of the cleanest, safest, and most prosperous towns in Cyrodiil. Located in the heart of the West Weald highlands, Skingrad is the gem of Old Colovia, and a model of the Colovian virtues of independence, hardwork, and tough-mindedness.”

-Alessia Ottus, Guide to Skingrad, The Elder Scrolls IV: Oblivion

For years I’ve followed the same Turkey Recipe every Thanksgiving (and usually a few times after Thanksgiving, while Turkeys are on sale at our local supermarkets. It’s hard to resist the siren song of a cheap bird that can feed us for several days). This year however, with the Cellarhog’s Blog fresh and new, I decided it was high time we try something new.

Colovian Roast Turkey is based on a Provisioning Recipe from the Elder Scrolls Online, named for the region Colovia, a part of Cyrodiil. Colovia is known for their austere, hard-working, and self-sufficient people, the frontier-men of Colovia, who make up many of the higher ranks of the Imperial Legion. Adapting Provisioning Recipes comes with some difficulty in that there’s not much of an image of what the end product should look like, and for flavor each recipe often only includes two or three ingredients by way of explanation. So further research is necessary. The two primary ingredients of Colovian Roast Turkey in the Elder Scrolls Online was poultry and tomato.

By way of seasoning, I leapt into some research. Visually, Cyrodiil seems to be based more or less on Ancient Roman cultures, so I looked there for seasonings that may have been commonly in use during that era. I found that, not surprisingly, many of the spices I settled on are featuring as “Imperial Spices” in the Official Elder Scrolls Cookbook. I was traveling down a road that had been tread before, naturally. The seasonings I settled on were: Grains of Paradise (Aframomum melegueta), Coriander, Savory, Ground Ginger, Fresh Marjoram, Fresh Thyme, and white pepper.

I found it difficult to find ground grains of paradise, so I ground my own using my Suribachi, which is a Japanese mortar and pestle. You can use any mortar and pestle or even an electric or burr mill spice grinder if you have one. For this recipe you will need 1 teaspoon grains of paradise, 1/2 teaspoon ground ginger, 1 teaspoon ground coriander, 1 tsp ground savory, 1/2 tsp white pepper, 1 tsp fresh minced thyme, and 1 tablespoon fresh minced marjoram, as well as one stick of salted butter softened at room temperature.

Preheat oven to 350 Degrees Fahrenheit. Using a small mixing bowl and a fork, mash the butter to soften it further, and then add the spice and herb blend and mix well. Set aside.

To prepare your turkey (I recommend 14-16 pounds for this recipe), first remove the giblets and neck from the cavity (remember to check both the main cavity and the neck cavity to make sure you don’t miss any. Set these items aside, you won’t want to lose out on the flavor they add to your gravy. Lay the turkey breast side up and, working from the bottom towards the neck, slide your hands under the skin to loosen it. You may need to trim away a little excess skin, if you do set it aside with the giblets. Take care not to tear the skin, and take your time to do this part gently. You should be able to completely loosen the skin from the breasts all the way up to the neck, and across the sternum. Next, using a handful at a time, soften the butter mixture in your hands and work it under the skin, thoroughly covering both breasts. Continue until you have only about one and half tablespoons of butter mixture left. Use the remaining herb butter to coat the outside of the turkey, spreading it over the entire bird. Generously salt and pepper the turkey.

Set the turkey aside and make space to work with the aromatics.

You will need twelve cloves of garlic, two large carrots, washed and dried, the greens from two leeks (save the whites and lighter green parts for another purpose, grilled leeks for example make a delicious accompaniment), three ribs of celery, two onions, and 1/2 cup of sundried tomatoes. Cut the carrot into one inch chunks, the leeks and celery into two inch chunks, peel the garlic cloves, and peel the onions and slice them into quarters.

Place the carrots, celery, and all but one wedge of the onions along with the giblets, neck, and any skin trimmings in the bottom of the roasting pan. Add two cups of water to the roasting pan, and place the rack and turkey over the top of these aromatics. Carefully stuff the turkey first with the garlic, then the sundried tomatoes, followed by leeks, and finally the onion wedge. This order of stuff helps to keep everything inside the turkey. Tie the legs with kitchen twine, this is sufficient to keep the stuffing inside of the turkey. Bend the wings under the turkey, you may have to break the joints to do this, but I find with care I’m usually able to avoid it. If you do not like the appearance of the wings bent under the turkey, you can make a little tinfoil shield for each wingtip, to avoid burning.

Loosely tent the turkey with foil and roast at 350 degrees for one hour, then begin basting every thirty minutes (baste the turkey and the giblets in the pan) until an instant read thermometer inserted in the thickest part of the thigh reads 125 degrees. This will take about three hours. If the level of liquid in the roasting pan drops too far, add an extra cup of water.

Note: If your oven is older or has “hot spots” I also recommend rotating the turkey each time you baste. This will help you more thoroughly baste every part of the turkey, but also ensure that it cooks evenly.

When the thermometer reads 125 degrees, raise the temperature to 400 and continue roasting, basting every 20 minutes, until an instant read thermometer inserted into the thickest part of the thigh reads 165 degrees. This will take about an additional 45-60 minutes depending on the size of your turkey.

Remove the turkey from the oven and set aside, loosely tenting with foil. Allow the turkey to rest at least 30 minutes before carving to allow the juices to settle. The herb butter may cause some dark spots on the breasts of the turkey, but it is only a visual imperfection, the turkey is not burned and will still taste delicious.

Now it is time to prepare the gravy while the turkey rests. You’ll need two cups of drippings from the pan (if you don’t have quite enough you can top it up with chicken stock), the roasted giblets and onions from the pan, two tablespoons of butter, and two tablespoons of flour. Blend the giblets and onions until they resemble a fine paste, if your blender struggles to blend them, pour about half a cup of the drippings from the pan into the blender. I save the roasted turkey neck to add to the stockpot along with the rest of the carcass after dinner (you do not want to miss out on the stock from this recipe) but if you don’t plan on making stock the meat from the neck can be added to the blender too.

Next is the roux. Melt the butter over medium-low heat in a small pot and add the flour when it has melted. Stir continuously with a rubber spatula or wooden spoon for about one minute to cook off the raw flour flavor, taking care not to burn the butter. Add in the turkey drippings a little as a time, switching from the spatula to a whisk when the consistency becomes more liquid than solid, and continue whisking until you have added all of the drippings. Heat the gravy until just under boiling, and pour in the giblet mixture from your blender, whisking continuously as you add. Continue to simmer the gravy until it has reached the desired consistency. Salt and pepper to taste.

Note: I can feel the more squeamish of my readers balking at the use of the giblets, but hang in there: this will be one of the most rich and delicious gravies you will ever have the pleasure of eating. Our morning after Thanksgiving tradition has long been leftovers Loco Moco using gravy made from this technique.

After your gravy has reached the desired consistency, your turkey should be ready to carve and serve! Serve with your favorite sides, or some Skyrim inspired ones (we used several from the Elder Scrolls cookbook, along with homemade cranberry chevre, and enough homemade metheglin to drown a horse.)

Please note that Amazon links provided are affiliate links.

Colovian Roast Turkey

  • Servings: 6-8
  • Difficulty: Medium
  • Print

A roast turkey recipe inspired by the flavors of the Colovian Estate.


Ingredients

-1 14-15lb Turkey

-2 Ribs of Celery

-2 Large Carrots

-3 Medium Onions

-12 Cloves of Garlic

-Greens of Two Leeks

-1/2 Cup Sundried Tomatoes

-1 stick plus 2 tbs Salted Butter at Room Temperature

-1 tsp Grains of Paradise

-1/2 tsp Ground Ginger

-1 tsp Coriander

-1 tsp Savory

-1/2 tsp White Pepper

-1 tsp Fresh Minched Thyme

-1 tbsp Fresh Minced Marjoram

-2 tbsp All Purpose Flour

-Salt and Pepper to taste


Directions

  1. Gather your ingredients. Preheat oven to 350 degrees Fahrenheit.
  2. Grind grains of paradise with a mortar and pestle. Further soften butter by mashing it in a small mixing bowl with a fork. Add grains of paradise, ginger, coriander, savory, white pepper, thyme, and marjoram to the butter and combine thoroughly with the fork.
  3. Remove giblets and neck from the cavities of the turkey. Carefully work your hands under the skin over the breasts, starting at the bottom and working to the top to gently separate the skin without tearing it. Using a handful at a time, work the herb butter under the skin, repeating as necessary until all but 1 and 1/2 tablespoons has been used. Use the remaining herb butter to smother all over the turkey. Generously salt and pepper the turkey and then set aside on the roasting rack.
  4. Cut carrots into 1 inch chunks, celery and leek greens into 2 inch pieces, and peel onions and cut into quarters. Add carrots, celery, and all but 1 1/4 piece of onion to the roasting pan, along with giblets and neck. Add two cups of water to roasting pan and place rack above it with the turkey.
  5. Stuff the turkey, first with the garlic cloves, then sundried tomatoes, then leek greens, and finally the remaining onion quarter. Tie legs with kitchen twice to block stuffing from coming out. Tuck the wings under the turkey gently, or cover wingtips with tinfoil.
  6. Loosely tent the turkey with tinfoil at roast at 350 degrees for one hour, then begin basting the turkey and the giblets every thirty minutes until an instant read thermometer inserted into the thickest part of the thigh reads 125 degrees, about three hours.
  7. Raise temperature to 400 and continue to roast the turkey, basting every twenty minutes until an instant read thermometer inserted into the thickest part of the thigh reads 165 degrees, about 45-60 more minutes. Remove turkey from the oven and allow to rest, loosely tented with tinfoil, for at least thirty minutes.
  8. Prepare gravy: Measure out two cups of drippings from the pan. Add caramelized onions and giblets to a blender and blend until they have a pasty consistency, supplementing with turkey drippings if necessary. Melt 2 tbsp butter in a small pot and add 2 tbsp flour. Cook the roux for about one minute taking care not to brown the butter. Add turkey drippings a little at a time while stirring continuously, switch to using a whisk when gravy is more liquid than solid. Heat until just under boiling and add contents of the blender, whisking continuously. Continue to simmer, whisking occasionally until desired consistency is reached. Add salt and pepper to taste.
  9. Carve, serve, and enjoy!

No comments to show.