Skyrim-Style Apple Pie

“You might as well have some sweets. I made them for the festival after all.”

-Bendt, The Elder Scrolls V: Skyrim, “Tending the Flames”

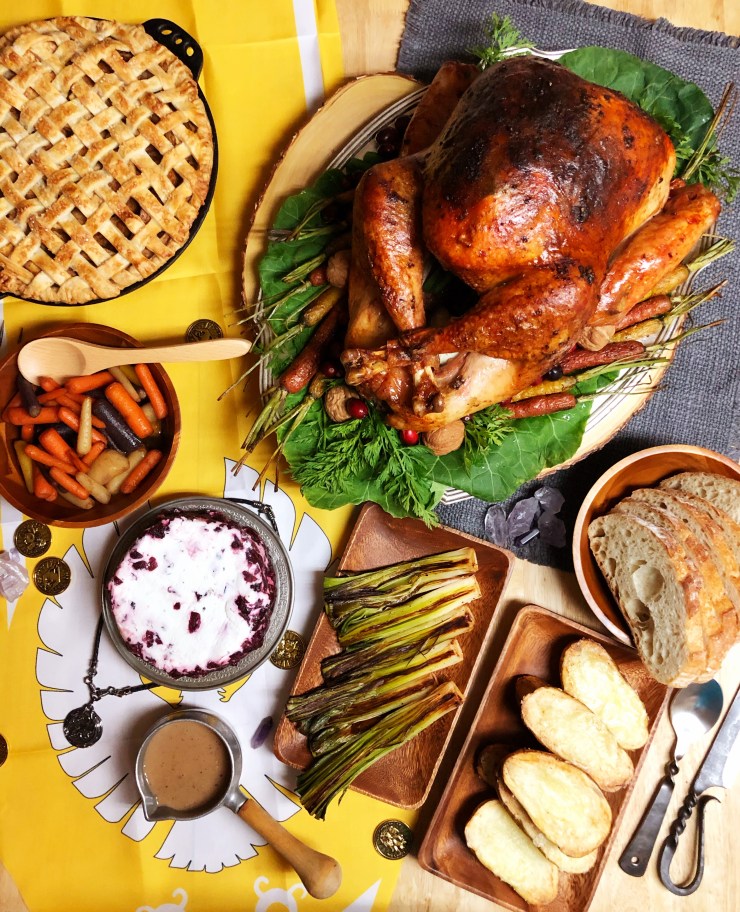
Nothing fits more firmly in the Holiday Season in the United States than Apple Pie, it’s so ubiquitous as a staple in American foods that it’s hard to imagine it in any other setting. And yet, sitting there on Bendt’s counter during the Burning of King Olaf is a row of ostensibly fresh baked apple pies. Where do apple pies fit in the pseudo-medieval fantasy setting of Skyrim? Actually, the humble apple pie can be traced back, at least, to the 14th Century manuscript “The Forme of Cury,” or translated, The Method of Cooking. This apple pie recipe in many ways doesn’t resemble a modern apple pie, calling for apples, figs, pears, raisins, and spices and being cooked within a coffyn, an inedible pastry shell.

The next known apple pie recipe is from “A Proper Newe Booke of Cokerye,” the oldest edition of which can be dated to 1545. This recipe in some way more closely resembles a modern apple pie, with the addition of quince, as well as apples, cinnamon, ginger, and sugar. Building off of these two recipes, I took a little liberty in the development of my own apple pie recipe, hoping to please the modern palates of my roommates for Thanksgiving. Considering that Skyrim is still a fantasy world, and that the Apple Pies found throughout the fictional country resemble a modern latticed apple pie more than a medieval one, I built off of the latter of the two apple pie recipes mentioned with considerations for modern palates and Skyrim imagery.

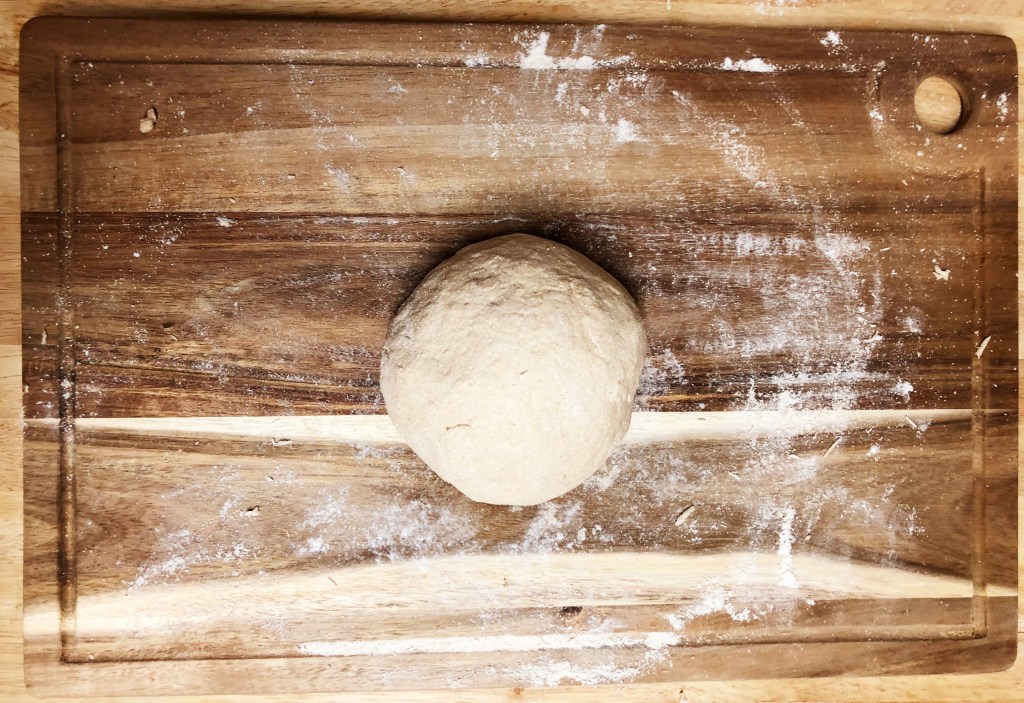
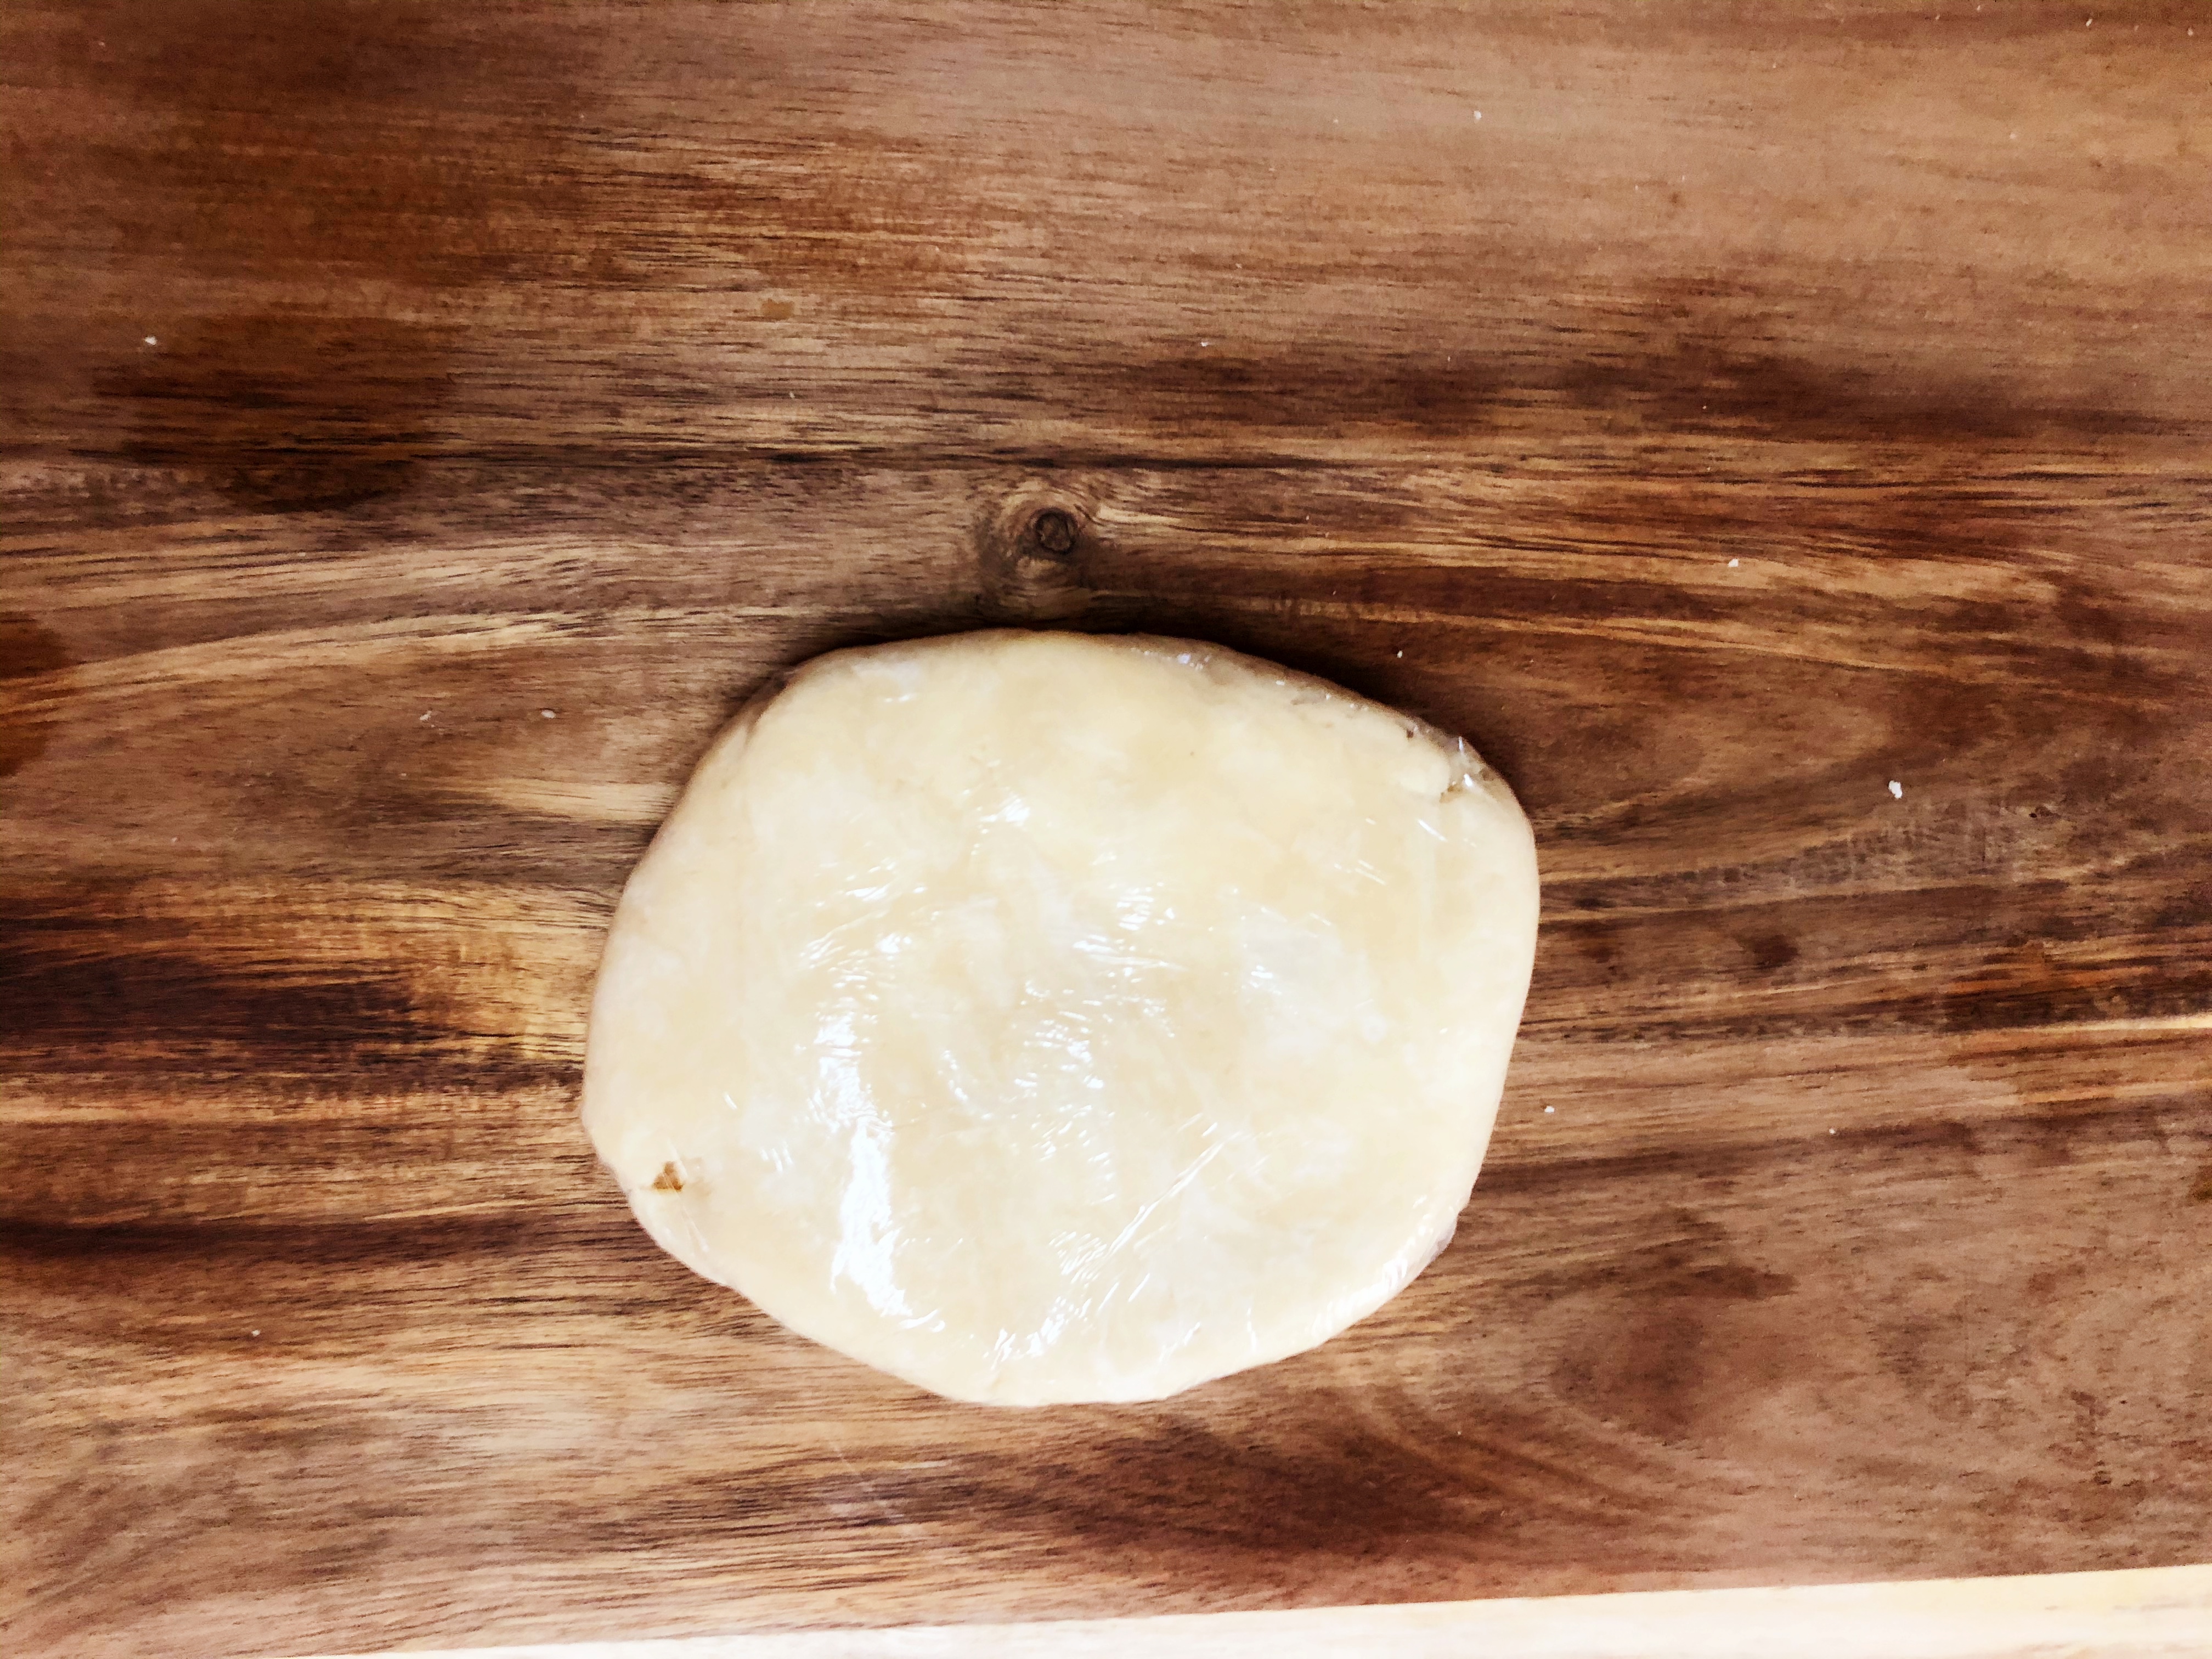
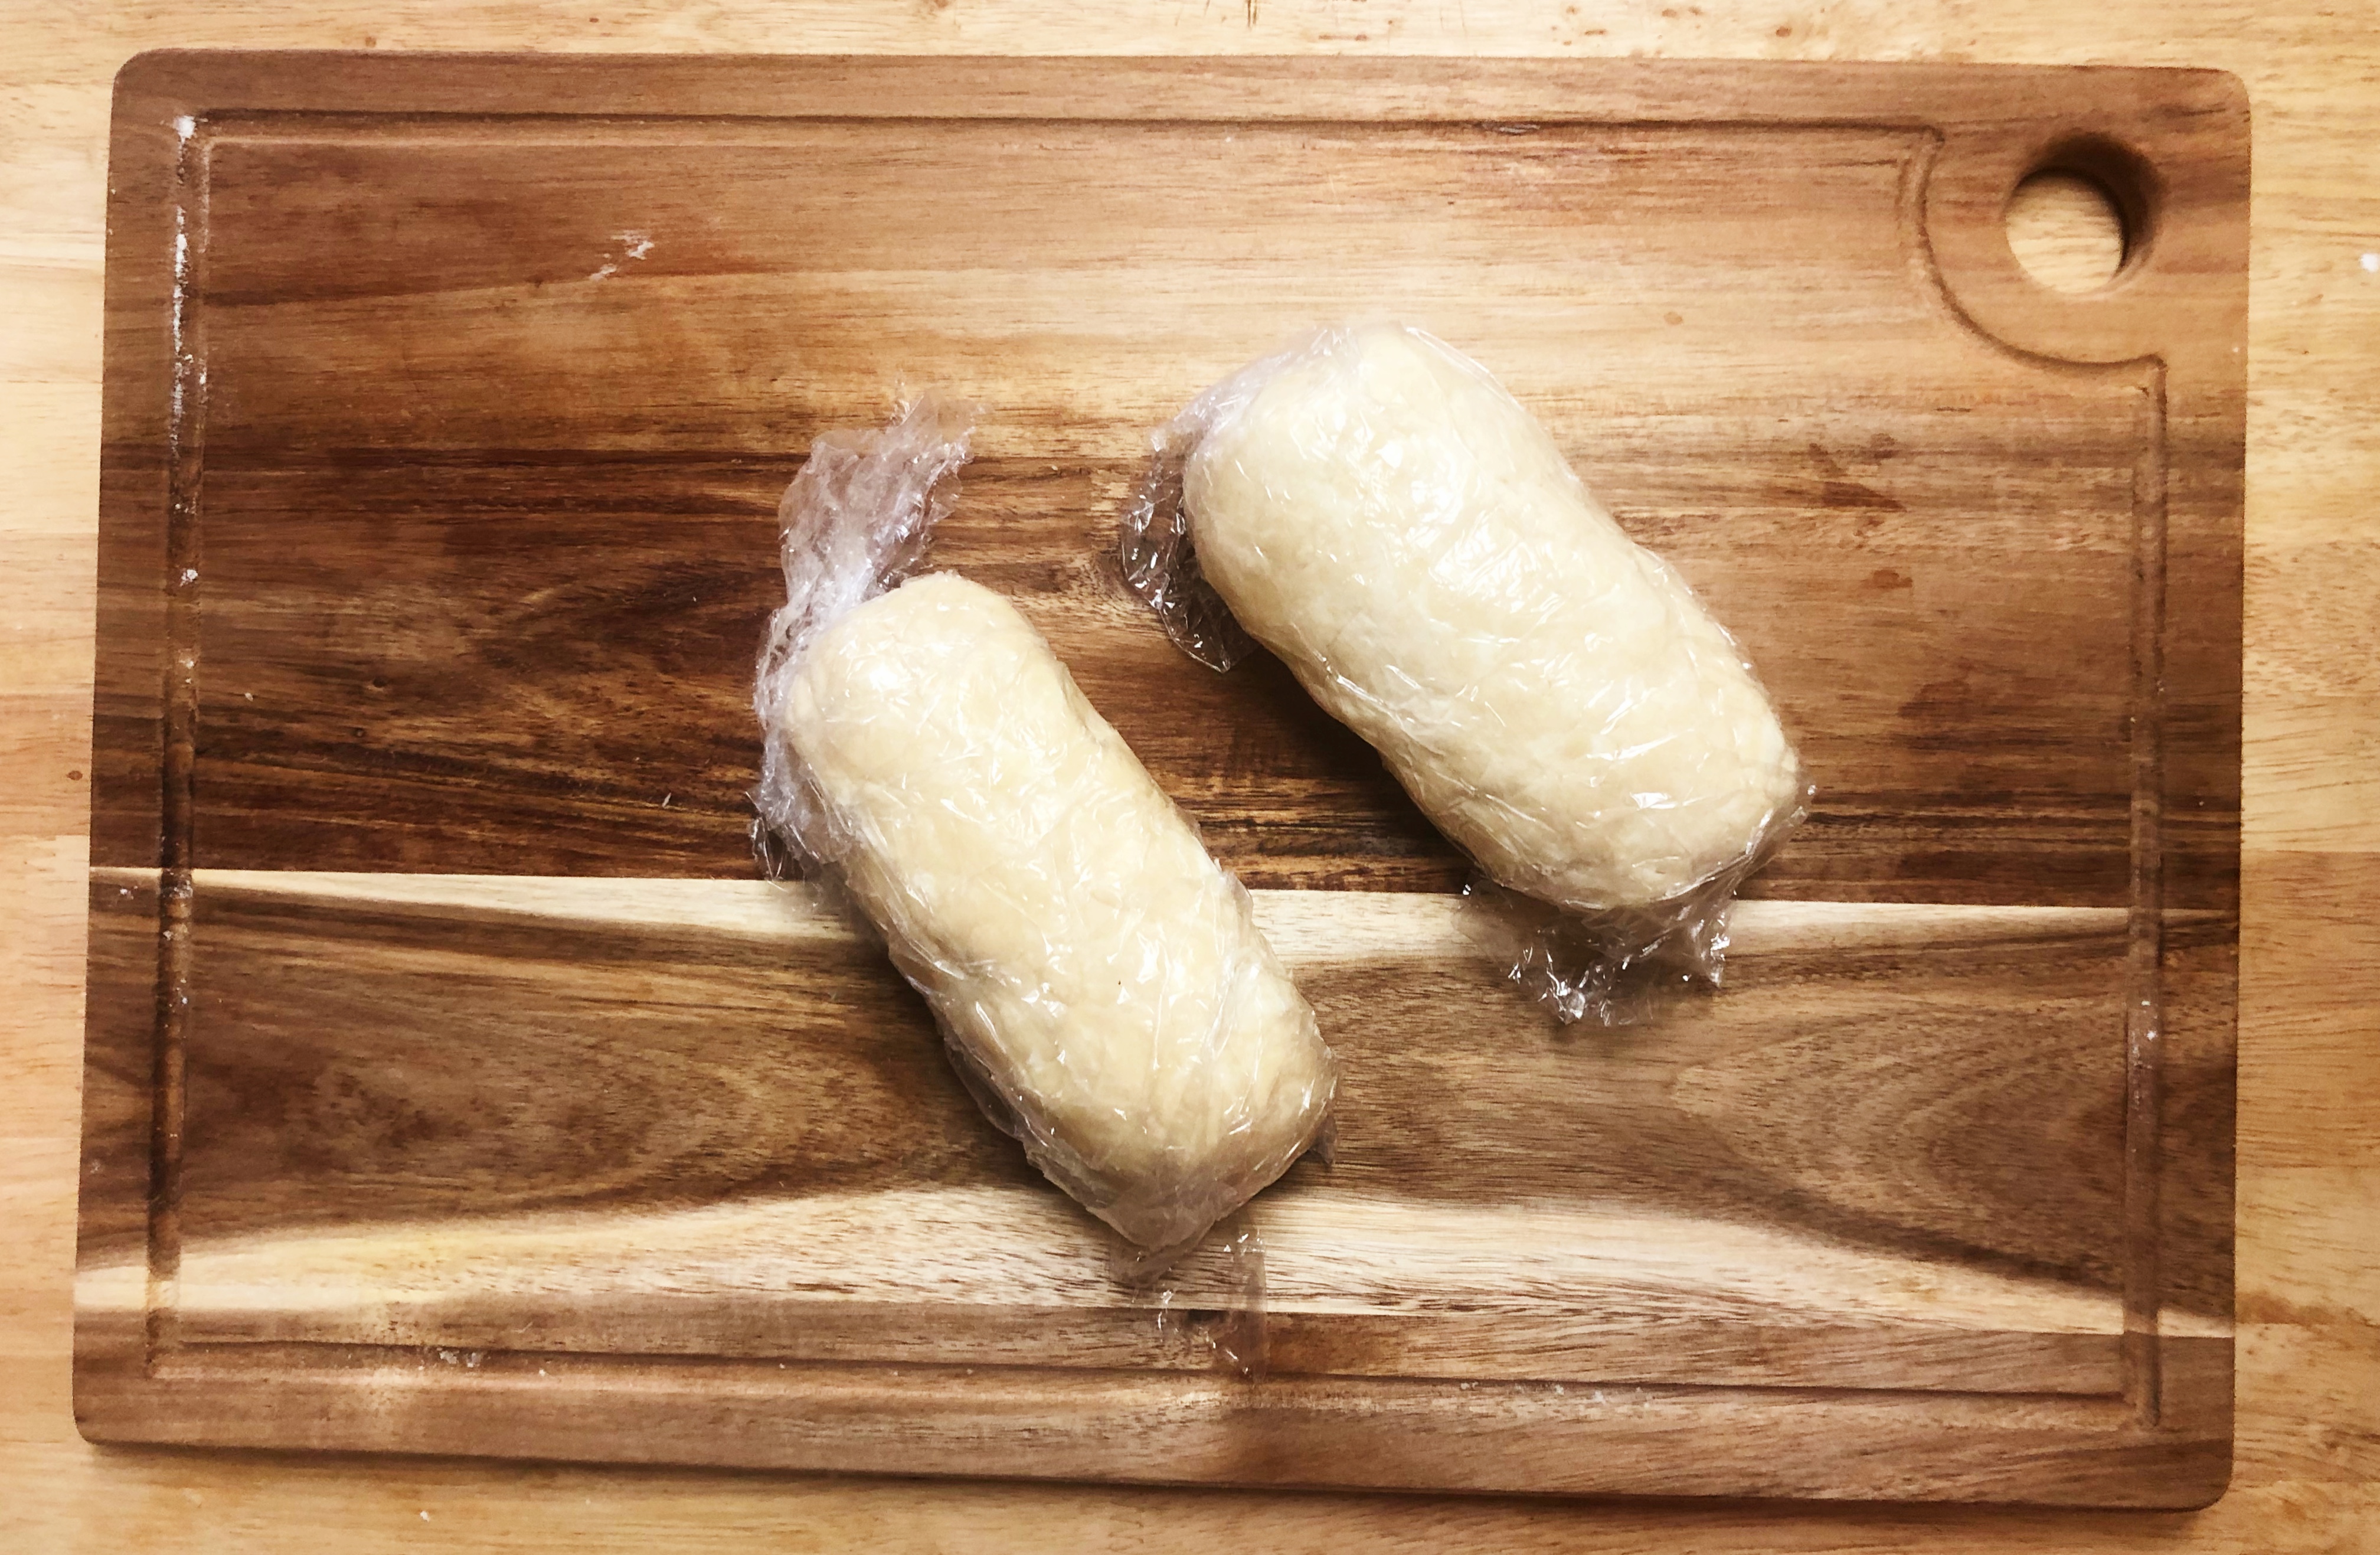
To start, you will need a double batch of my previous recipe, Grammy’s Butter Crust, chilled overnight as two separate rounds.

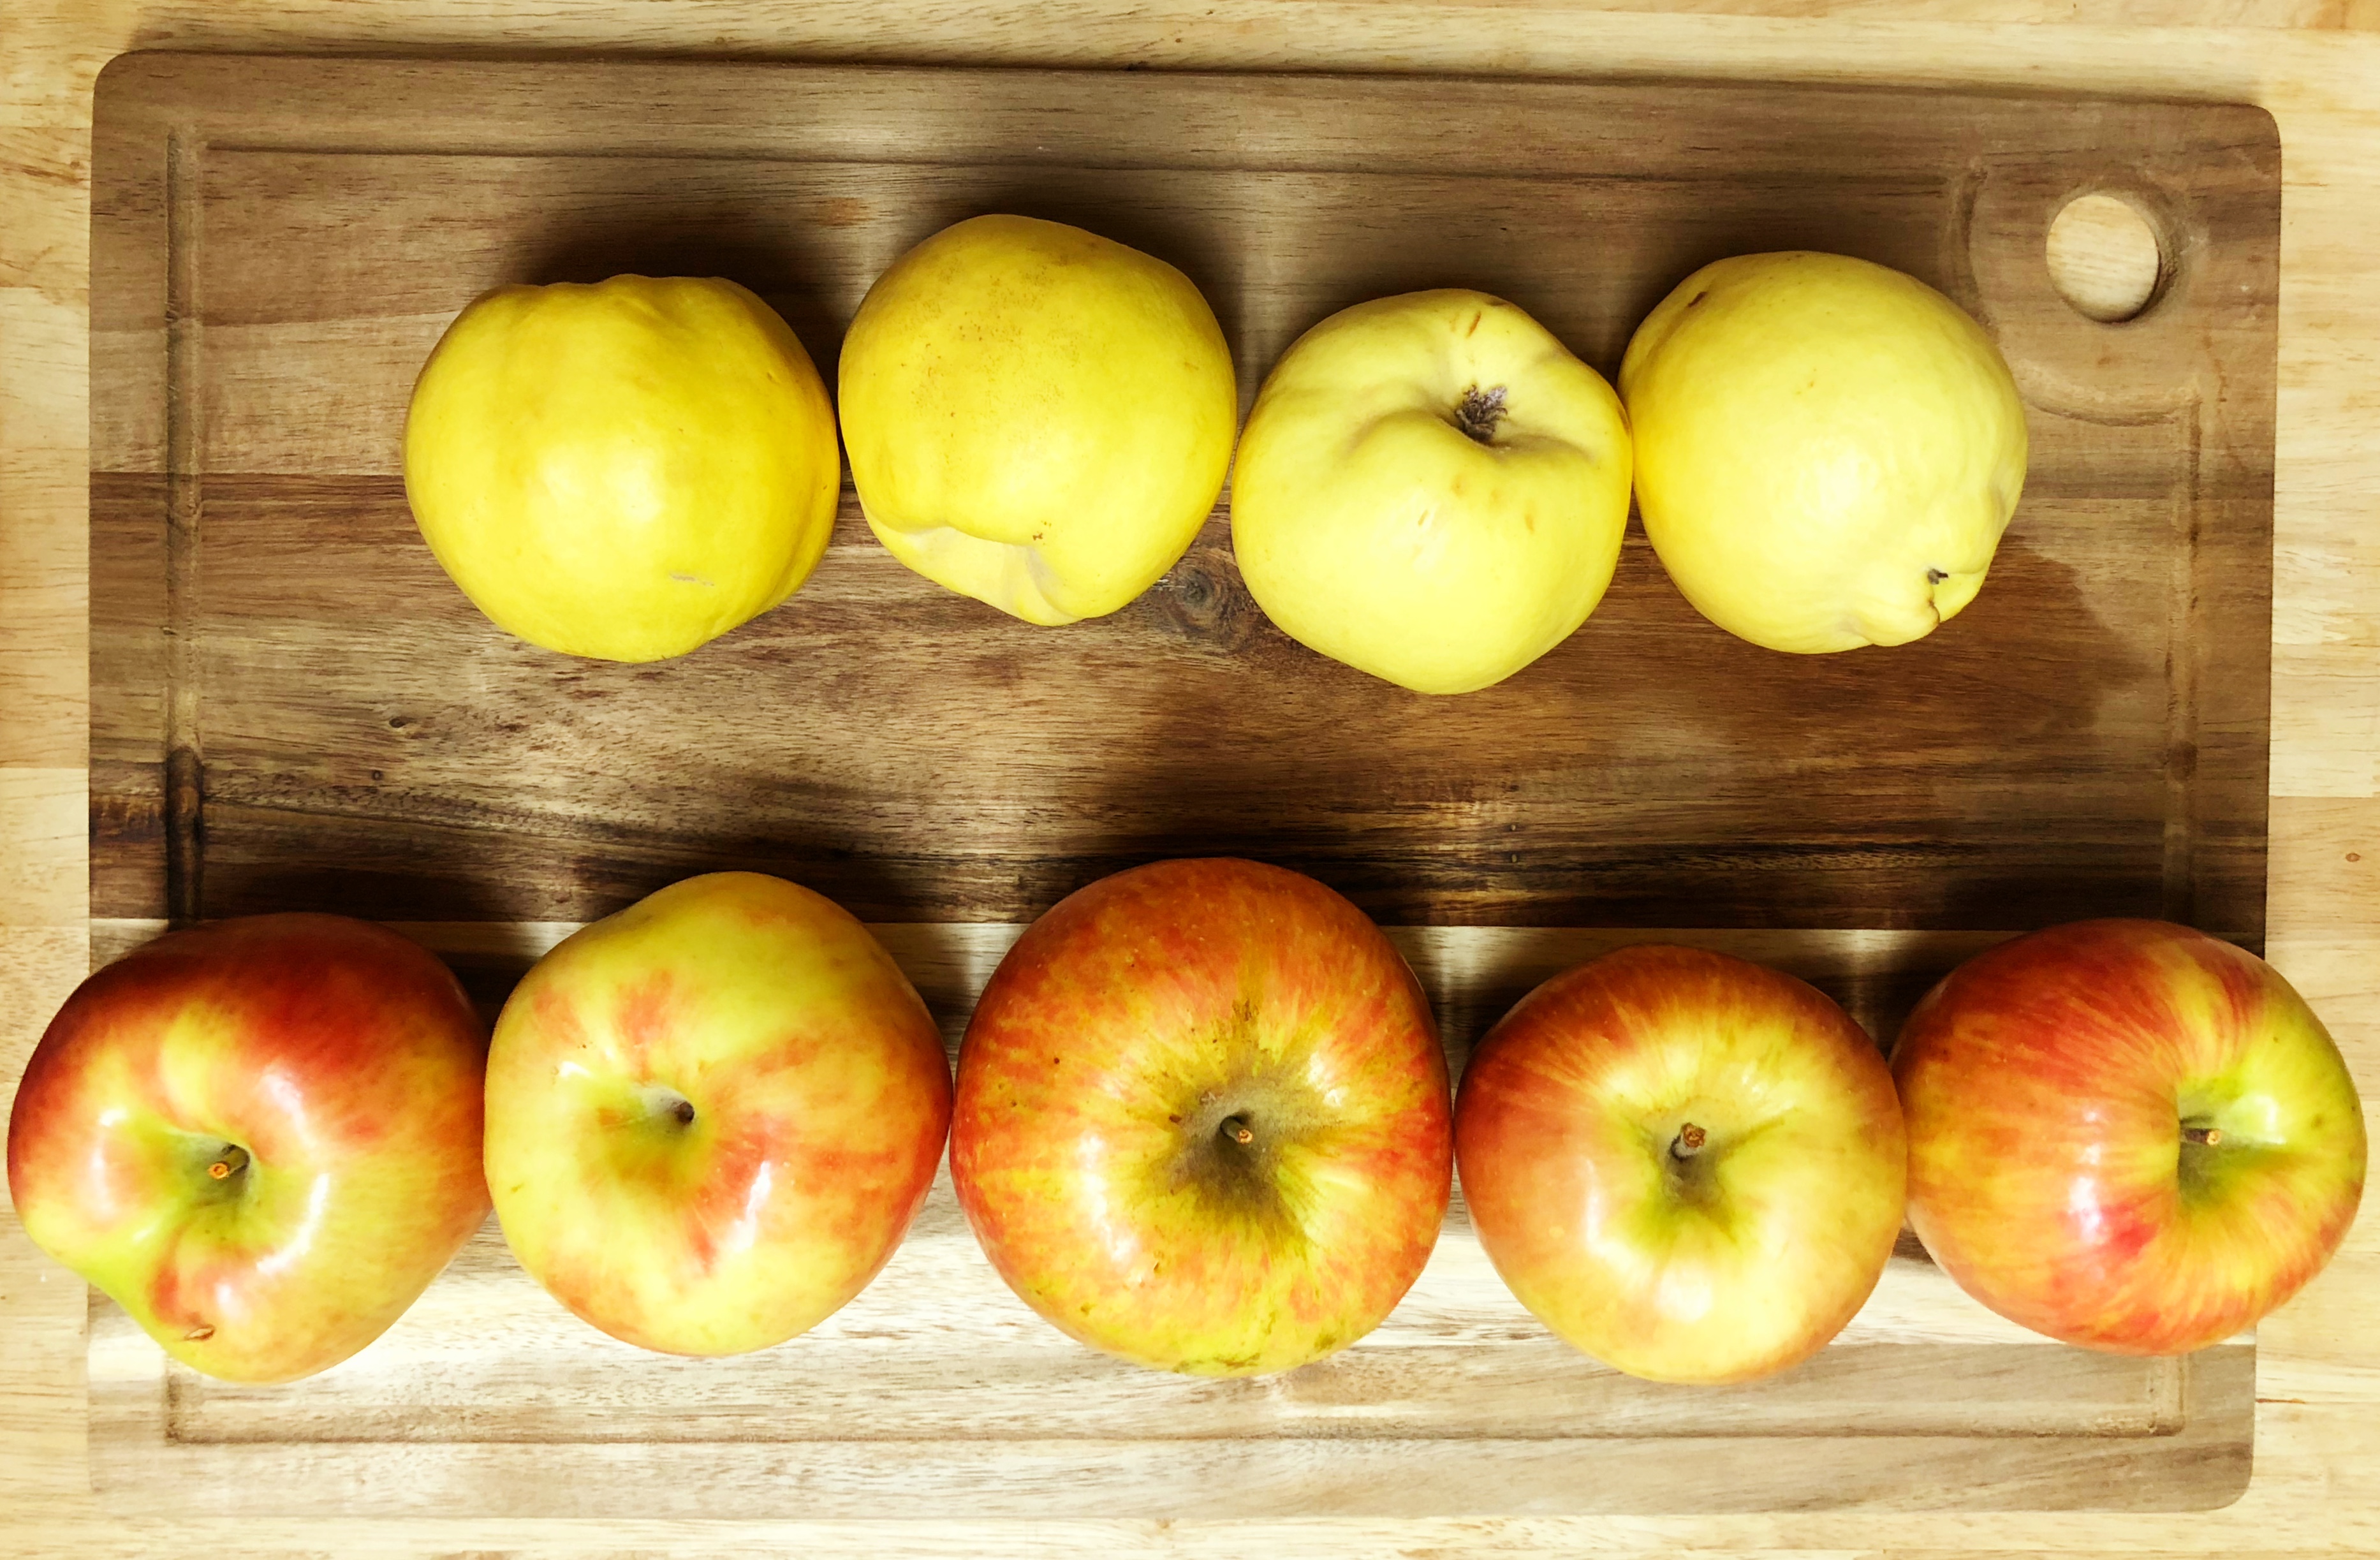
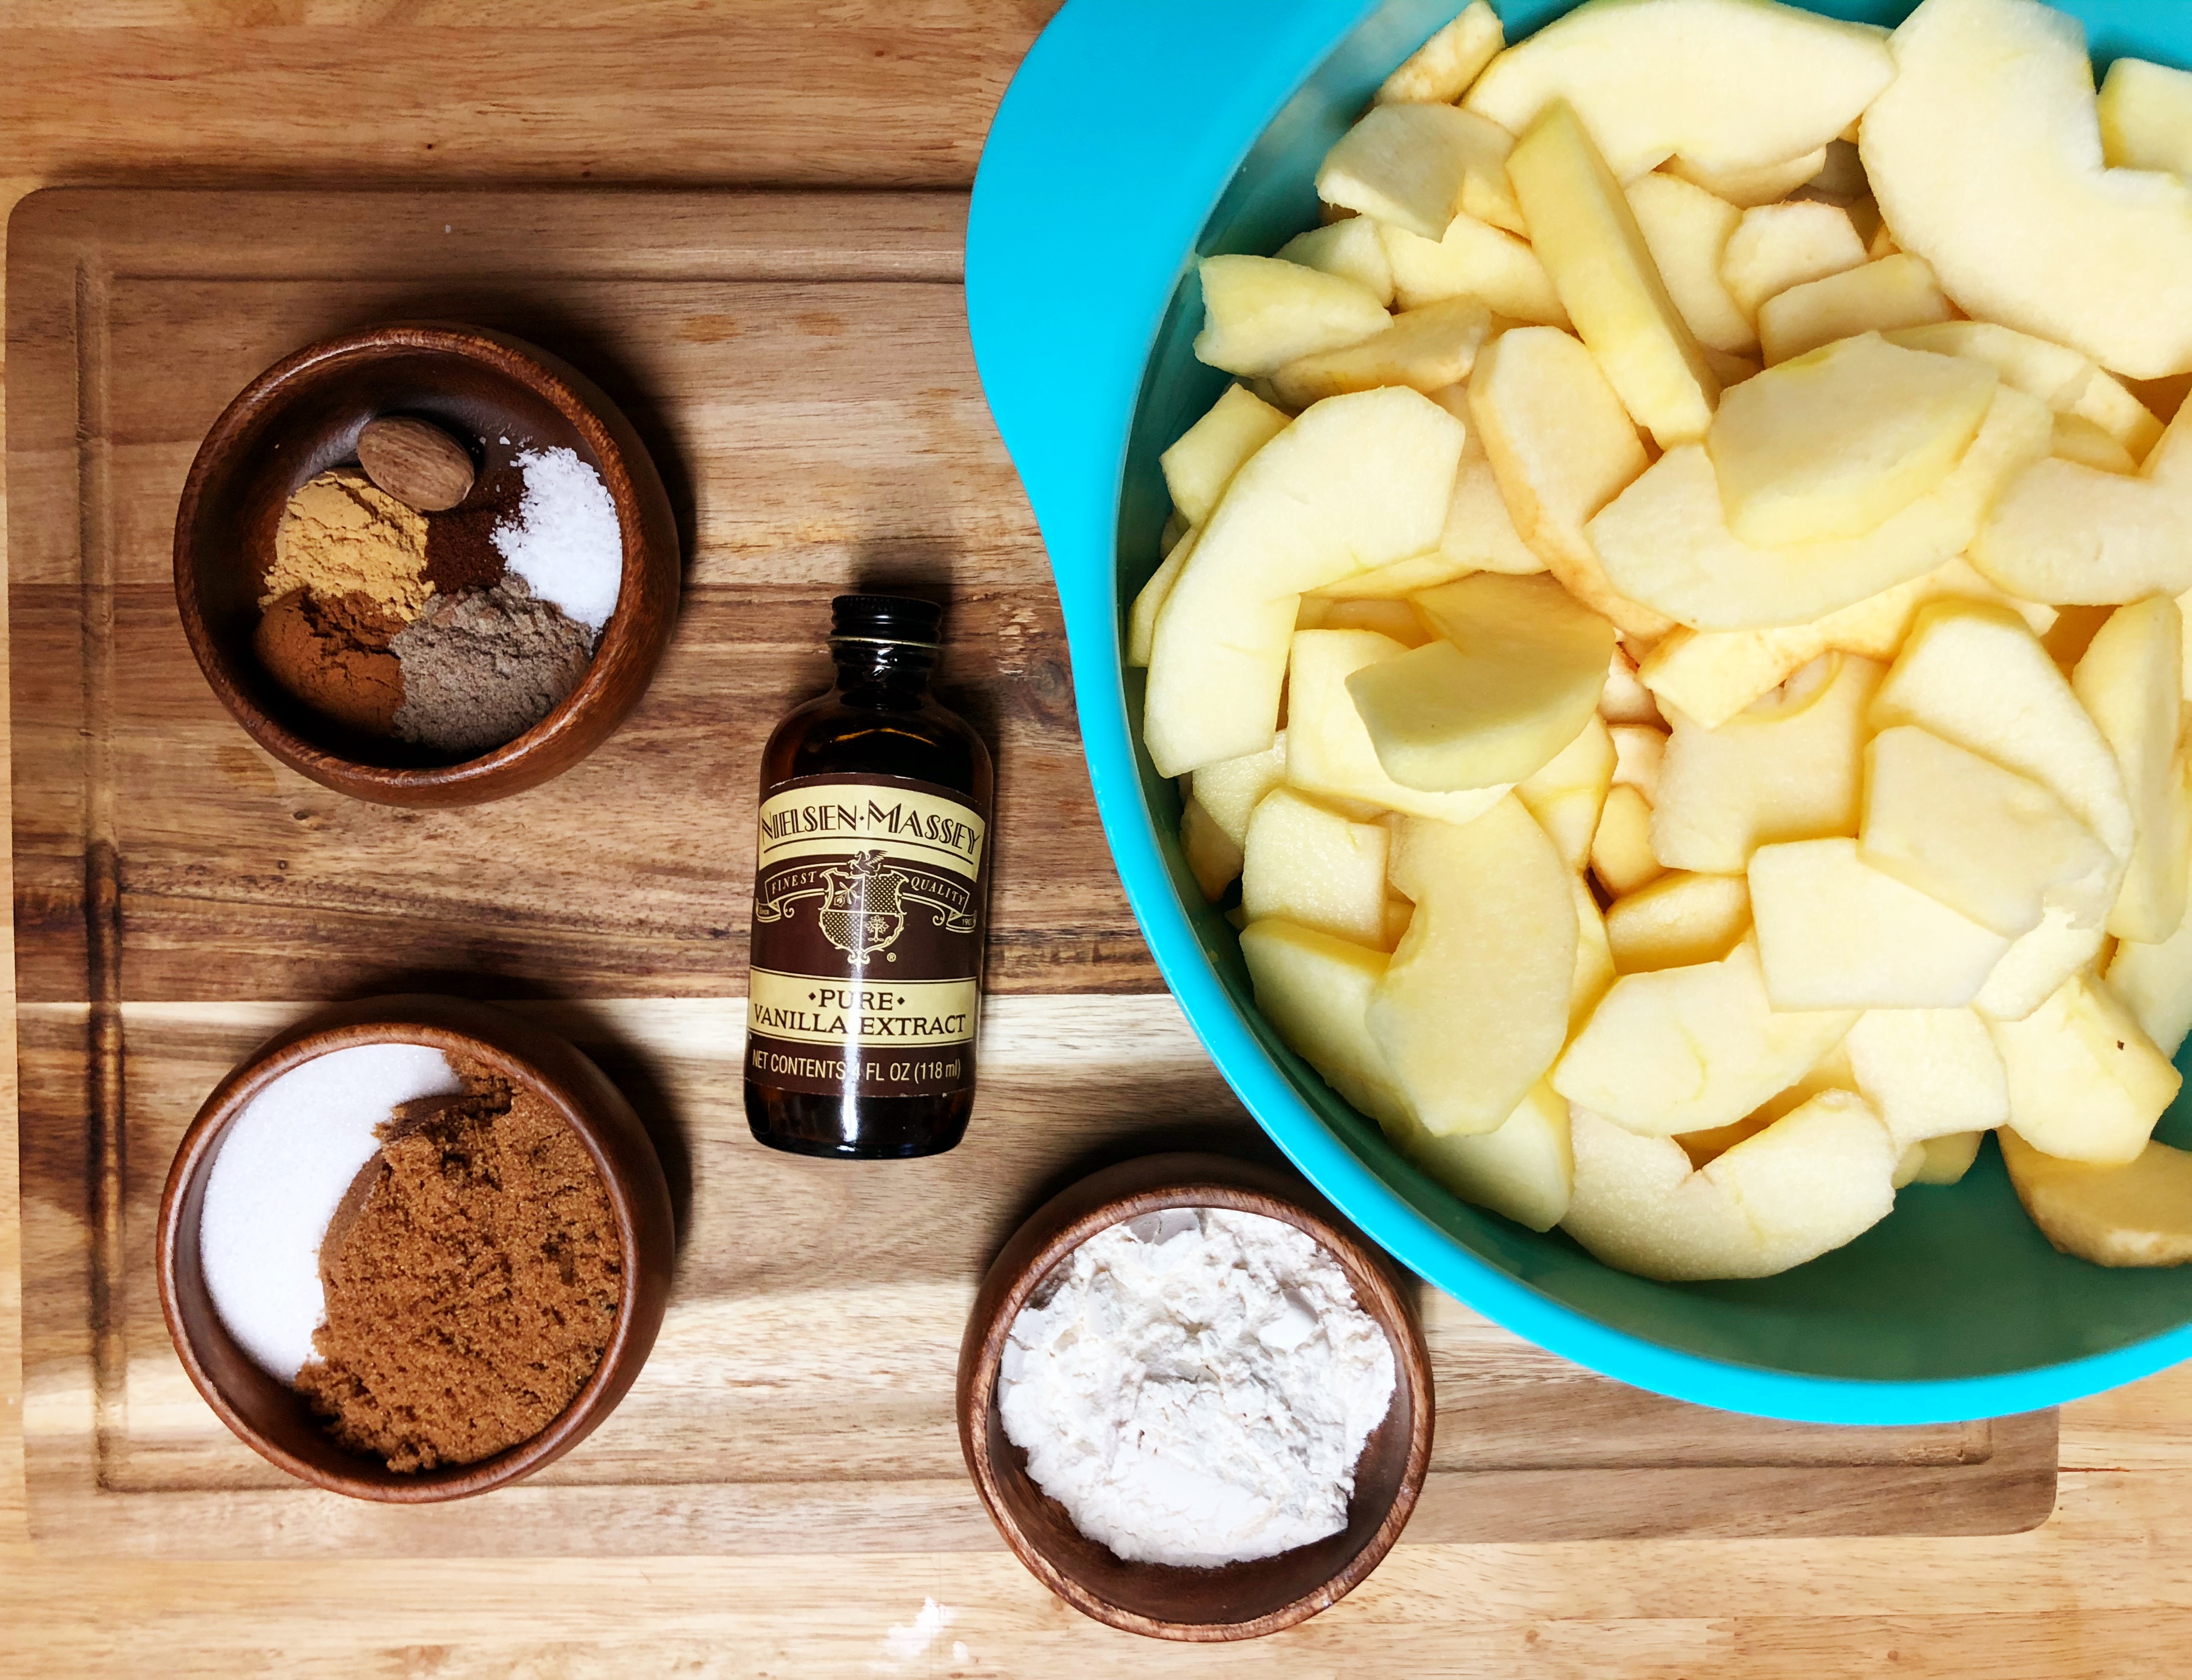
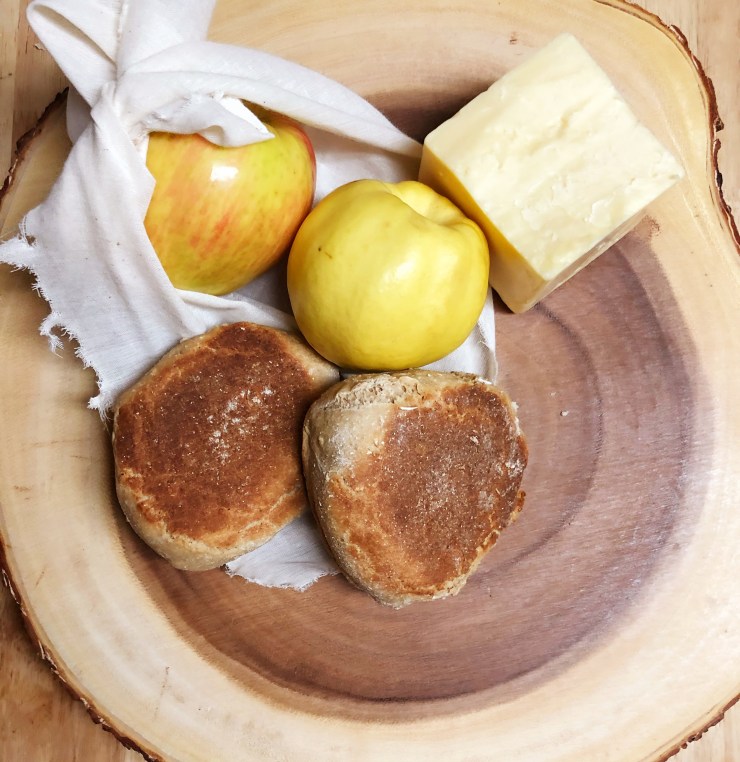
Start with 4-5 Honeycrisp apples (4 large apples or 5 medium) and 4 Quince. Peel, core, and slice the apples and quince into 1/4 inch thick slices. You’ll want to wind up with 8-9 cups of sliced fruit. If they start to oxidize and brown a little in the air, it’s fine, they’ll change color in the oven anyway. Add your apple and quince slices to a large bowl and assemble the rest of the ingredients for the filling: 1 tsp cinnamon, 1 tsp ground ginger, 1 tsp ground cardamom, 1/4 tsp ground cloves, 1/4 tsp coarse kosher salt, 1 tsp vanilla extract, 1/2 tsp fresh grated nutmeg, 1/4 cup all purpose flour, 1/4 cup white sugar, and 1/4 cup dark brown sugar. Add everything to the fruit and turn with your hands until everything is thoroughly mixed together.

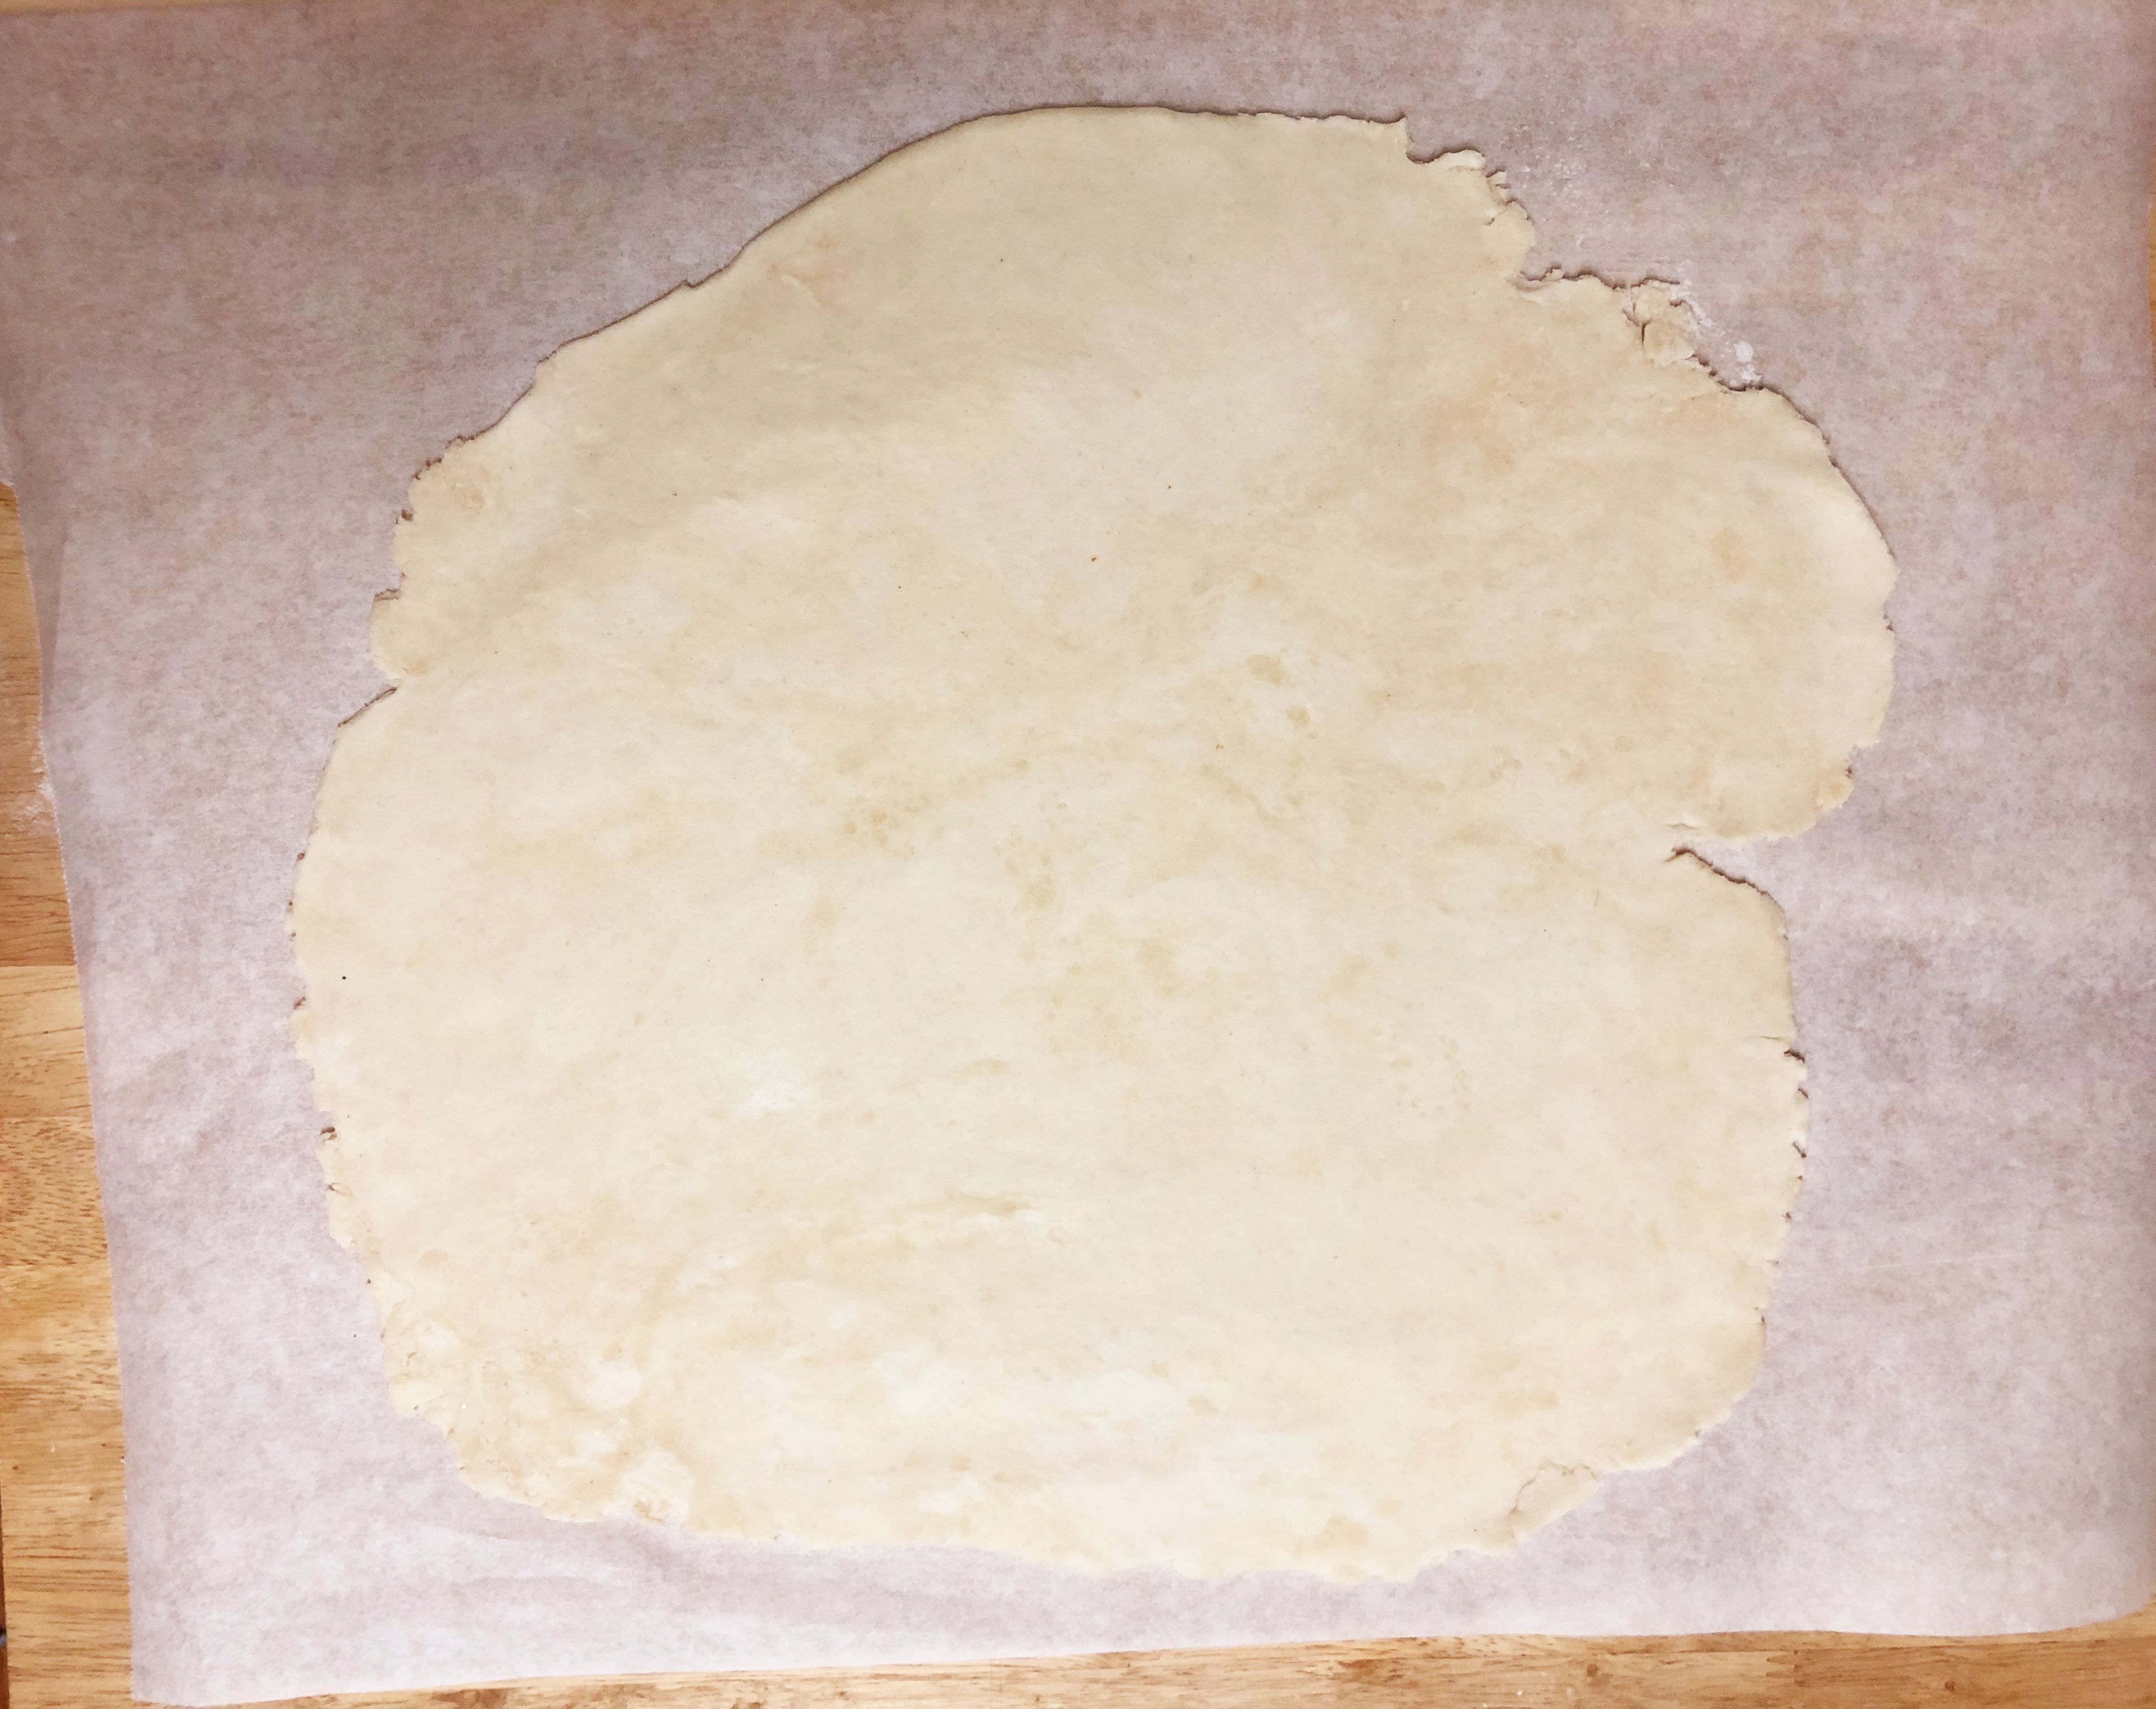
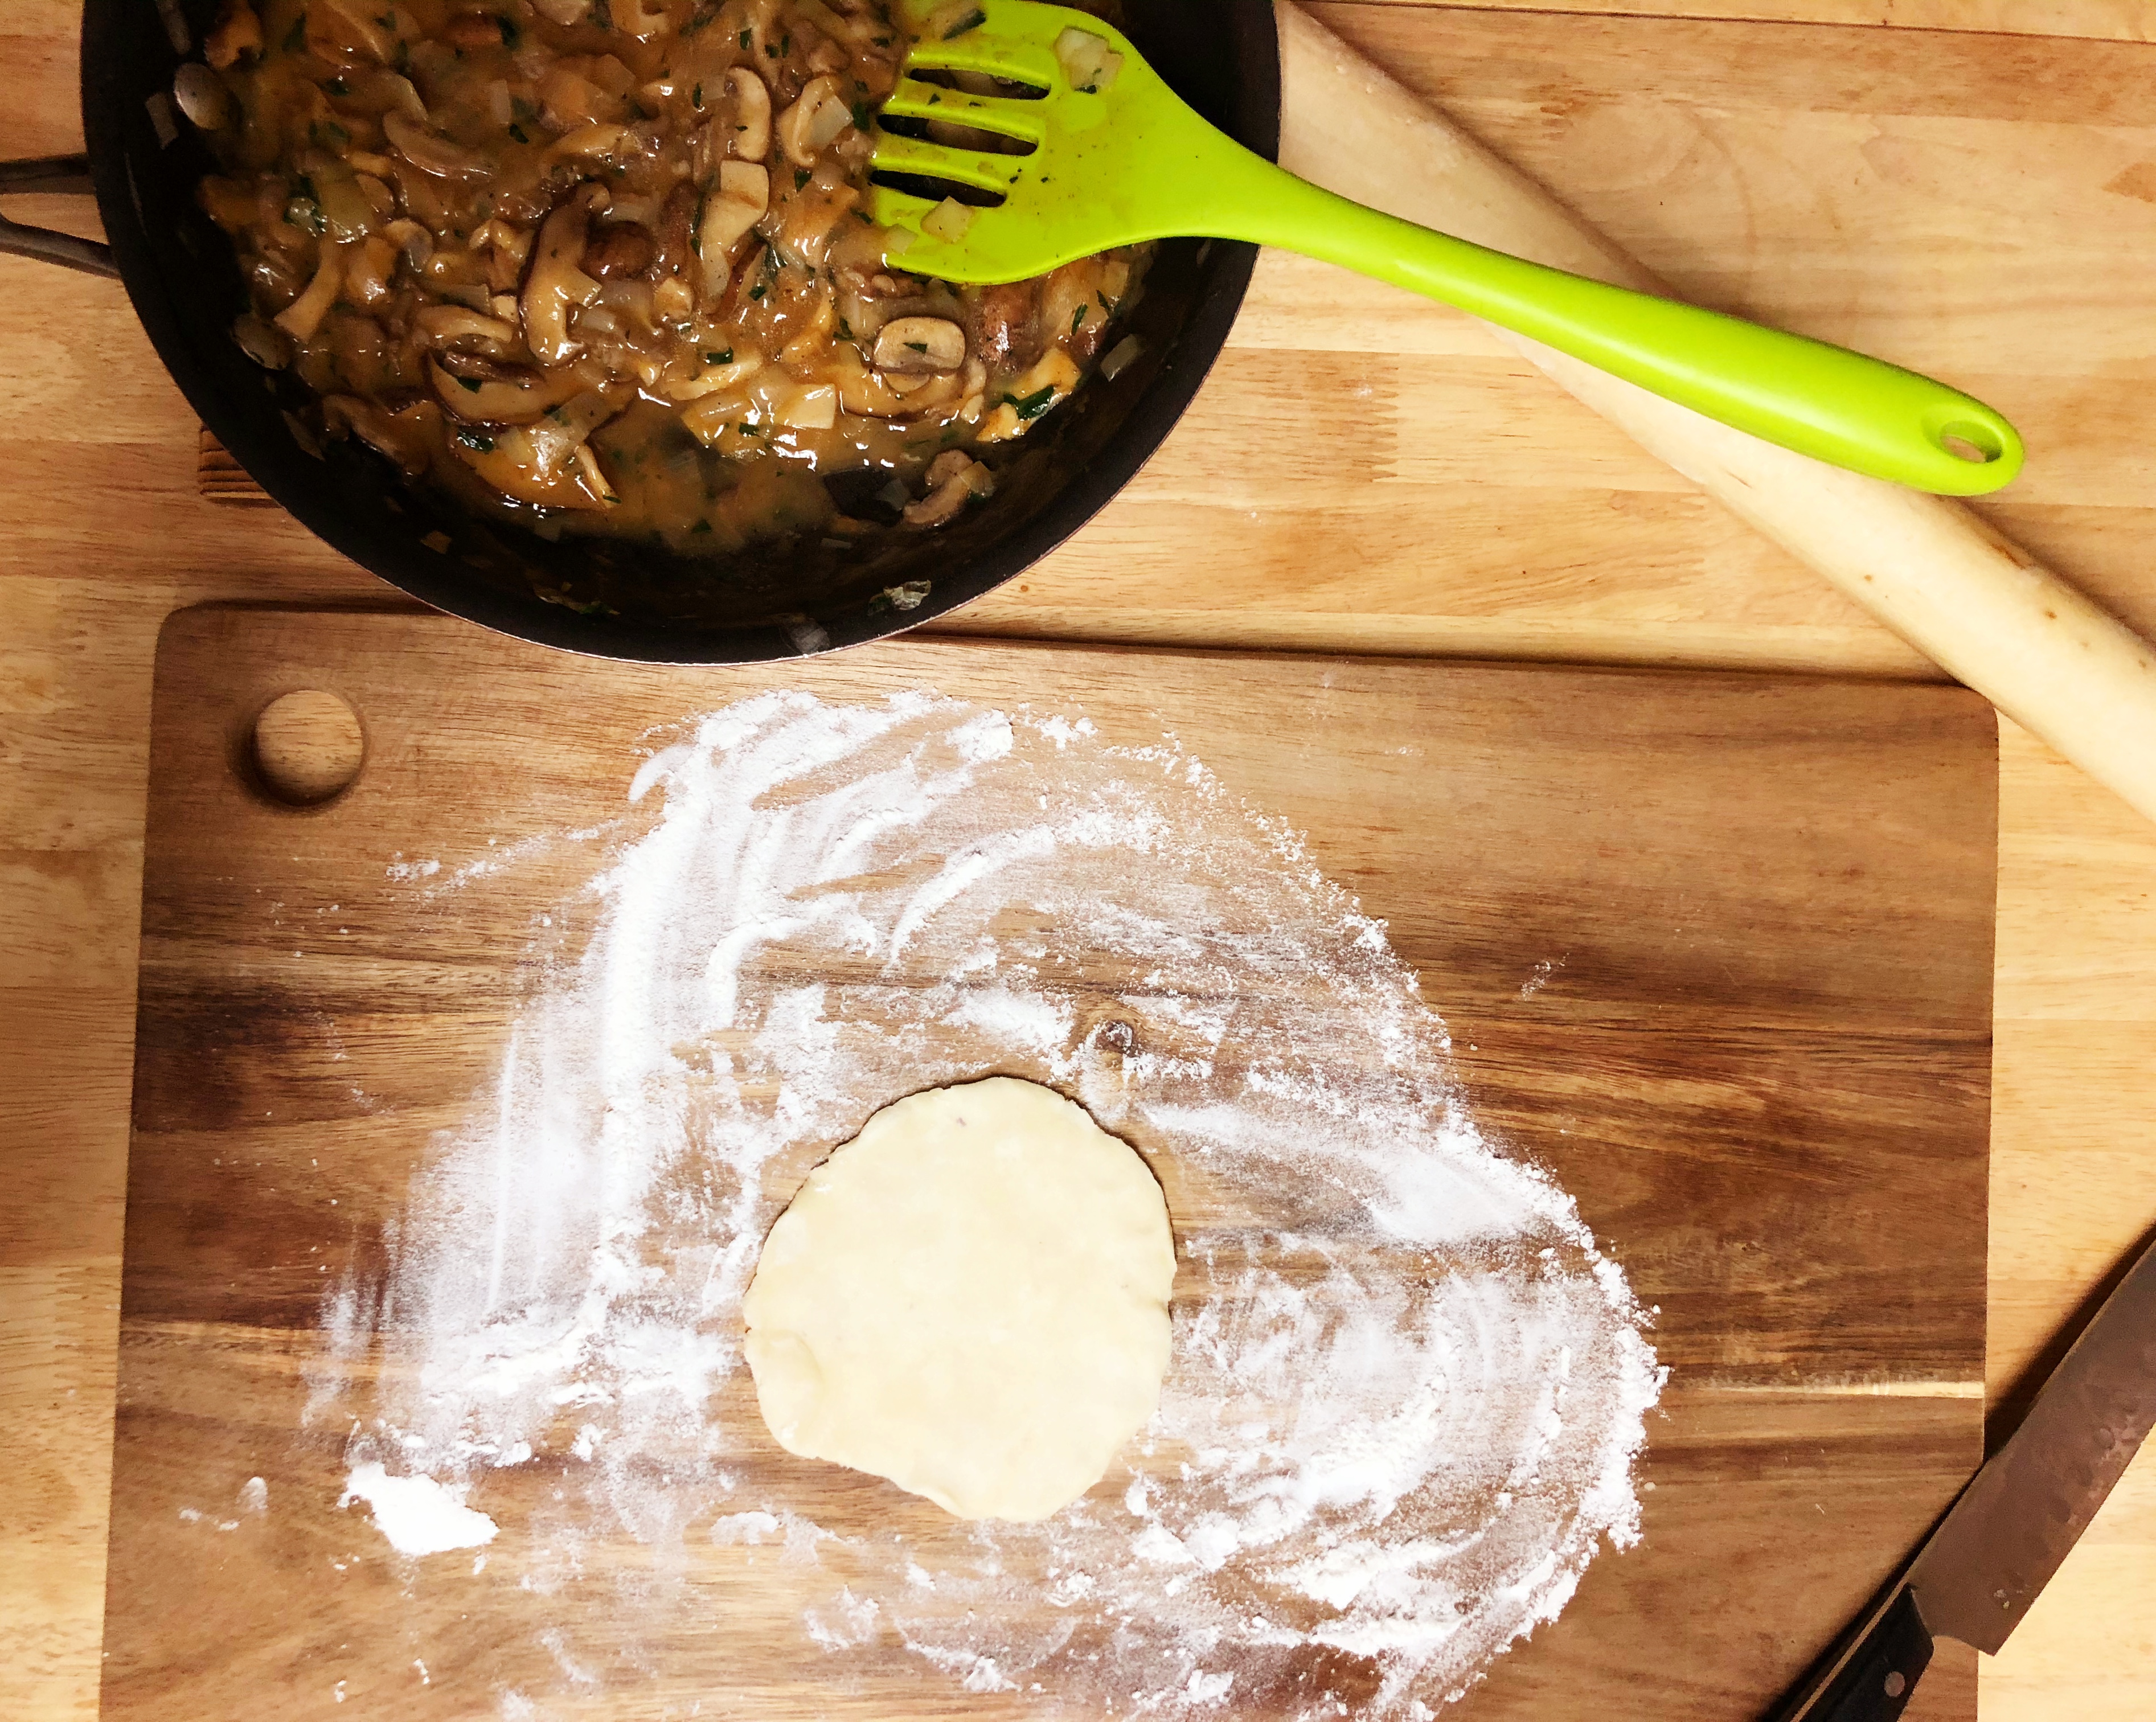
Set aside the filling mix and lay down wax paper over your workspace. Lightly flour the wax paper and roll out the first round of butter crust until it is about 1/6th inch thick. I find flipping the pie dough a few times during rolling and redusting my rolling pin as necessary helps to prevent it from sticking while maintaining an even thickness.

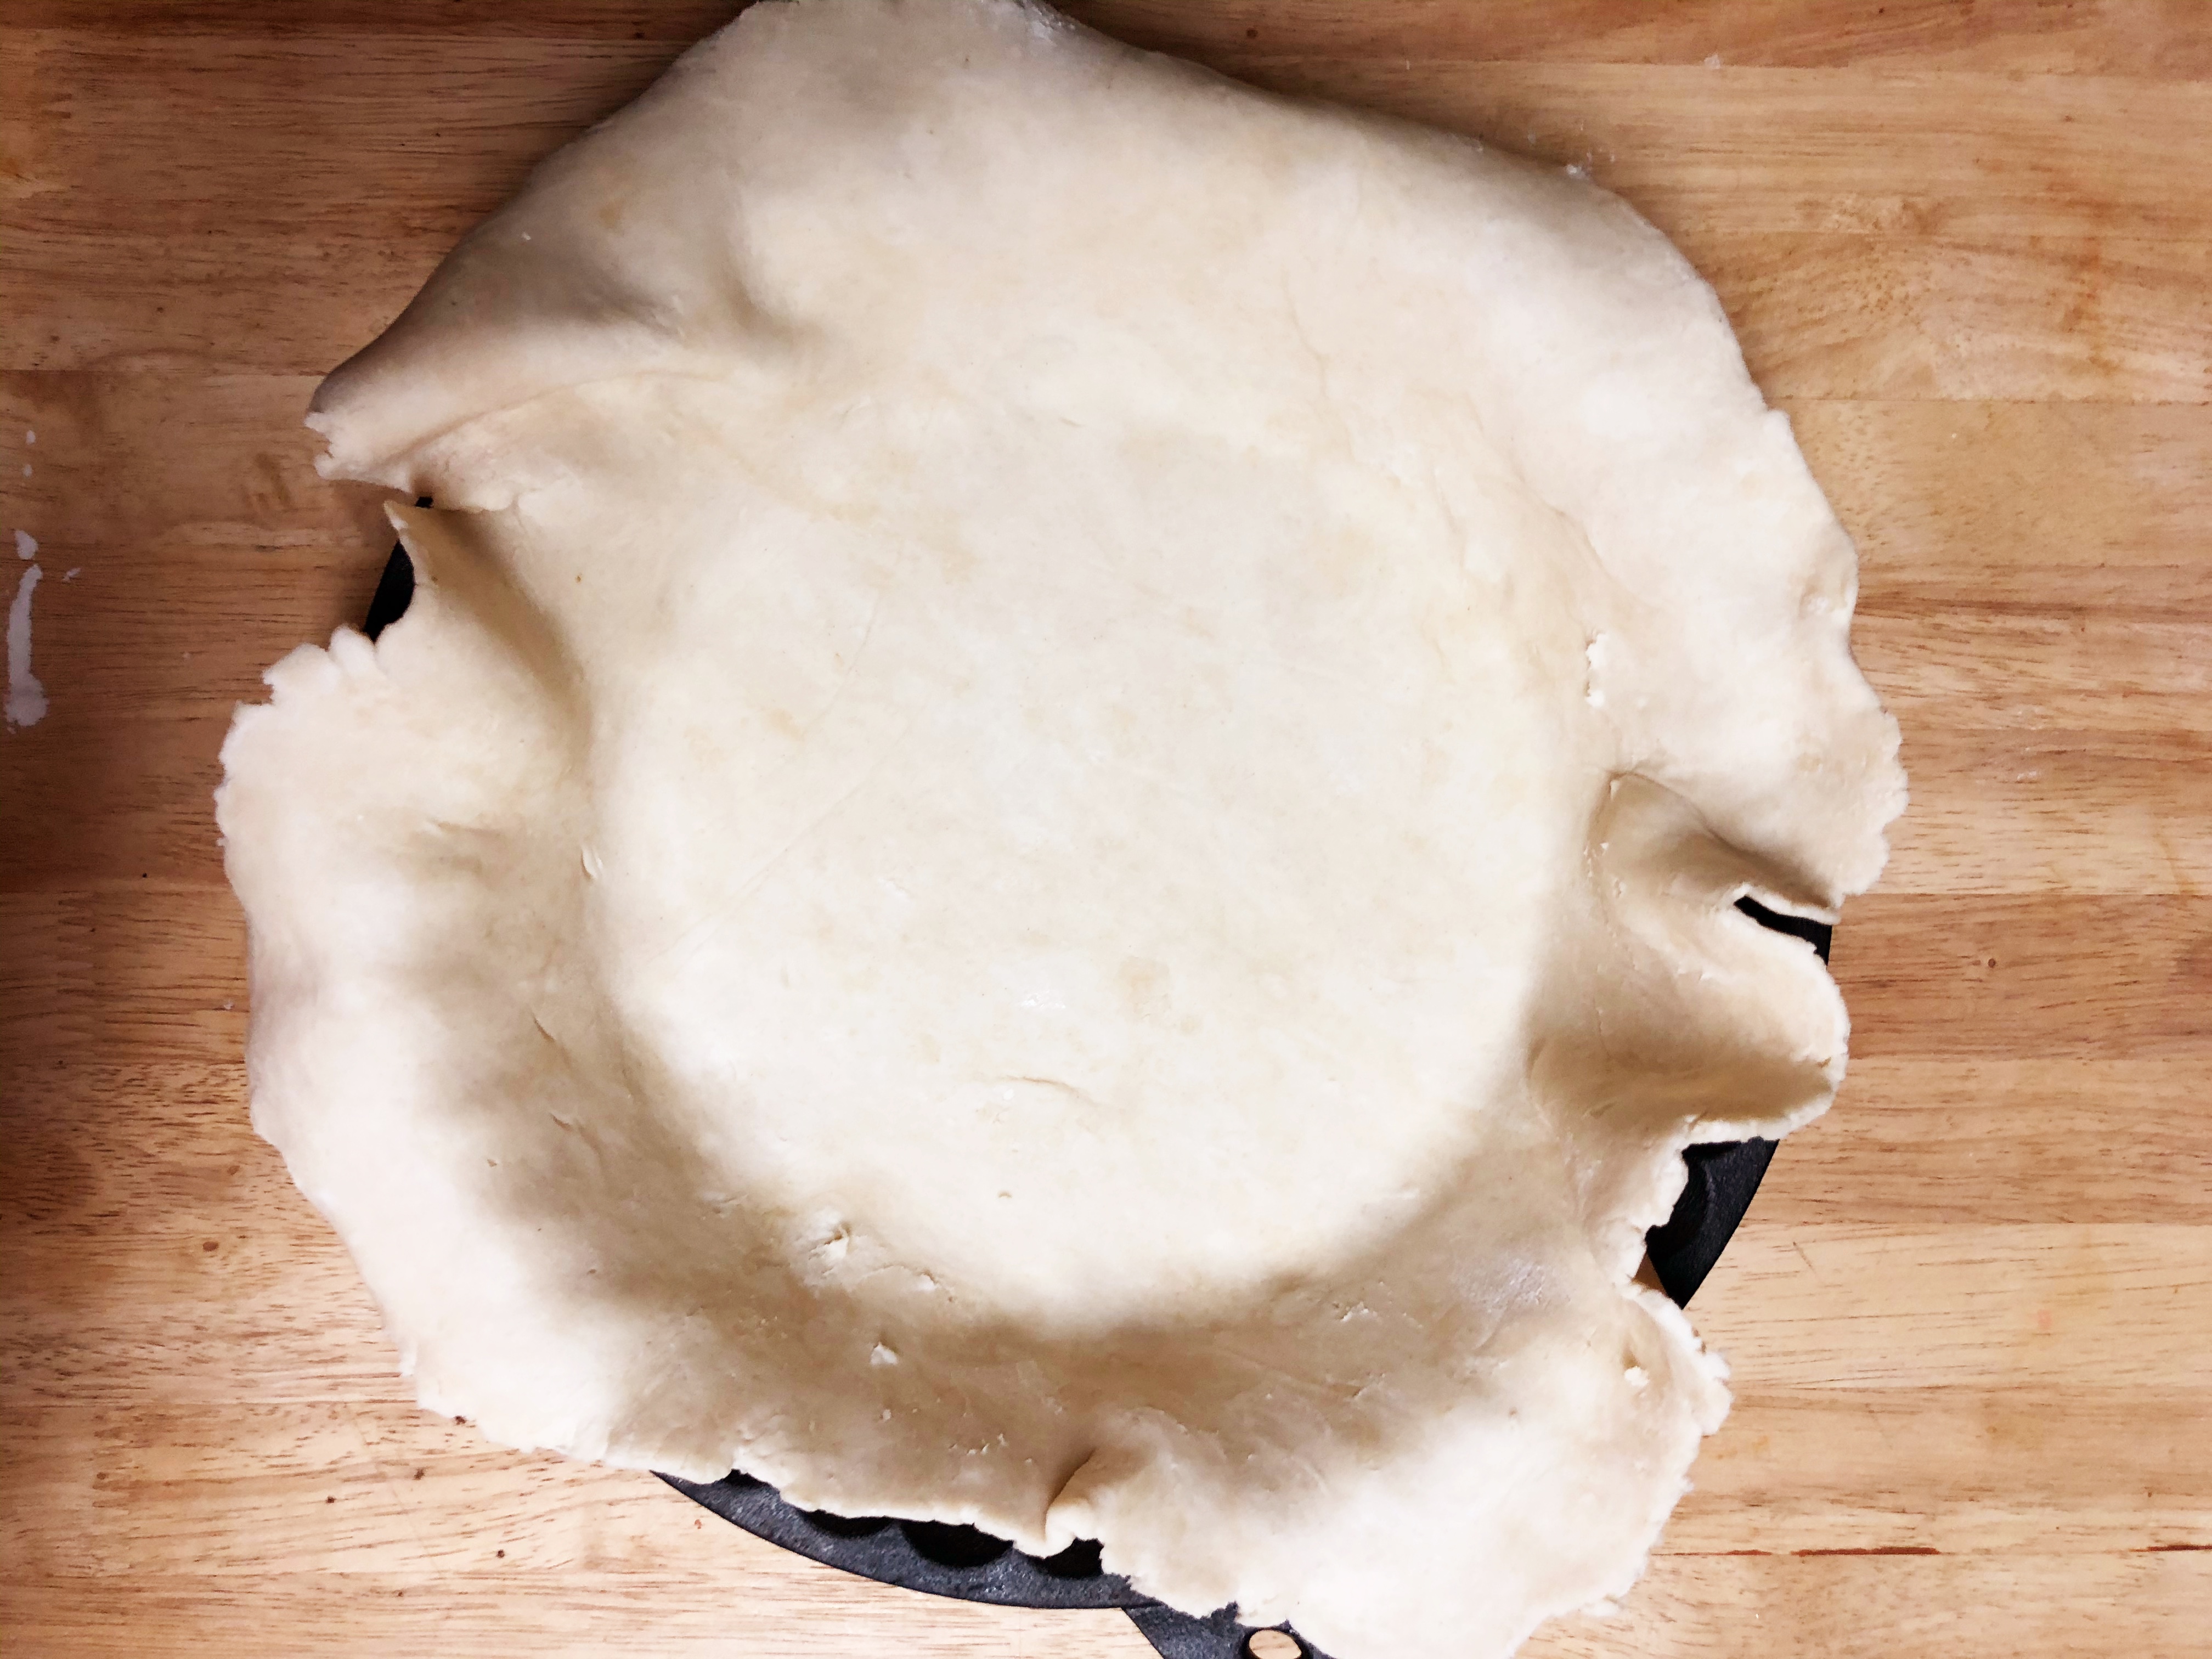
Using the wax paper, flip your pastry dough into a pie pan. Push down along the sides to make sure that the dough fills in any possible bubbles, and use your thumbs to push along the edges. Using a sharp paring knife, cut away any excess dough. Use a fork to pierce the bottom of the crust in several spots to avoid possible air bubbles during baking. For this recipe I used this cast iron pie pan (please note this is an affiliate link) that I have subsequently fallen in love with. It gives a perfect even brown crust every time!

Stir the fruit filling to ensure that the juices that have formed evenly coat every piece of fruit, and pour it into the pie pan. If it domes up a little over the edge of the pie pan that’s totally okay.

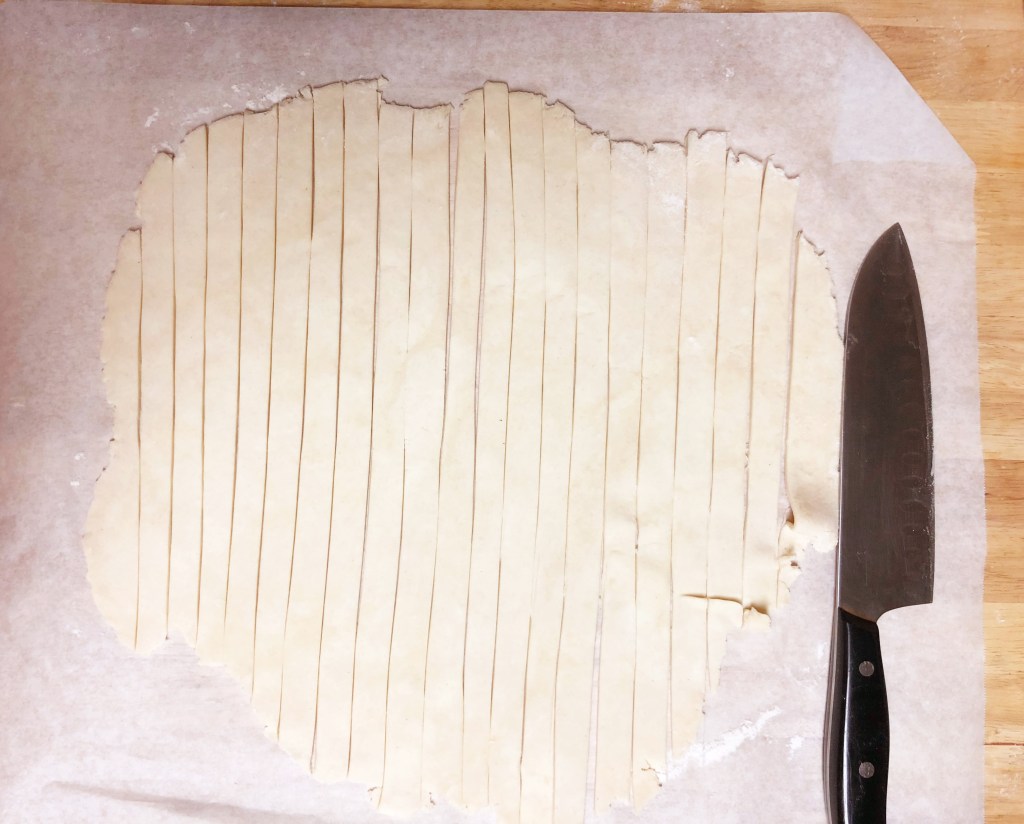
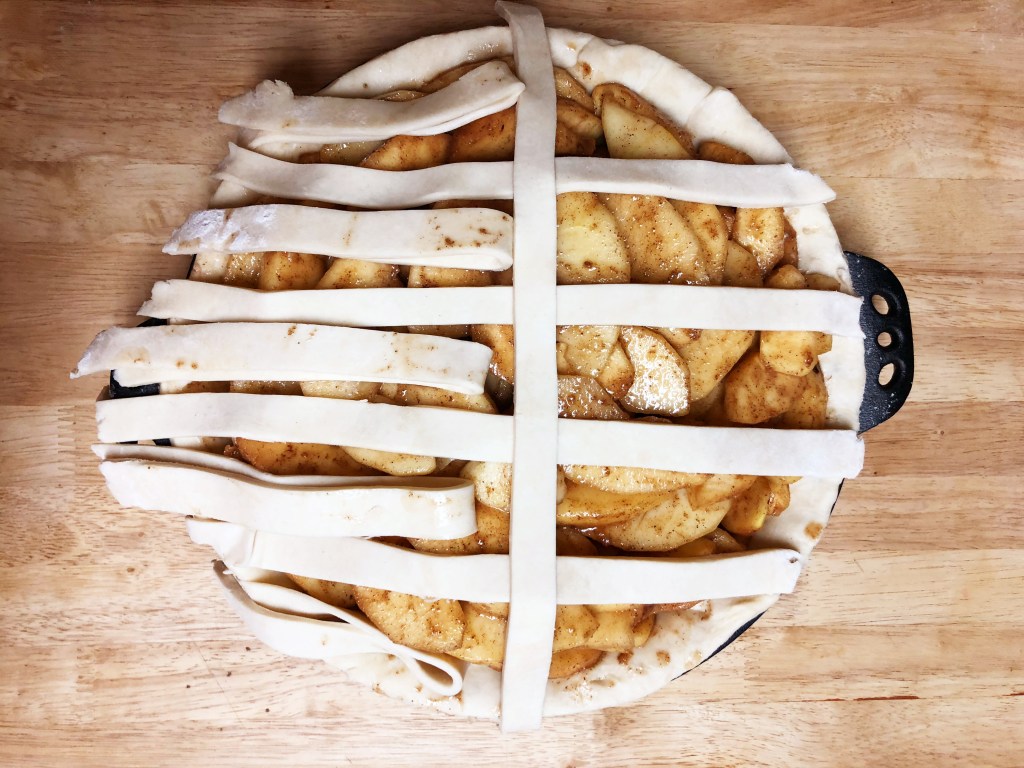
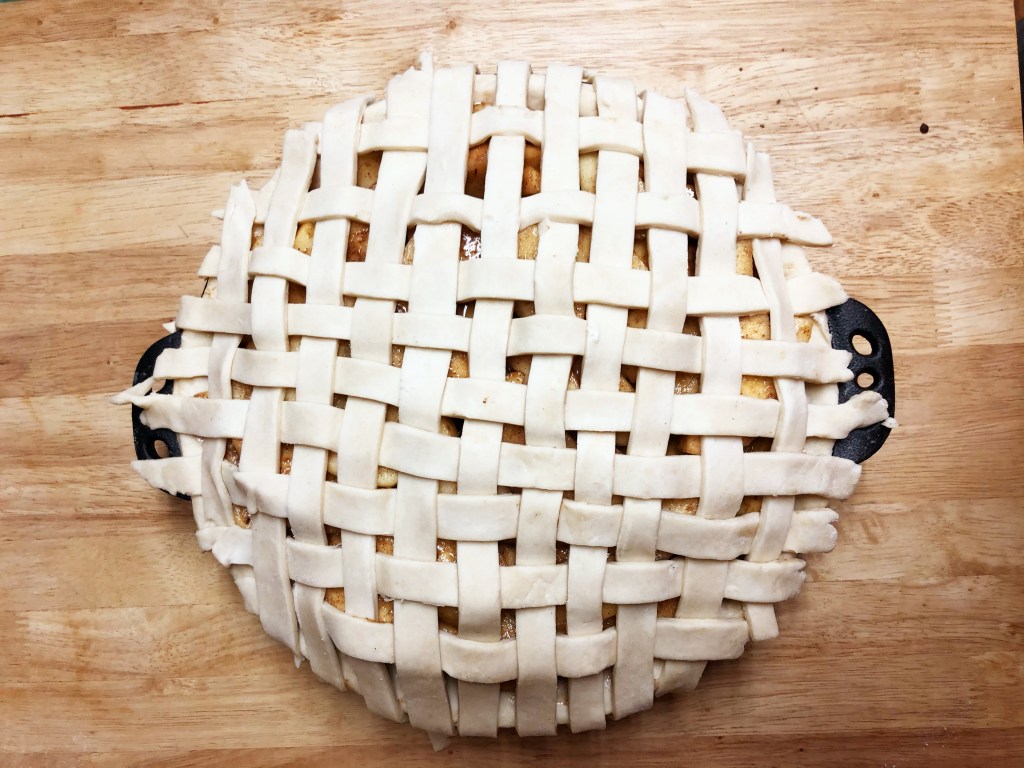
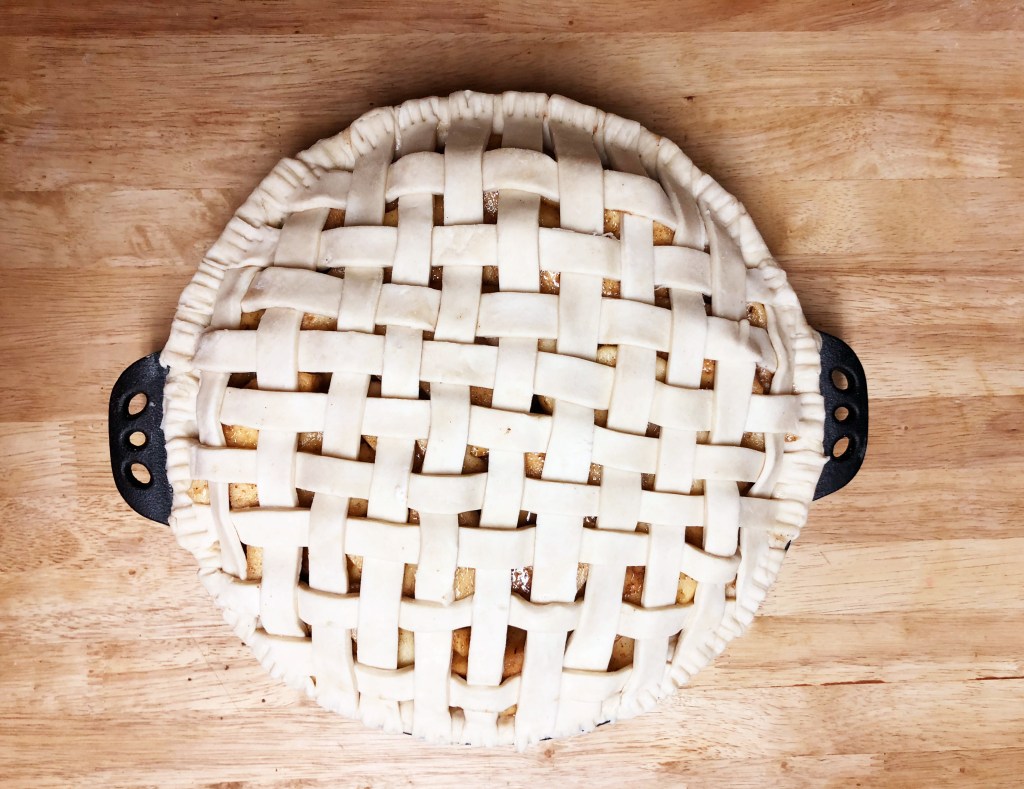
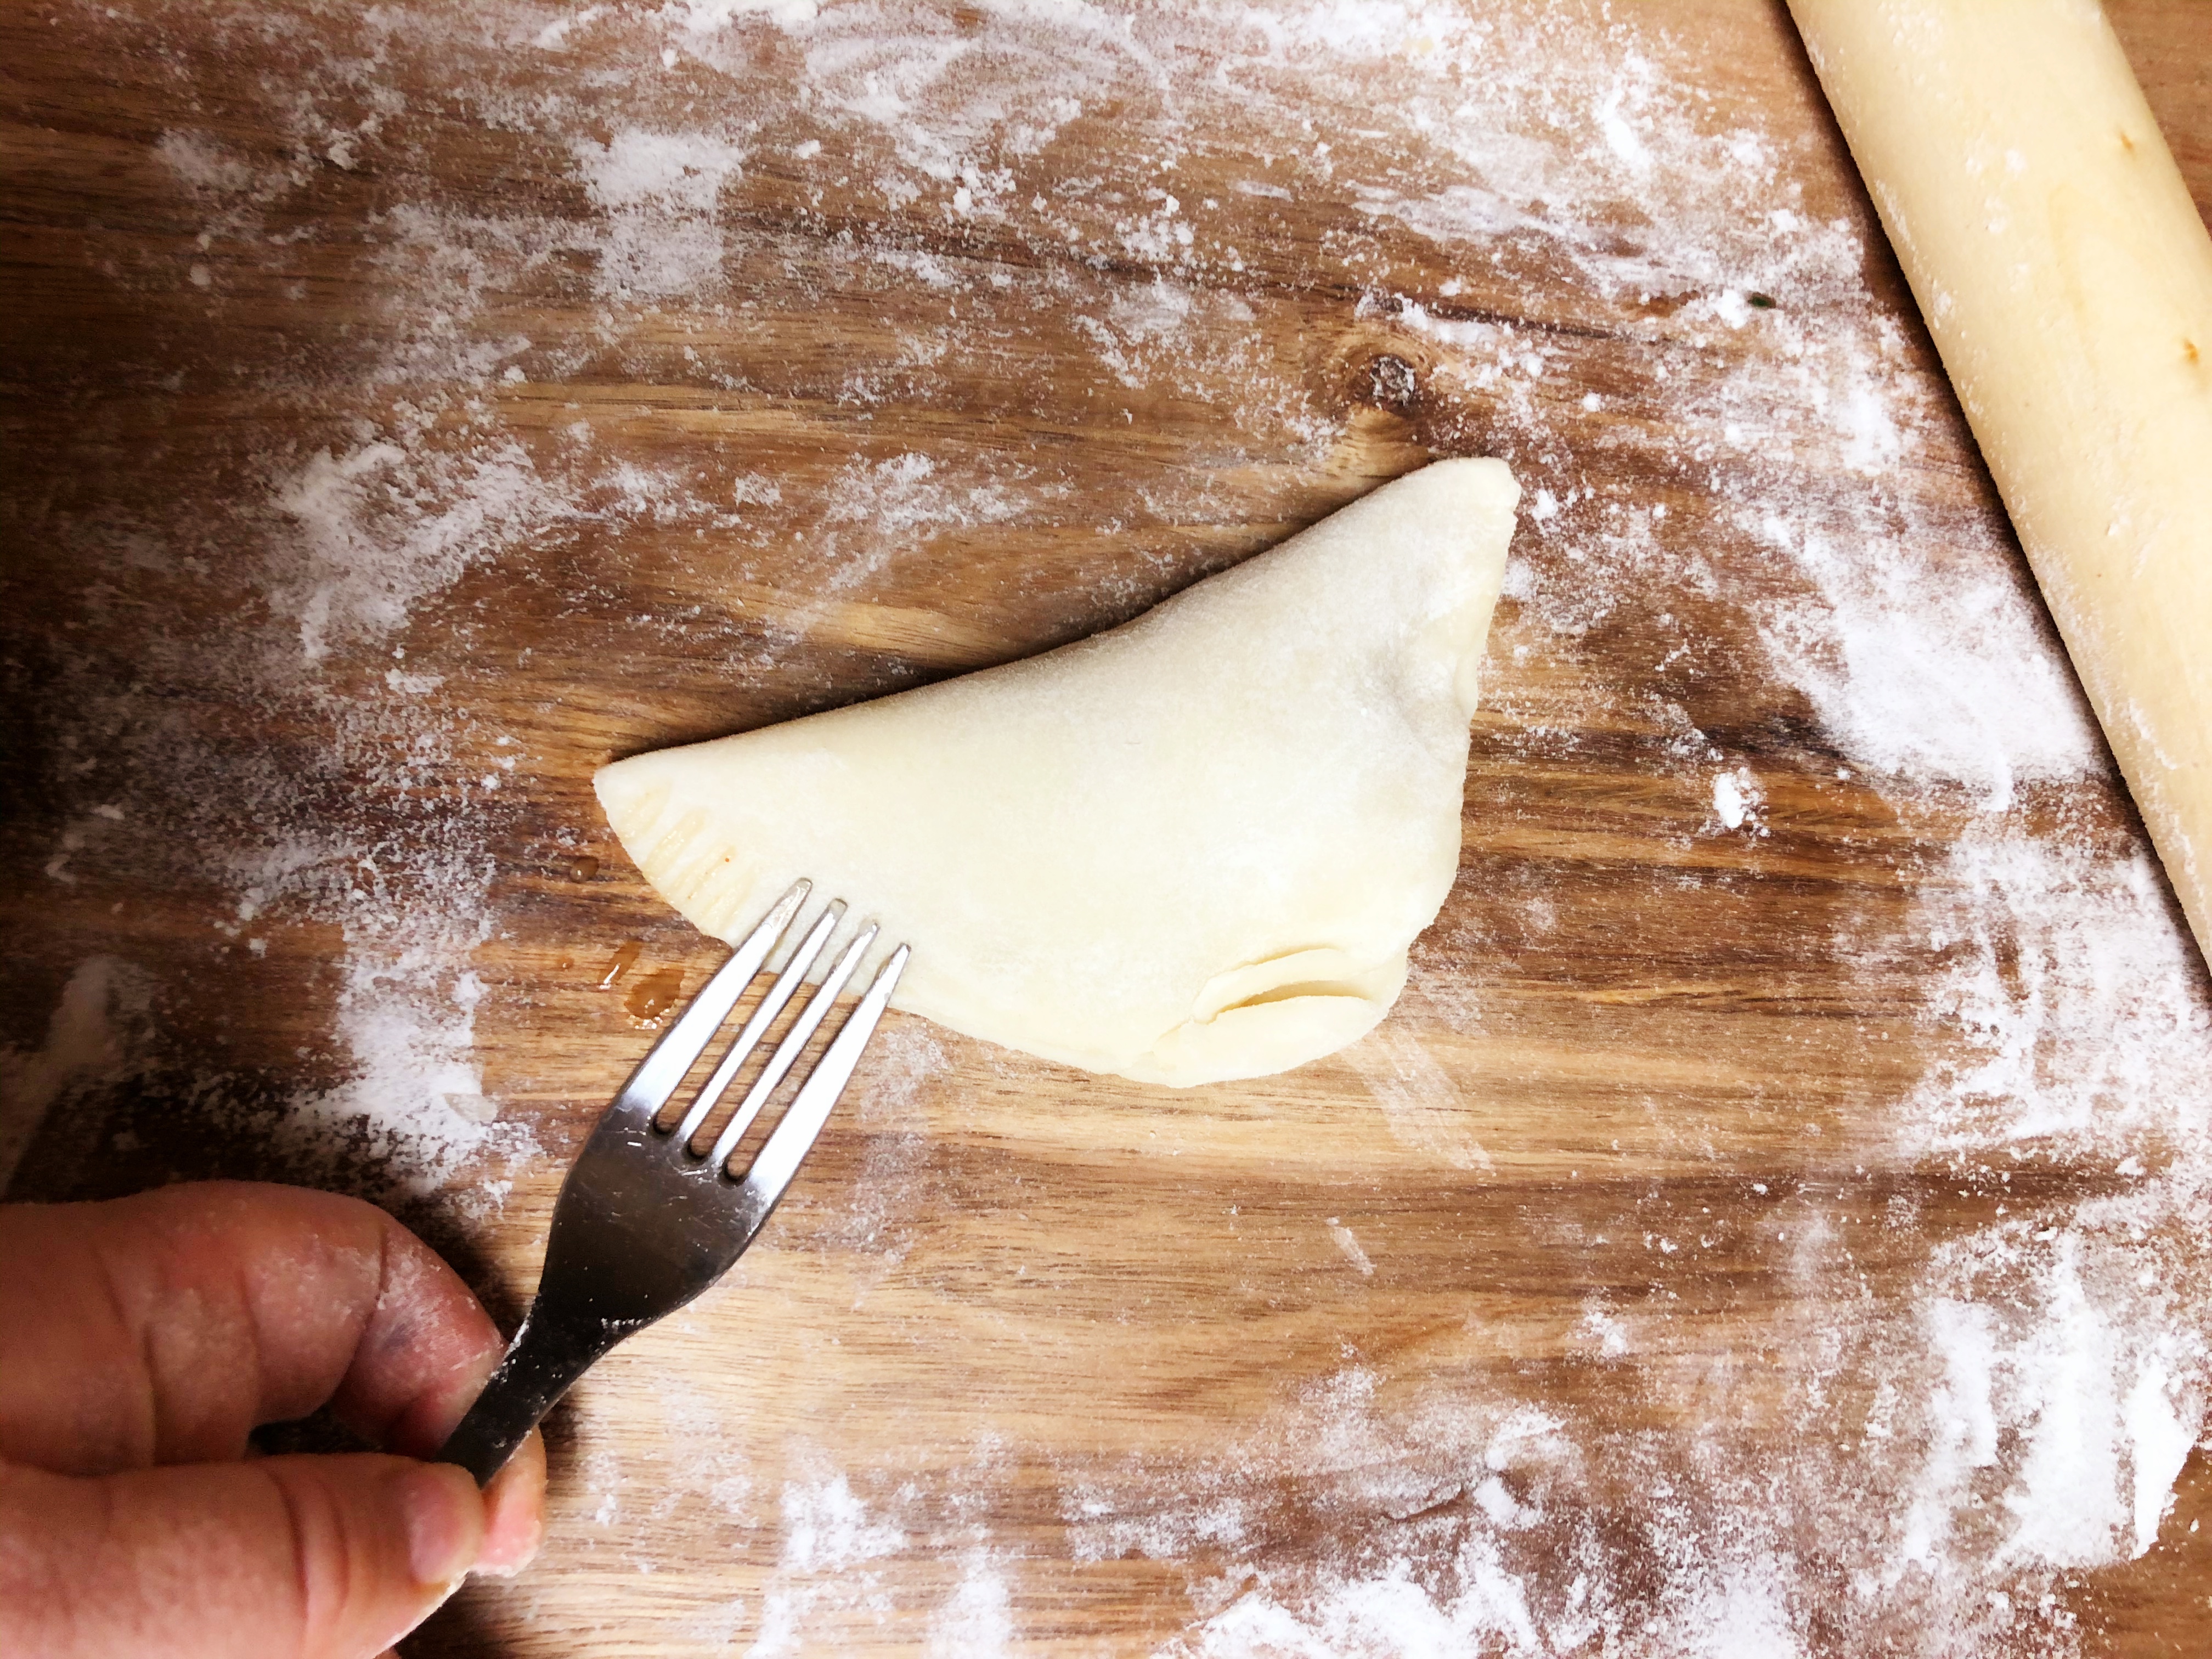
Now it’s time to make a lattice top crust with the remaining dough round. If you’ve never made a lattice crust it’s a lot easier than it looks. Start by rolling out the pastry dough on lightly floured wax paper until it is about 1/6th inch thick again. Using a large knife, cut the dough into 1/2 inch strips. Lay half of the strips across the top of the pie facing one direction (imagine window blinds). Fold over backwards every other strip of dough and lay one strip across the middle (as shown in the second photo in the top row). Lay the folded strips back out straight, and fold back the opposing set of horizontal strips. Lay down another strip of dough and keep repeating this alternate weave until you have finished one half of the pie. Then repeat the process working from the middle on the other half of the pie. When you have finished weaving your lattice top, push down with your fingertips along the edge of the pan to form a seal, and use a sharp paring knife to cut away any excess dough. Finally, take a fork and press along the edges to ensure a perfect seal.

Lastly, brush the top of the finished pie with milk, and sprinkle coarse sugar over the top. This will help to brown the top and make it pleasantly sweet as well. If you cannot find sparkling or coarse sugar, demerara or turbinado sugar makes a suitable substitute. Refrigerate the pie for 20-30 minutes, and in the meantime preheat the oven to 400 degrees with a rack in the lower third of the oven.

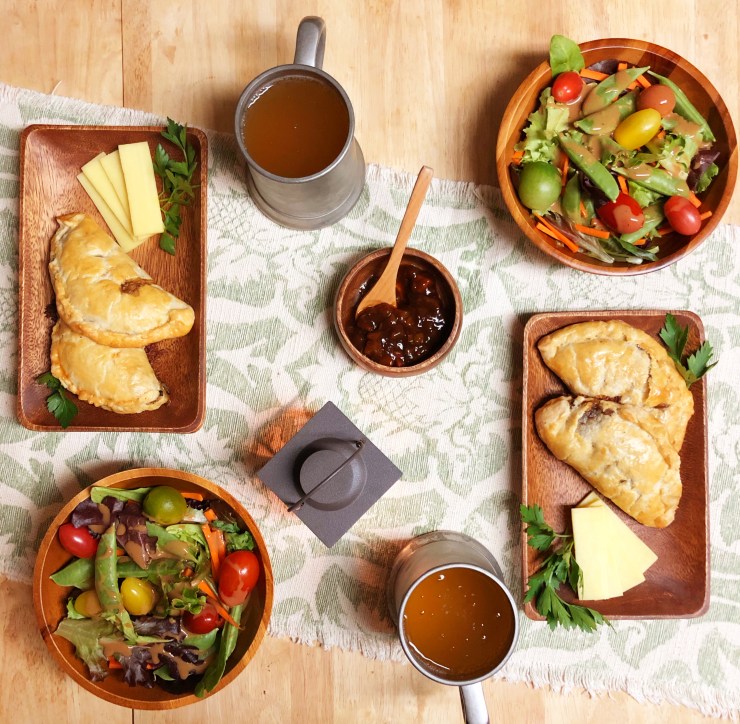
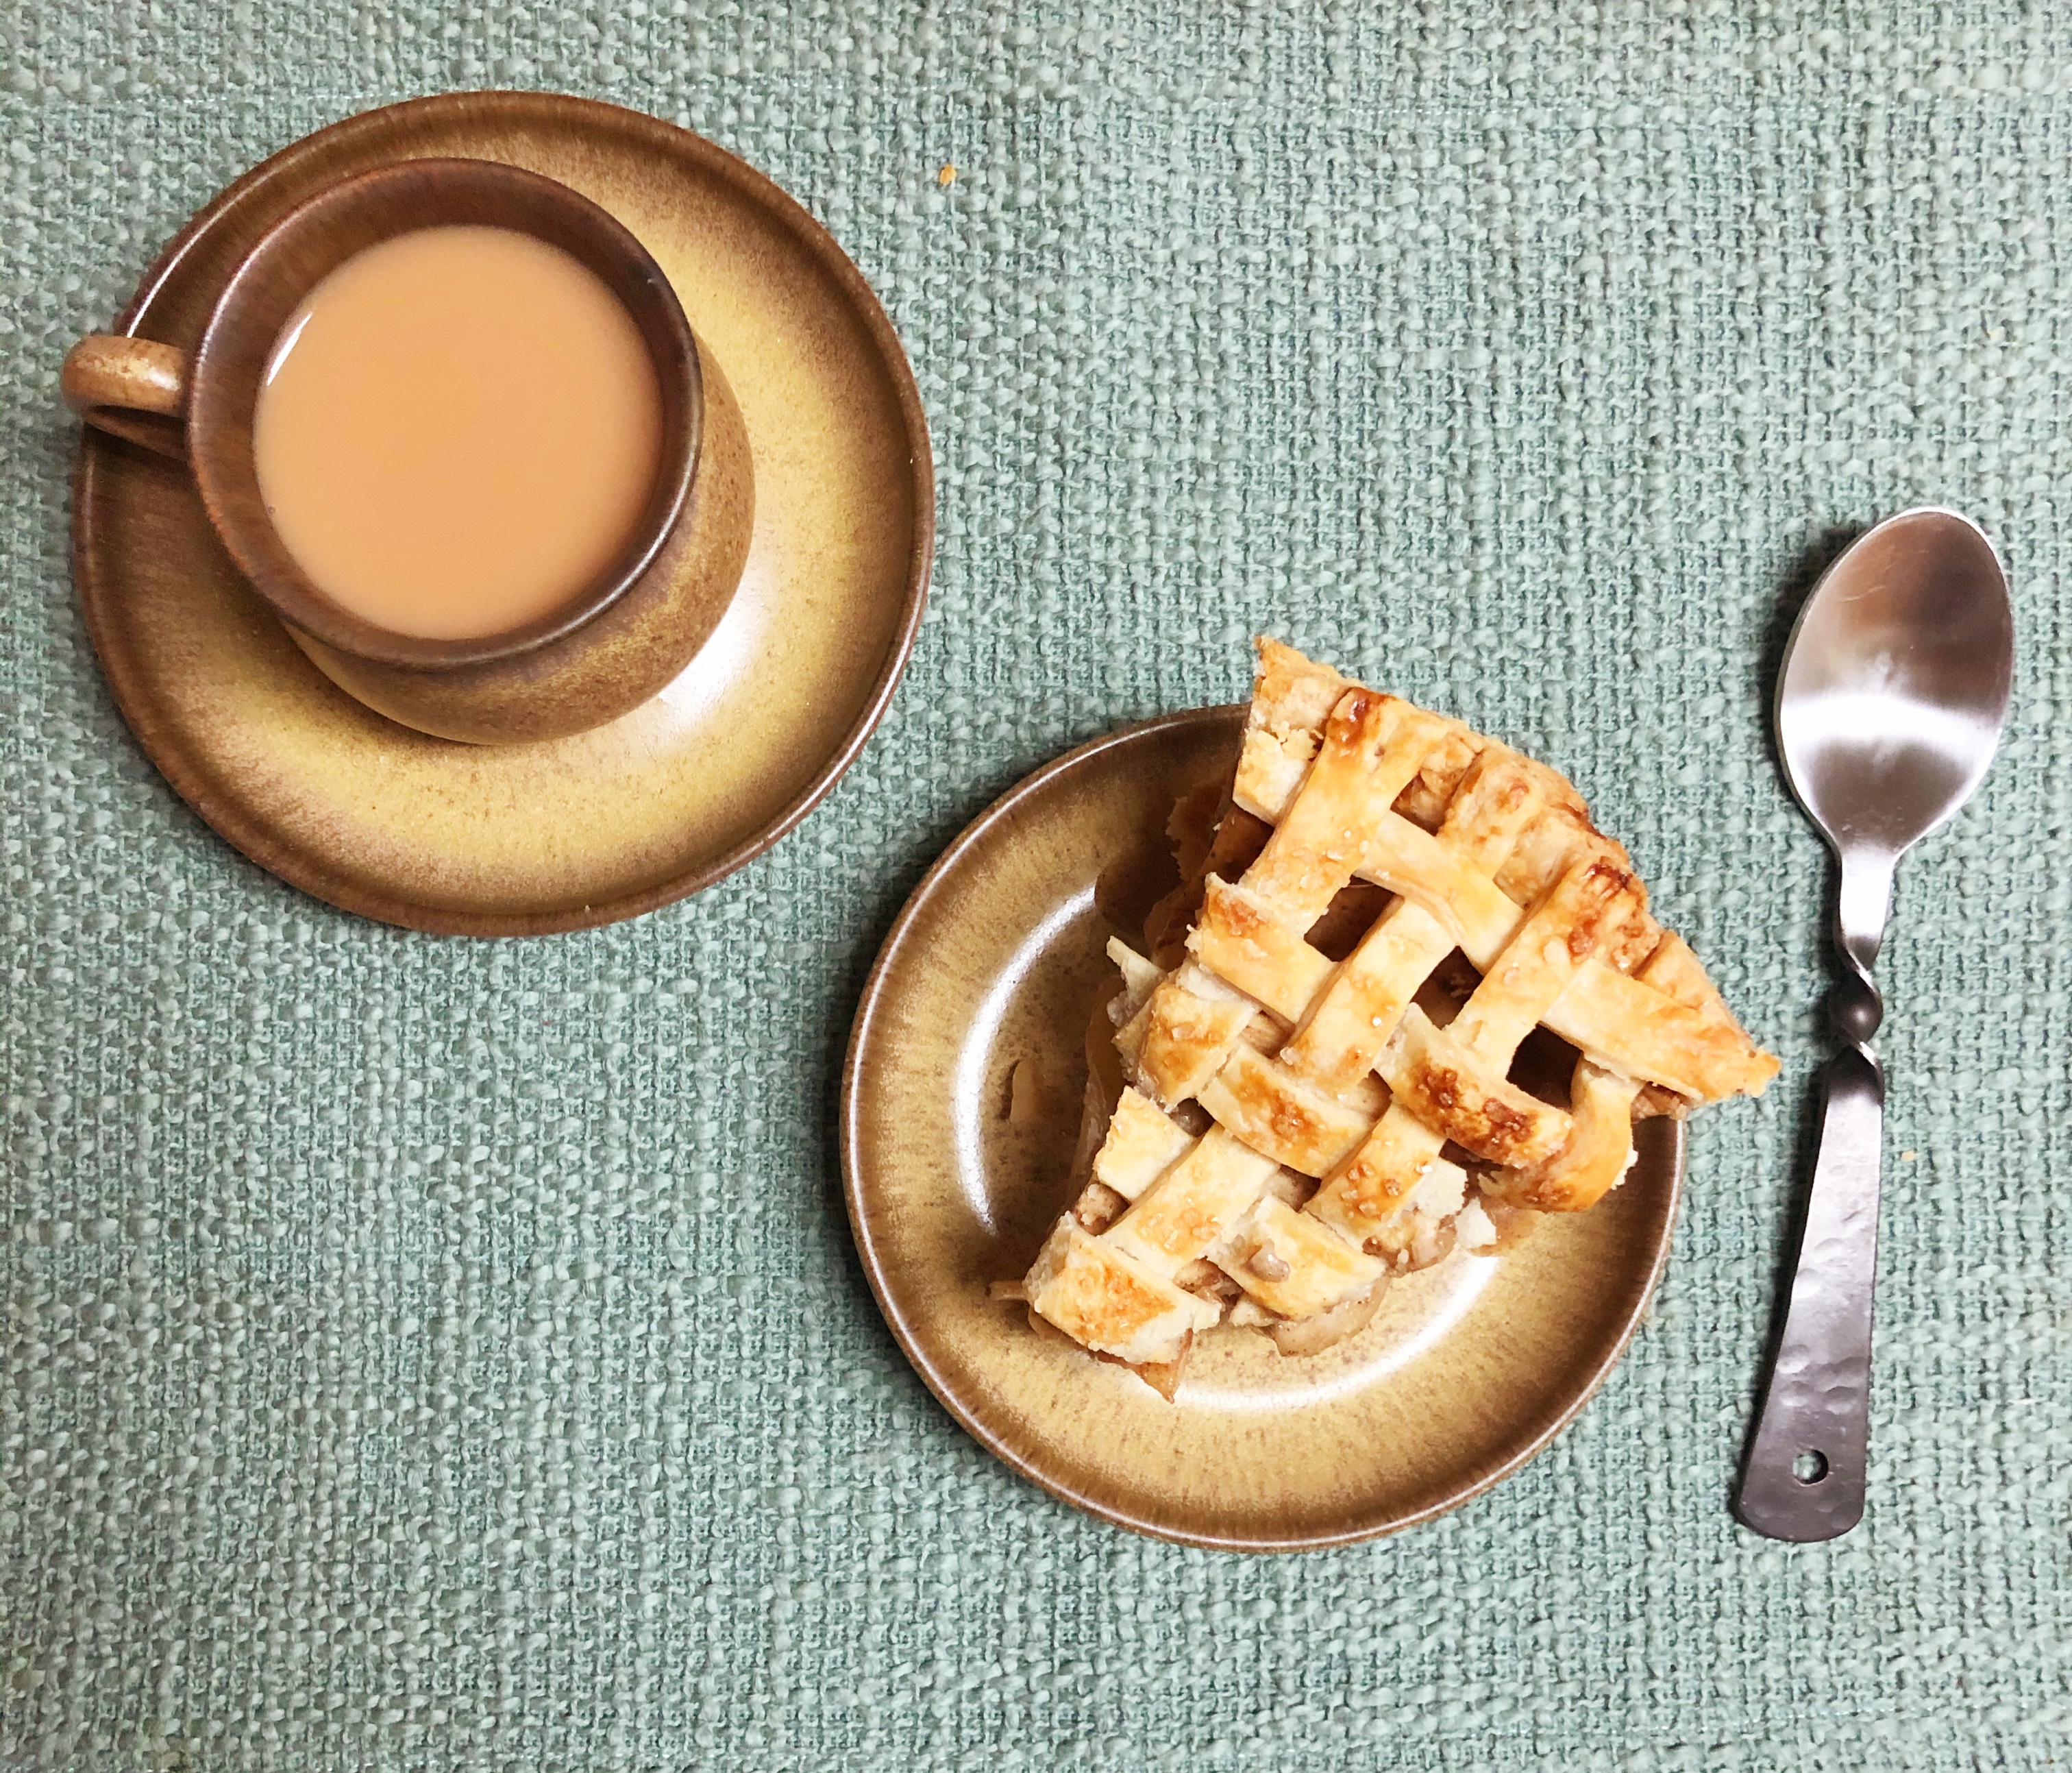
After 30 minutes, bake the pie at 400 degrees for 20 minutes, then reduce the temperature to 350 degrees Fahrenheit. Bake the pie for 50-60 minutes longer (if using cast iron) or 40-50 minutes (if using an aluminum or ceramic pie tin). Check on the pie about halfway through the baking time to make sure the crust isn’t browning too fast, and if it is loosely tent the pie with tinfoil. You’ll know the pie is done when the inside is bubbling a little bit and the top crust is golden brown. Allow the pie to cool at room temperature for at least two hours before serving. Serve with Black Tea or Metheglin and a sense for adventure. After serving, leftovers can be stored covered in the fridge for up to five days.

This recipe was part of my 2020 Elder Scrolls Thanksgiving Feast. (Held with only the members of my household, all of whom were unable to be home with their families due to the COVID Pandemic).

Skyrim Apple Pie

  • Servings: 6-8
  • Difficulty: Easy
  • Print

A medieval apple pie straight from the food stalls of Skyrim to your Holiday table.


Ingredients

-4 Large Honeycrisp Apples

-4 Quince

-1 Double Batch of Grammy’s Butter Crust (chilled overnight as two rounds)

-1 tsp Cinnamon

-1 tsp Ginger

-1 tsp Cardamom

-1/4 tsp Ground Cloves

-1/2 tsp Freshly Grate Nutmeg

-1 tsp Vanilla Extract

-1/4 Cup Flour

-1/4 Cup White Sugar

-1/4 Cup Dark Brown Sugar

-1 Tbsp Whole Milk

-2 tsp Coarse Sugar


Directions

  1. Gather your ingredients. Peel, core, and slice apples and quince into 1/4 inch thick slices.
  2. Mix sliced fruit, spices, vanilla, sugars, and flour in a large bowl with your hands until thoroughly combined. Set aside.
  3. Roll out first round of Butter Pastry Dough over lightly floured wax paper. Transfer into pie pan using the wax paper to lift. Push out any air bubbles and ensure the dough is evenly distributed in the pan. Using fingertips push along the edges to create an even crust. Cut away excess dough using a sharp knife. Pierce bottom of pie in several places using a fork to ensure no air bubbles form.
  4. Stir fruit filling to ensure it is well combined and pour into prepared pie pan.
  5. Build lattice crust (see instructions above).
  6. Brush top of pie with milk, and sprinkle with coarse sugar.
  7. Set pie aside to chill in refrigerator for 30 minutes. Preheat oven to 400 degrees Fahrenheit.
  8. After chilling, bake pie for 20 minutes at 400 Degrees, then reduce temperature to 350 Degrees. Bake for 50-60 minutes if using cast iron, or 40-50 minutes if using an aluminum pie tin. Check midway through and tent with tinfoil if browning too quickly. Allow to cool for at least two hours at room temperature before serving.

No comments to show.

Goody Stickle’s Oatfarls

The hedgehog gnawed her lip. “Well, they ain’t slept in their beds last night. Asides that, there’s two oatfarls, a good wedge o’ cheese and some of my best blackcurrant cordial missin’ from the larder.”

Martin could not help smiling at the thought of the two little would-be warriors. “All that for breakfast! They’ll go bang one of these days. I wouldn’t worry too much, Mrs. Stickle. Knowing those two rascals, they’ll be back by lunchtime for more food.”

-Brian Jacques, Mossflower p. 117

What, exactly, is an oatfarl? Put simply, it’s a small quadrant shaped cake fitting somewhere on a Venn diagram where scones, soda bread, and bakestones (picau ar y maen, in Welsh) meet. The word “Farl” comes from a word once used in Lowland Scotland, “Fardel,” to describe a three cornered cake, usually oatcake. The word farl is most commonly used in Northern Ireland in the present, to describe what is often called “North Irish Soda Bread,” a key component of the Ulster Fry. Based on these explanations of a farl, an Oatfarl is more closely related to the Scottish Fardel than the Ulster Farl. A small dense oatcake, perfect for eating with cheese or alongside a hearty vegetable soup, and easy to prepare on the stove without ever flipping your oven on. My oatfarl recipe is perfect for anyone trying to add a simple bread to their evening meal without a great deal of effort, or anyone blessed with a tiny oven-less apartment.

Begin by gathering your ingredients. You’ll need 1 cup of all purpose flour, 1 cup of oat flour, 1/4 cup of old fashioned oats, 1 cup of buttermilk, 1 teaspoon of baking soda, and 1/2 teaspoon coarse kosher salt. If you don’t have kosher salt, use 1/4 teaspoon of table salt. If you don’t have buttermilk, you can 1 tablespoon of white vinegar to a measuring cup and fill the rest of the way to the one cup line with whole milk. Allow it to sit for about ten minutes and it will add the same flavors as buttermilk to the recipe.

If you’re using a cast iron skillet, you can set it to preheat on the stove over medium-low heat. If you’re using a non-stick or aluminum skillet it won’t need to preheat. Whisk the dry ingredients together thoroughly.

Add the buttermilk and mix with a rubber spatula or wooden spoon until a thick and sticky dough forms.

Generously flour your countertop or working space with oat flour and tip out your dough onto the counter. Dust the top of the dough with oat flour and then knead the dough until it comes together in a soft ball. It will still be sticky, but not nearly as sticky as it was before. You can continue to add additional oat flour a dusting at a time until you are able to achieve this ball.

Flatten the ball with your hands until it is about one or one and a half inches thick. No need to use a rolling pin. Use a sharp knife to cut the round into four equal quadrants. Flatten each quarter separately into half inch thick wedges and set aside.

If you have not preheated your skillet, heat it now over medium-low heat. When the skillet is hot, place the farls in the skillet with a little space in between each one. Make sure your skillet is not too hot, or else the bottoms will brown before the inside has had time to cook. Cook for about 15 minutes until the bottoms are a deep golden brown, and then flip the farls, cooking on the opposite side for an additional 15 minutes. Check the bottoms of the farls halfway through each cooking period, turning down the heat a little if they are browning too quickly. Cool the oatfarls on a wire rack and serve with wedges of cheese, jam, honey, or alongside vegetable soup.

Goody Stickle's Oatfarls

  • Servings: 4
  • Difficulty: Easy
  • Print

Warm, hearty Oatfarls perfect for wee little warriors on an adventure.


Ingredients

-1 Cup All Purpose Flour

-1 Cup Oat Flour

-1/4 Cup Old Fashioned Oats

-1 Cup Buttermilk

-1 tsp Baking Soda

-1/2 tsp Coarse Kosher Salt


Directions

  1. Gather your ingredients. Preheat skillet on medium-low if using cast iron.
  2. Whisk dry ingredients to combine.
  3. Add buttermilk to dry ingredients and mix with a spatula until a rough sticky dough forms.
  4. Generously flour your workspace with oat flour and turn out dough onto the flour. Dust the top of the dough with more oat flour and knead until a soft ball forms.
  5. Flatten the ball with your hands and cut into four quadrants with a sharp knife. Flatten each quadrant to about half an inch thick.
  6. Place farls in hot skillet and cook over medium low heat for 15 minutes on each side, checking halfway through and turning down heat if they seem to be browning too quickly.
  7. Cool on a wire rack and serve warm.

No comments to show.

Daedra heart (Gin and Jam Tonic Jelly)

Daedra Heart

“I may have a deal we could work out. I need a Daedra’s Heart. Jarl wants me to cool his new sword in blood.”

-Moth gro-Bagol, Understone Keep (Skyrim)

If you’re looking for a recipe to astound at a Halloween party next weekend, or just looking to appease the Daedric Prince Malacanth, this jelly is sure to cause a commotion wherever it shows up. Gin, Tonic, and Fresh berries lead in with their natural flavors and colourful pop to bring one of the goriest alchemical ingredients in the Elder Scrolls to life. The end result is a visually enchanting edible cocktail that will keep your friends talking for days.

The basis for this recipe is a combination of the classic Gin and Tonic, and the Gin and Jam Cocktails. The recipe itself doesn’t add any sugar to the jelly mold (aside from what occurs in the Jam) to allow the natural botanicals of the gin and the bitterness of the quinine in the tonic to come forward, complemented but not overpowered by the natural sweetness of the berries. If you want something sweeter to serve, you can add up to three tablespoons of granulated sugar without affecting the setting ability of the recipe.

Notes about your ingredients:

  • Tonic Water: Just about any will do, I’ve always been happy with Fever-Tree’s tonic.
  • Kanten, or Agar Agar: I use Kanten, which is a Japanese product that’s very similar to Agar. If you can’t find Kanten at your local Japanese market, Agar will do in a pinch. And if you can’t find Agar, you can substitute the same quantity of unflavored Gelatine. The nice thing about Agar or Kanten is that they’re actually vegan-friendly, if you want to serve your Daedra Heart to someone with dietary restrictions.
  • Gin: Use your favorite Gin for this recipe, but if you’re not a Gin fan you can substitute in the same amount of your preferred Vodka, or any other clear spirit. If you’re looking for a Gin suggestion, I live and die by Suntory Roku Gin.
  • Strawberry Jelly: You’ll want a jelly rather than preserves with large pieces of strawberry in them. I use my homemade strawberry jelly from my Grammy’s recipe, and unlike my Grammy I’ll share the secret with you: It’s the same strawberry freezer jelly recipe that comes packaged with Certo Sure Jell Liquid Pectin, the secret is in using a food processor to puree the strawberries. If that sounds like a lot of work to you, grab whatever you have on hand. This is a surprisingly versatile recipe.
  • Heart Mold: I bought this heart mold from Amazon. While the recipe is certainly no longer a Daedra Heart if you don’t have a heart mold, if you’re interested in the recipe for the recipe’s sake, any 14 fl oz mold or bowl will do. If you do use the heart mold, pick a bowl in advance that will keep it upright in the refrigerator while your jelly sets overnight.

To begin, dice the five strawberries into 1/4 inch pieces. Add the diced strawberries and raspberries to a small mixing bowl and mash together with a fork. The mixture should be a little chunky, not a fine puree. Add three tablespoons of strawberry jelly to the mixture and stir to combine. Reserve 1/2 cup of this sauce in an airtight container and add one teaspoon of sugar, stir and set aside in the refrigerator.

Add one stick of kanten (or agar) to the tonic water and bring to a boil over medium-high heat. Once the mixture has come to a boil, stir in the remaining berry mixture and turn off the heat. Set the pan aside to cool for 2-3 minutes. While the pan is cooling, grease your jelly mold: use either vegetable oil and a paper towel, or non-stick spray. Once the mixture is just warm and no longer hot, stir in the gin and pour into your mold, which should be placed into a bowl or vessel to keep it upright. Put the mold, uncovered, in the refrigerator overnight.

The next morning, overturn your mold onto a plate and allow it to sit at room temperature for five minutes. As the jelly warms slightly, it will likely pop out of the mold on its own. If it does not after five minutes, you can gently go over the edges will a dull butter knife, taking care to not cut into the jelly.

Serve with the berry sauce poured over the top for extra gore factor. This recipe will serve 2-4 Alchemists comfortably, but can easily be doubled or tripled to serve more.

Daedra Heart

  • Servings: 2-4
  • Difficulty: Easy
  • Print

A gin and jam tonic jelly inspired by the Elder Scrolls.


Ingredients

-One 6.8oz bottle of Tonic

-3.5oz Gin

-6oz Fresh Raspberries

-5 Medium Strawberries

-3 Tbs Strawberry Jelly

-1 Stick (or measured 4g) Kanten or Agar

-1 tsp Granulated Sugar


Directions

  1. Gather your ingredients.
  2. Dice strawberries into 1/4 in pieces. Combine with raspberries in a small mixing bowl and mash roughly with a fork. Add strawberry jelly and stir to combine. Reserve 1/2 cup of berry mixture and combine with 1 tsp sugar, store in an airtight container in the refrigerator.
  3. Heat tonic and kanten in a small saucepan over medium-high heat until lightly boiling. Stir in remaining berry mixture and turn off heat. Set aside to cool for five minutes.
  4. Grease jelly mold with vegetable oil or nonstick spray and place inside a bowl for stability.
  5. Once jelly mixture is no longer hot to the touch, add gin and stir. Pour mixture into jelly mold and store in the refrigerator overnight, or at least 6 hours to fully set.
  6. Overturn jelly mold onto a plate and allow to sit for five minutes to reach room temperature. If jelly does not lift out of the mold on its own, gently run a dull butter knife around the edges to loosen it. Serve with reserved berry sauce poured over the top.

Leek and Mushroom Pasties

Leek and Mushroom Pasties

“Follow me. You’ll have to put a move on, though. I put a leek and mushroom pastie in the oven before Ashnin called. I just hope it hasn’t burned.”

-Loambudd, Salamandastron

As I discussed where to begin this blog with my roommate, we threw around a lot of different ideas. Over the years I’ve indulged in recreating food from different fictional universes, always returning to Redwall and Brian Jacques’ luscious descriptions of English-inspired culinary treats. I wanted to choose a recipe that I had used a number of times, and maybe one that hasn’t been done to death just yet (don’t get me wrong, I love Deeper’n’Ever Turnip’n’Tater’n’Beetroot Pie as much as the next critter). An obvious choice was Leek and Mushroom Pasties, first mentioned in Salamandastron, then throughout the books often served hot right from the Abbey Ovens to hungry mouths.

Pasties, sometimes called “hand pies,” have a convoluted and far-reaching history that likely extends much further back than historians have been able to pinpoint. However the most readily accepted origin of pasties is in Cornwall, England, home of the Cornish Pasty (or Pastie).

These pasties are most delicious served hot and fresh from the oven, but are also still quite tasty served cold with a cup of strong hot tea (I’ve been working through a box of Glengettie Welsh Tea and find it’s a delicious tea served with savories). If you plan to reheat them the following day, I recommend storing them with paper towels and reheating in the oven (about 10 minutes at 350 degrees is sufficient) or a toaster oven. If you reheat in the microwave they’ll come out a little chewy, but edible.

To start you’ll need a single batch of my Grammy’s Butter Crust recipe, refrigerated as logs for pasties. (Sometimes I like to make a double batch of pastry dough when I’m making pasties, so that I have an easy dinner start the next night).

Next you’ll gather together your ingredients for the pasty filling:

The secret of this recipe is really using a variety of mushrooms. Different mushrooms will add different flavors and textures, and with the umami of a variety of mushrooms you won’t find yourself wishing for any meat in the recipe at all. For this recipe I used some of the mushrooms I most commonly cook with: Eryngii (King Oyster Mushrooms), Shiitake, Oyster Mushrooms, and Cremini (also known as Baby Bella) mushrooms. If you have trouble finding any of these, some other delicious mushrooms options I’ve used are: Button mushrooms, portobello, shimeji, or maitake (though since maitake mushrooms cook down more than others, if you use them add a little extra). If you experiment with a kind of mushroom I don’t mention, please let me know how it turned out in the comments!

You’ll also need a medium sized leek, fresh parsley, flour, butter, kosher salt, smoked paprika, freshly ground black pepper, and vegetable broth. If you have a favourite vegetable broth, stock, or bouillon feel free to bring it out for this recipe, but if you do not I cannot recommend Better Than Bouillon enough. Their vegetable bouillon is rich and delicious, not nearly as salty as other bouillon brands, and tastes the most like real fresh vegetable stock.

Cut your mushrooms into thin slices, the smaller you go the more like mincemeat the texture of the final pies will be. You should have about 2 cups of mushrooms after cutting them up. Slice three inches of the white part of the leek into thin rounds (about 1/4 of an inch thick) and cut each round in half. Finely mince the parsley.

Next we’re going to make the gravy.

To make a thick and rich gravy we’ll start with a roux. Melt one tablespoon of butter in a small saucepan and add one tablespoon of flour, stirring quickly with a rubber spatula. Cook the resulting roux over low heat for about 1-2 minutes, to help cook off the raw flour flavour. Slowly add your prepared vegetable stock about 1/4 cup at a time, stirring to completely combine between each addition. When all of the stock has been added, continue simmering your gravy over low heat for about eight minutes, or until it has achieved desired thickness. After your gravy is done, remove from heat and set aside for now.

Next we’ll move on to the filling: Start by sautéing the chopped leeks on medium heat in one tablespoon of butter until they’ve softened and become slightly translucent, about 2-3 minutes. Add the minced parsley and eryngii mushrooms, which can take a little longer to cook than other varieties, and stir to combine, about one minute. Add the rest of the mushrooms, paprika, pepper, and salt and continue to sauté over medium heat until the mushrooms are cooked through. Add the reserved gravy and stir to combine. Allow the filling to simmer on medium heat for about six minutes, stirring frequently to prevent burning. When the filling has finished cooking, set it aside and allow to cool completely to room temperature before advancing to the next step. It is also possible to put it to the fridge to cool it completely, this will allow for thicker pasties with more filling.

Bring out your log of butter pastry and using a sharp knife slice it into slices. This recipe makes 6 standard sized pasties, or if you would like smaller bites for an appetizer or a Dibbun Snack, you can slice it into 10 smaller rounds (the batch pictured were made into Dibbun Snacks). On a generously floured surface, roll your first round to about 1/8 inch thickness for a standard sized pasty, or a little thinner if you’re making small pasties. Using your fingers, thin the edges of the round. This will help prevent the crimped edges of your final pasties from being too thick. Holding the rolled dough in one hand, spoon pie filling into the round. About 3 tablespoons of filling for small pies, 4-5 tablespoons for larger pies. Fold the dough over in your hand, and carefully crimp it with a fork (easiest with smaller pasties), or fold over the edges to crimp as a classic pasty.

Carefully lay each pasty on a nonstick or lined baking sheet as you go. After laying all the pasties out carefully score the top with a small sharp knife. Be careful to make sure you are scoring all the way into the filling, but not so deep that you are scoring the bottom of the pasties. Gently brush the top of each pasty with a beaten egg, taken care to cover the entire tops and crimped edges of each pasty.

Bake the pasties in a preheated oven at 350 degrees until the tops are golden brown, 35 minutes for ten smaller pasties, or 40-45 minutes for six larger pasties.

As I mentioned earlier, the pasties are best served warm. I like to serve the pasties with pickled onions, sharp cheddar, and Ploughman’s Pickle or tomato chutney to spread on each bite, with mead or ale to wash it down. If you’re reading in the US, Ploughman’s Pickle is a pickled vegetable spread that can be found in most English Grocers, or any grocery store with a good selection of English ingredients. To make your pasties into a complete meal try serving them with vegetable soup or a garden salad.

Leek and Mushroom Pasties

  • Print

A Redwall Abbey favourite.


Ingredients

  • 1 Batch of Butter Pastry
  • 2 Cups Chopped Mixed Mushrooms (Eryngii, Shiitake, Cremini, and Oyster)
  • 3 Inches of Leek (White Part)
  • 1 Tablespoon Minced Fresh Parsley
  • 3/4 Cup Vegetable Broth
  • 1/4 Teaspoon Smoked Paprika
  • 1/8 Teaspoon Kosher Salt
  • 1/8 Teaspoon Freshly Ground Black Pepper
  • 1 Tablespoon Flour
  • 2 Tablespoons Butter, Divided

Directions

  1. Preheat Oven to 350 Degrees.
  2. Slice mushrooms into thin slices. Slice leek into 1/8th
  3. inch rounds and cut each round in half. Finely mince parlsey. Measure vegetable stock.
  4. Prepare Gravy: Melt 1 tbsp Butter over low heat in a small
  5. saucepan. Add flour and stir until smooth, cooking over low heat for 1-2 minutes. Gradually add vegetable stock 1/4 cup at a time stirring continuously. Simmer over low heat for 8 minutes or until desired thickness is achieved.
  6. Prepare filling: Melt 1 tbsp butter in skillet over medium heat.
  7. Sauté leeks in butter until softened. Add parsley and eryngii mushrooms and stir until combine. Add all other mushrooms, paprika, salt, and black pepper. Continue to stir continuously over medium heat until mushrooms are cooked through. Add gravy and stir to combine. Simmer over medium heat for six minutes, stirring occasionally. Remove from heat and allow to cool completely.
  8. Cut log of pastry dough into six or ten even slices. On a well
  9. floured surface, roll out a slice of pastry dough to 1/8th inch thickness. Using fingers, thin the edges of the pastry dough. Holding the dough round in your hand, spoon prepared and cooled filling into the dough round. Fold dough over and carefully crimp the edges with a fork, or turn and crimp with your fingers. Place finished formed pasty on a nonstick or lined baking sheet and repeat until all pasties are formed.
  10. Gently score the top of each pasty in three lines, taking care to cut
  11. into the filling but not all the way to the bottom. Brush the tops of each pasty with beaten egg.
  12. Bake at 350 degrees until golden brown, or for 35 minutes for 10 smaller
  13. pasties, or 40-45 minutes for six larger pasties.
  14. Serve and enjoy.

Grammy’s Butter Crust

This is a no-nonsense reliable butter crust recipe that was passed along to me by my mother years ago, meticulously typed on a stained and yellowed index card. With that caveat, this is a delicious, simple, and completely basic butter crust that can be expanded upon for a variety of uses and variations. This basic recipe will provide enough crust for a full 9″ pie bottom. If you would like a top crust simply double the recipe.

My Nanan, my dad’s mother who emigrated to the US from Sheffield England, used a similar crust in her Cornish Pasty recipe that substituted shortening for half of the butter. I’ve tried both and have always been happier with the fuller flavor and flakier texture of an all-butter crust.

For starters, measure out 1 and 1/4 cups all purpose white flour, 1/4 teaspoon kosher salt, and 1/2 cup cubed cold butter. If your house is warm keep the butter in the refrigerator until the moment you need it, ice cold butter is the absolute key to big flakes in this pastry. Mix the salt in with the flour using a fork.

Next you’re going to cut in the cold cubed butter using a dough blender. Cubing the butter makes this step significantly easer, I like to cut my butter into just under tablespoon sized cubes before adding it to the flour. Continue cutting until the butter and the flour has combined into relatively uniform crumbles.

Gradually add ice water to your crumbles, tossing with a fork to ensure even distribution. Do not use a spoon for this step, as it causes the water to pool unevenly and will result in a tough and chewy finished dough. For this step I keep a measuring cup full of water and ice, to make absolutely certain the water is as cold as possible. The last thing you want to do is melt the butter at all, as I’ve already said, those big butter chunks are the key to big flakes in your finished crust.

You’ll know you’ve added enough water when three fingers pressed lightly into the crumbles will bind them firmly together. Working against the side of the bowl, shape the dough into one firm ball, pressing it against the sides to make sure you’ve picked up all of the loose crumbles that will inevitably form.

The next step varies depending on what you’re doing with your pastry dough. If you’re making a 9″ pie in a tin, form your dough into a disc about 3/4″ thick. If you’re making pasties form your dough into a log about 2″ thick (the two logs pictured are the result of a double batch of pie dough, one standard batch will make one log).

Refrigerate your dough for at least an hour, but ideally overnight. If you have excess dough it will keep well in the fridge for 3-4 days.

Grammy's Butter Crust

  • Print

Ingredients

- 1 1/4 Cups All Purpose Flour - 1/4 Teaspoon Kosher Salt - 1/2 Cup Ice Cold Cubed Butter - 3-4 Tablespoons Ice Water

Directions

1. Measure ingredients. 2. Combined flour and salt using a fork. 3. Cut in butter using a pastry blender until uniform crumbles form. 4. Add iced water 1 tablespoon at a time and toss with a fork until three fingers inserted forms a doughy indent. 5. Shape dough into a 3/4" thick disc (for pie) or a 2" thick log (for pasties) and refrigerate wrapped in plastic for at least one hour or overnight.